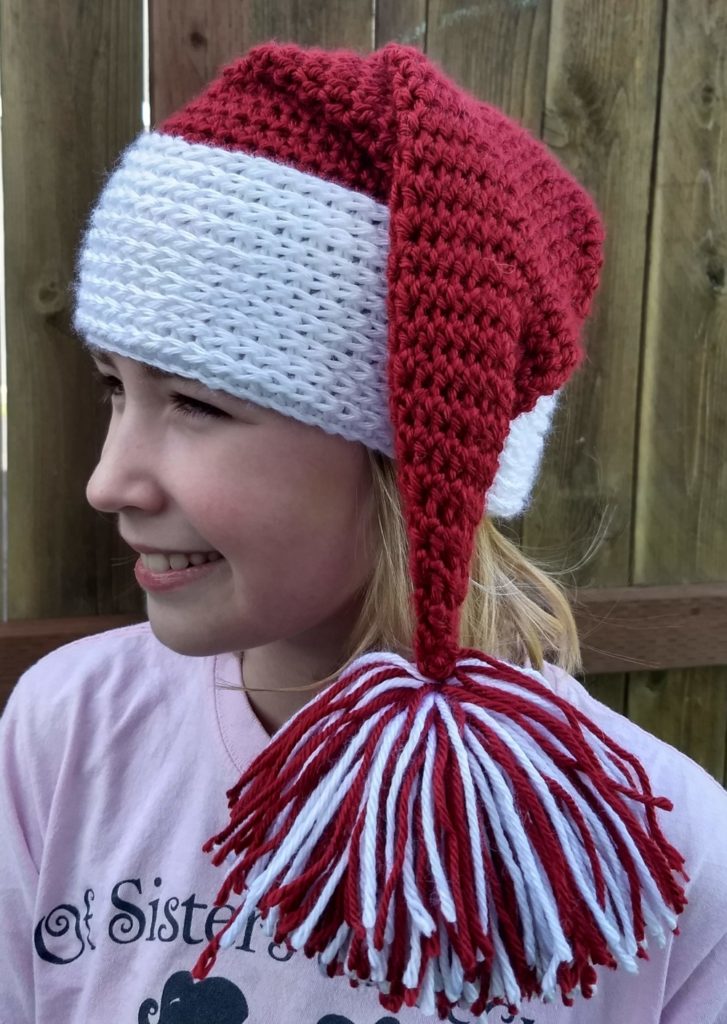
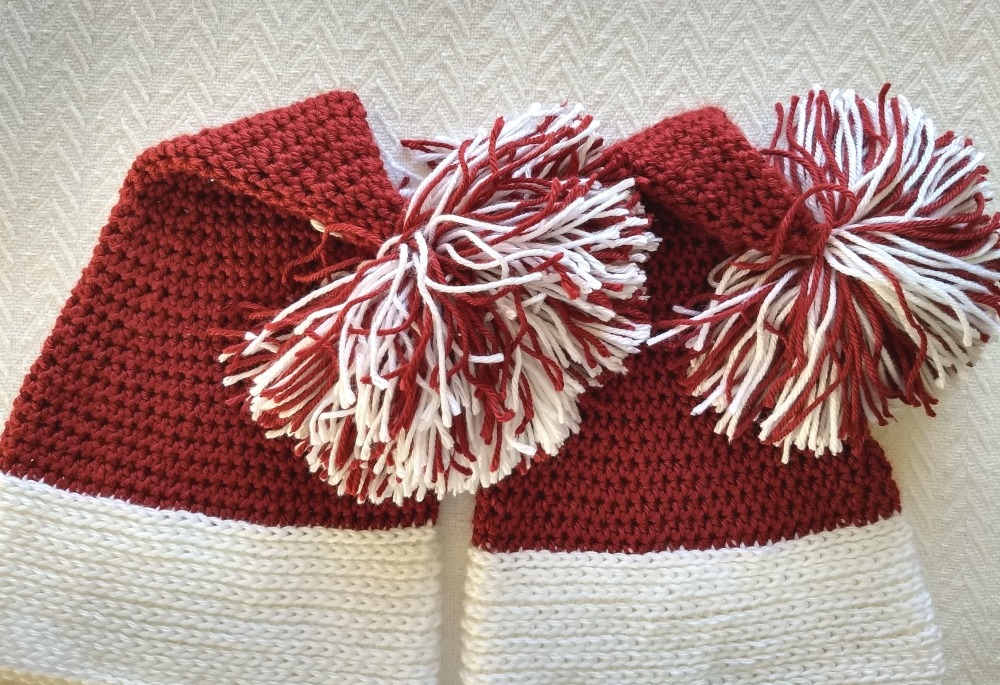
As a kid, seeing my Dad hopping around in a Santa Hat, being excessively jolly, is one of my more distinct holiday memories. When I realized that we don’t even own a Santa Hat, I knew I had to fix that, and thus this Santa Hat free crochet pattern was born! It’s a little bit of a different take on a Santa hat, and would also make a great elf hat or just plain ol’ stocking cap.
*Disclosure: Some of the links in this post are affiliate links, which means if you click on them and make a purchase I may, at no additional cost to you, earn a commission. Read full disclosure here.

I wanted this pattern to be super simple – we all know how busy the holidays are, and nobody needs a complicated pattern to work through! The hat uses hdc and hdc through the third loop, and includes a video tutorial! You can also purchase a printable PDF pattern from Ravelry or Etsy with the links below.
Supplies
- Worsted Weight yarn in red and white – I used Caron Simply Soft for my sample (it took less than 1 skein of each color, approximately 50g red and 35g white, not including pom pom), but you can use any worsted yarn you’d like.
- Size I crochet hook – I love these Odyssey hooks from Furls Crochet!
- Yarn/Tapestry Needle
Stitch Abbreviations
- ch chain
- st(s) stitch(es)
- ss slip stitch
- hdc half double crochet
- hdcTL half double crochet in 3rd loop (see video)
- dec half double crochet 2 together
Pattern Notes
This pattern is intended to be a simple design. The exact location of decreases will not be noted in the pattern, as it really doesn’t matter where you put them – hooray for mindless crochet! See below for video tutorial. If you need help making a pom pom, see this post.
Variation – decrease only 1 time per row for a longer stocking cap.
This hat is a one size fits most design, stretching to fit up to adult large/22.5″. It also fits my daughter, pictured below.
Santa Hat Free Crochet Pattern Video Tutorial
How to Crochet the Santa Hat

- 1. With white, ch61 loosely, join
- 2. ch2 (counts as first hdc), hdc around – do not join
- 3. hdcTL around for 9 rows, working continuously in the round without joins. At the end of the last row, work sc in third loop for 1 st, then ss in third loop for 1 st, switching to red.
- 4. ch1 (counts as first st), hdcTL around 1 row, do not join
- 5. continue working hdc (regular hdc, not hdcTL) in a continuous round without joins, working two dec in each row. I like to stagger where the two dec are and try to make them approximately opposite each other on each row, but the exact placement of the decreases does not matter!
- 6. Continue around until you have 2-3 stitches left, then sew the top closed.
- 7. To make the pom pom, holding red and white together, wrap the yarn around a piece of cardboard, empty paper towel tube, or other similarly sized object a lot of times until you have a large blob of yarn. Take a piece of yarn and tie it around one side of the wrapped yarn. Tie it as tight as you can without breaking the yarn. Then cut the side opposite where you tied so that the ends come free. Trim your pom as desired, then sew it to the top of the hat (see video for how to make a pom pom here). You could also purchase a pom and attach it instead of making your own.

If you like this pattern, check out the rest of the free patterns coming in December – one free holiday pattern per week! You may also like the Braided Rose Headband or Easy Tunisian Hat.
This pattern and all associated images are copyrighted. If you would like to use this pattern in a roundup blog post, you may use 1 image and link to this blog post. You may not copy the pattern instructions. Thank you for supporting Kickin Crochet!
