
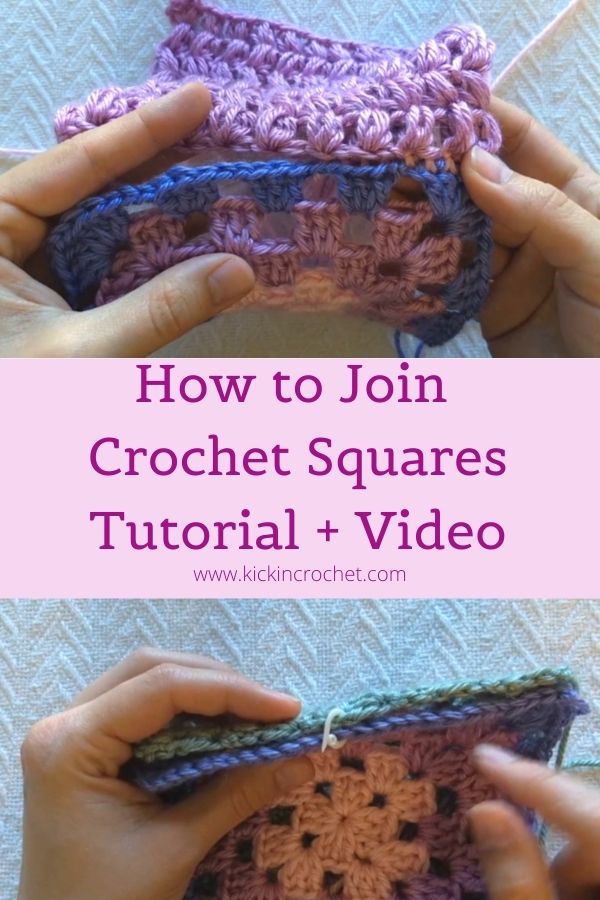
Now that you’ve learned how to crochet granny squares, plus a whole bunch of other awesome crochet stitches, it’s time to learn how to join crochet squares. I’ll walk you through a few different methods for joining squares, and you can choose your favorite. The video shows four different methods, with a few variations within those methods. There’s a style for every project and preference! Stay tuned for my next post, where I’ll show you how to make a fun, funky crochet bag using up your favorite crochet sample squares.
*Disclosure: Some of the links in this post are affiliate links, which means if you click on them and make a purchase I may, at no additional cost to you, earn a commission. Read full disclosure here.
Supplies
To join your squares together, I recommend using the same type of yarn that you used to create the squares. Depending on your desired finished look and joining style, you may want to choose the same color or a contrasting color. Experiment! You’re welcome to use whatever yarn you’d like for your squares, but here’s what I used for mine:
- Worsted weight yarn of your choice – I used Caron Simply Soft
- Size H crochet hook – I love these Odyssey hooks from Furls Crochet!
- Yarn/Tapestry Needle for weaving in ends.
How to Join Crochet Squares Video Tutorial
How to Join Crochet Squares
I’m going to show you four main methods (plus a couple of minor variations) for how to join crochet squares. At the end, I’ll throw in a few tips for joining squares with different numbers of stitches. I’ve noted the time in the video that instruction for each method starts, if you want to skip straight to that part!
First, a note – each square has a “right” side and a “wrong” side, just like in sewing. The right side is the side you want facing out on your project, or the top side. The wrong side is the side that would be the underside of a blanket, say, or the inside of a purse or jacket. Okay, ready? Here we go!
Joining Method 1 – Sewing
This is the first method shown, starting at about 0:30. You’ll need to thread your yarn onto a tapestry/yarn needle for this method.
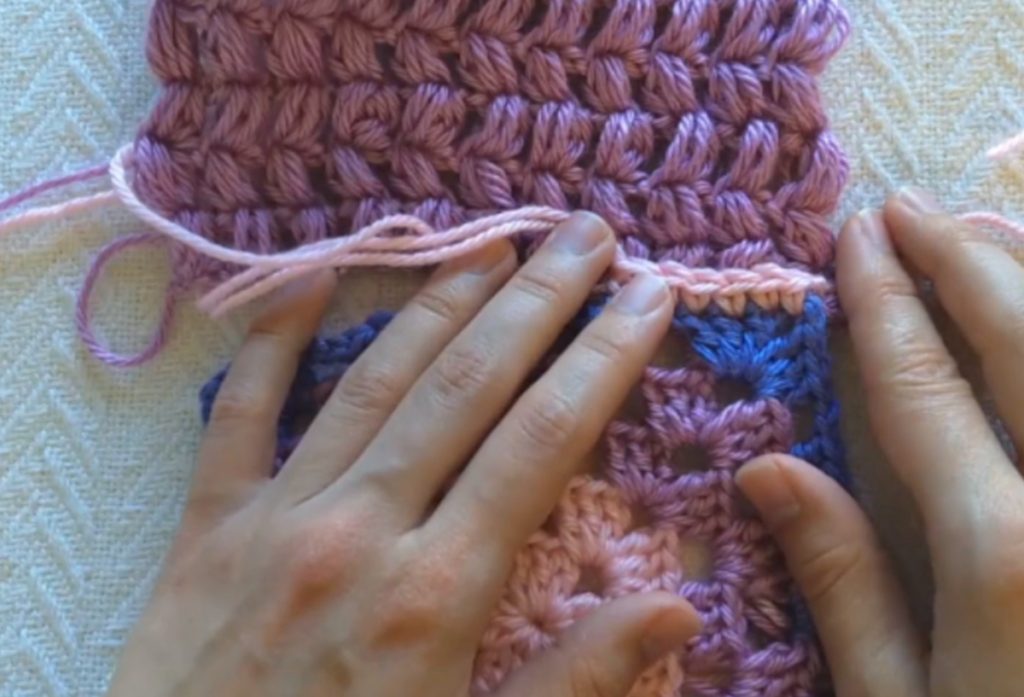
Lay your two squares right-sides up next to each other. The needle will always enter the stitches from the space between the two squares. So, starting at one corner, insert your needle under the first stitch on one square and pull the yarn through. Now insert your needle under the first stitch on the other square (again, going from the side next to the other square out), and pull the yarn through. Continue in this fashion, alternating from one side to the other. Make sure you tighten as you go (but don’t pull too tight, or it will make your project pinchy/puckery and a little weird). This method will have the stitches look approximately the same on both sides. The squares will lay flat with minimal yarn showing.
Sewing Variation – Whip Stitch
For this variation, you’ll still be using a tapestry needle and yarn. Instead of weaving back and forth, you’re sewing in loops, so you’ll enter your stitch on one square from the side away from the seam, go through the stitch, then enter the stitch on the opposite square and pull out the other side of the other square. Then you’ll come back over the project to the first square’s side to enter the next stitches. You’re literally going around in circles with your yarn in loops. This method leaves a different looking join, with stripes of joining thread going across your seam region instead of a kind of braid-like join with the first method. It will still lie flat and be approximately the same on both sides of your fabric.
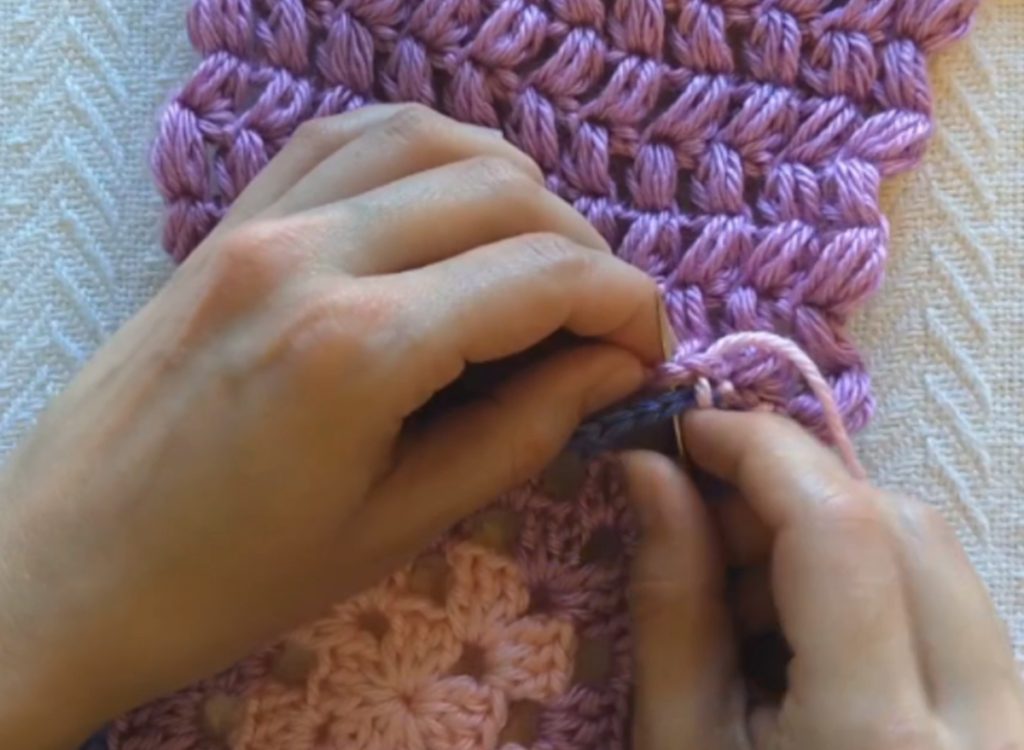
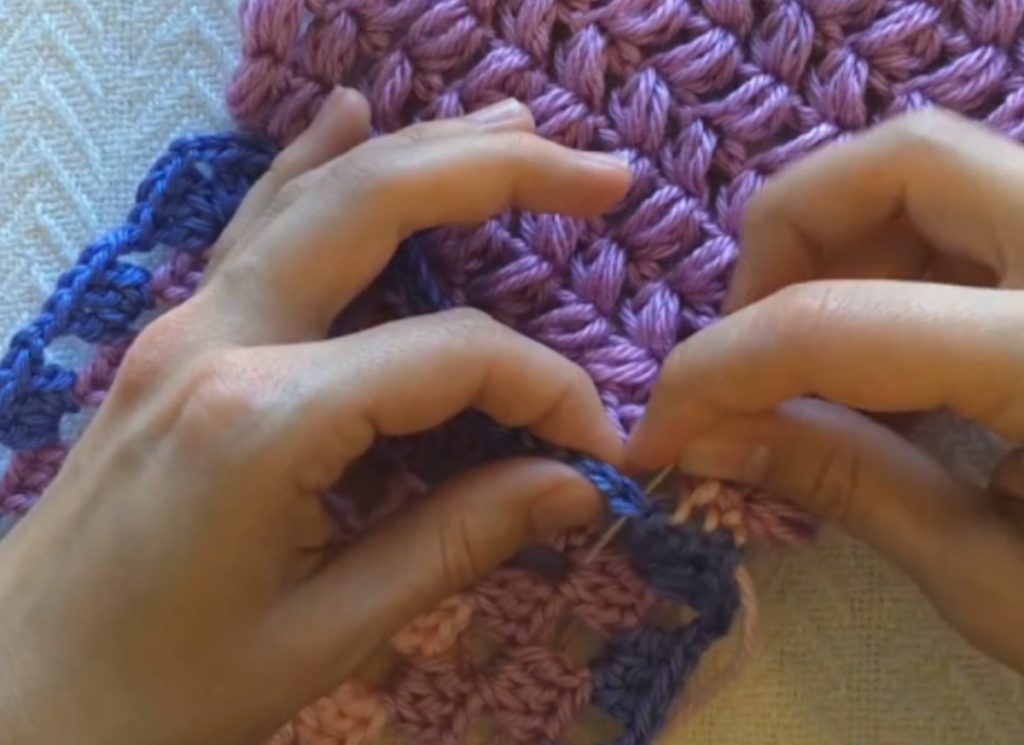
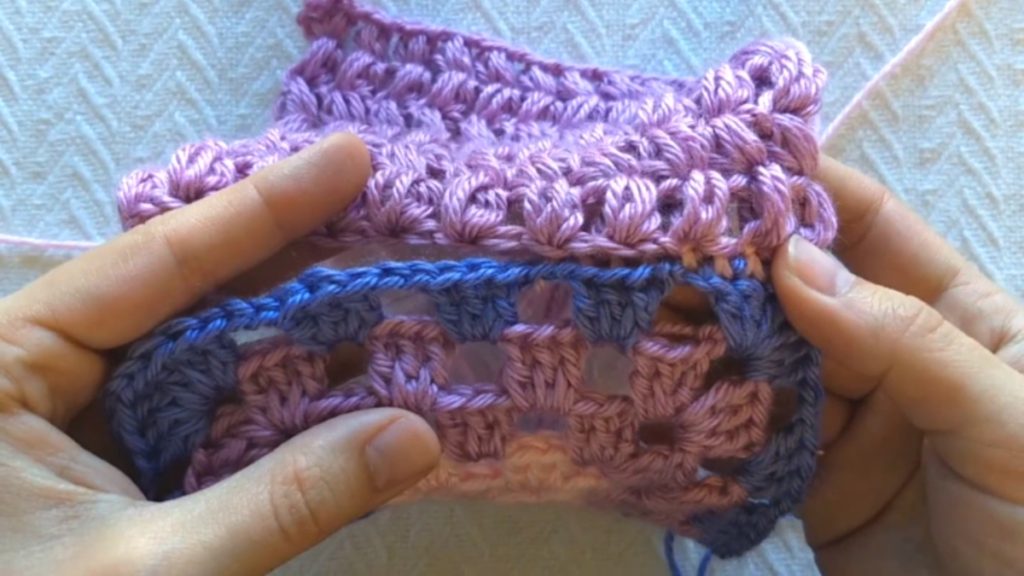
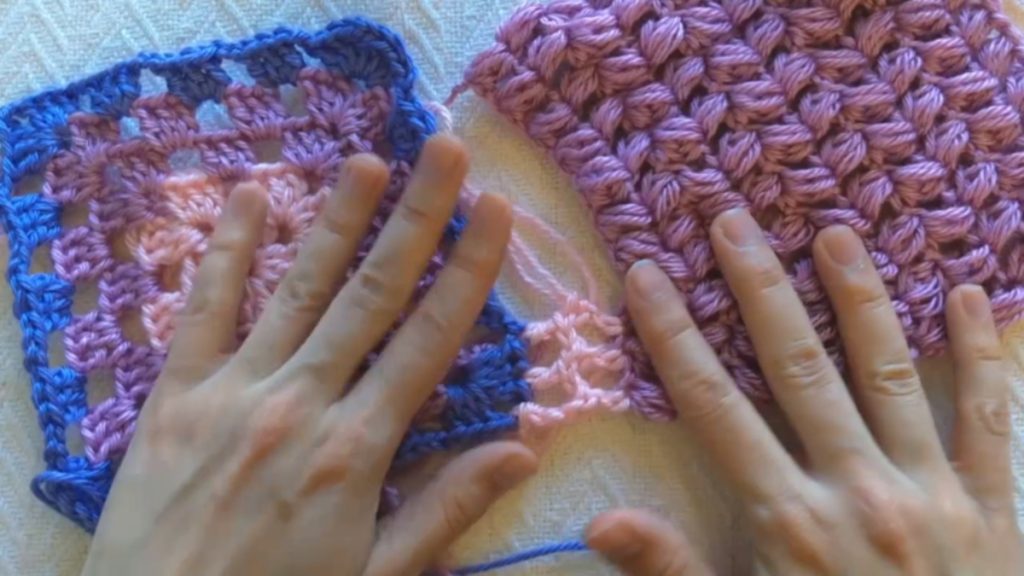
Joining Method 2 – Slip Stitches From the Back
In the video tutorial, this method is the second one shown and starts at about 3:00. The variation for this method is actually my preferred way to join squares together as long as I don’t need the fronts and backs to look the same.
For this method, take your two squares and sandwich them right sides together. With your joining yarn, insert your hook through both loops of your corner stitch on your first square and the corner stitch of your second square, then slip stitch them together. Continue in this fashion across, slip stitching each stitch on the first square to the one across from it on the second square, going through all loops of the stitches.
Variation – Go through only the first loop on the first square and the second loop of the second square. This leaves a really nice, finished edge loop on the front of your project because the two “inside” loops are free, making nice ridge lines on the front that work to hide the seam region. My fave!
Joining Method 3 – Single Crochet the Front
This method begins at approximately 5:30 in the video. This is the method I used to join the hexes in the Autism Love Blanket. I really like using a contrasting yarn color for this technique. I’m creating an obvious join region that pops out (literally) from the fabric, so having it pop with color can be fun, too.
To single crochet your squares together from the front, sandwich the wrong sides of your squares together. With your crochet hook, insert through both loops of your front square’s corner and both loops of your back square’s corner. Pull up a loop, ch1, sc in that space (or you could count the ch1 as a single crochet). Continue in this fashion all the way across, working single crochets in each stitch of the front square and the corresponding stitch of the back square together.
Variation (not shown in video) – you can choose to go through only the front loop of the first square and the back loop of the back square to leave a nicer seam on the back side, if you’d like.
Joining Method 4 – Creating a Crochet Mesh
This method begins at about 6:50 on the video. There are lots of possible variations for this method, and I’m only going to describe one of them. Use your imagination and see what you can create!
With your crochet hook, join to the corner of your first square and ch3 (the height of a double crochet, which is what I’m choosing to use in this tutorial). dc in the corner stitch of the other square. *Skip a stitch on your first square, work a double crochet in the next stitch. skip the next stitch on your second square, dc in the next stitch, repeat from * across, working dc in the corner stitch of each square at the end of the row.
Join Crochet Squares With Different Stitch Counts or Sides of Squares
This begins at approximately 8:20 on the video.
Let’s start with squares with different stitch counts. The first step here is to line your sides up, and place a stitch marker in the center. I like to have whichever square has more stitches in the front, but you can do it either way. Count how many stitches you have on the first half of each square. In my example in the video, I had two extra stitches in my front square.

Start joining the squares normally. When you notice that your stitches are starting to be a little offset from the front square to the back, it’s time to use up one of your “extra” stitches. (Alternatively, you can do a little math and space them evenly, but I’ve found it’s usually not necessary). To use up the extra stitch, insert your hook in your next stitch on the front square and the same stitch you just used on the back square. Then keep going until your stitches are offset again, and use up your other “extra” stitch. Do the same for the other half of the row.
For joining to sides of squares worked in rows, usually you’ll want to make sure you’re using the same number of stitches as for the top or bottom of a square. Again, place a stitch marker in the middle of your square. Now you’re going to join, working across and placing stitches evenly spread along the side. You can divide your square up into quarters instead of halves, if that’s helpful. Here’s a table showing, as a general rule, how many stitches you’ll need to work into the side rows of each type of standard crochet stitch. This can vary depending on the project, so don’t take it as set in stone!
| Type of Stitch in the Row | Number of Edge Stitches to Work Per Row |
| Single Crochet | 1 |
| Half Double Crochet | 1.5 (3 stitches for every two rows) |
| Double Crochet | 2 |
| Triple Crochet | 3 |
Stay tuned next week to get the free video tutorial for a crochet bag that will use up 13 of your awesome 6″ crochet squares! You can find more Tutorials here.