
When people hear “crochet”, I imagine many of think of classic crochet granny squares. These squares are a favorite of many because of their simple repeating pattern. Their small size makes them super-transportable to take on the go to get some crocheting in on the bus, or on your lunch break, without having to bring a huge work in progress. Here, I’ll show you how to make a classic granny with a step-by-step YouTube video walkthrough.
*Disclosure: Some of the links in this post are affiliate links, which means if you click on them and make a purchase I may, at no additional cost to you, earn a commission. Read full disclosure here.
Supplies
If you’re following along in the Learn to crochet series and you plan on joining your sample squares together at the end of the project, I recommend using the same yarns throughout. You’re welcome to use whatever you’d like, but here’s what I used:
- Caron Simply Soft yarn or basic yarn of your choice. I also recommend Knit Picks/ We Crochet Brava Worsted as a good inexpensive yarn with lots of fun colors.
- Size H Crochet Hook or size needed for yarn
- Yarn Needle for weaving in ends.
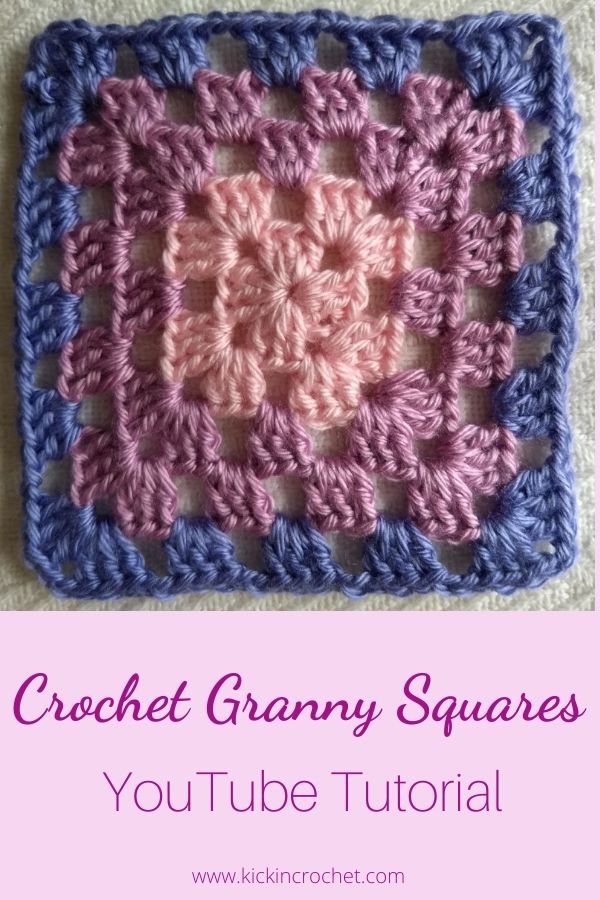
Crochet Granny Squares Video Tutorial
How to Crochet a Classic Granny Square
Granny squares are a simple series of 3dc stitches separated by ch2 spaces. Once you’ve done one of these, it’s virtually impossible to forget how to do them! You’ll start with four sets of 3 double crochet stitches, each set separated by a ch2 space. After the first row, every time you come to a ch2 space, you’ll work three dc into the space. Then you’ll ch2 to get ready for the next set. The only think to be aware of is that you need to increase the number of stitches every row. To do this, you work two sets of 3dc into each corner ch2 space. Easy peasy!
Written pattern
- ch3, join to form a ring, or start with a magic ring
- ch3 (counts as first dc), in ring, work 2dc, ch2, (3dc, ch2) three times, join (four groups of 3dc separated by ch2 spaces)
- ch3 (counts as first dc). In same corner, work 2 more dc, ch2. In each of next 3 corners, work (3dc, ch2) twice. Work 3dc in starting corner, ch2, join to top of starting ch. Switch colors
- Join to any corner, ch3, work 2 more dc in same corner, ch2. *in next ch2 space, work 3dc, ch2. In next corner, work (3dc, ch2) twice, repeat from * twice more. In next ch2 space, work 3dc, ch2. In starting corner, work 3dc, ch2, join to top of starting ch.
- ch3, work 2 more dc in same corner, ch2. *In each of next two ch2 spaces, work (3dc, ch2). In corner space, work (3dc, ch2) twice. repeat from * twice more. In each of next ch2 spaces, work (3dc, ch2). In starting corner, work 3 dc, ch2, join to starting ch, switch colors.
- join to any corner, ch3, work 2 more dc in same corner, ch2. * in each of next three ch2 spaces, work (3dc, ch2). In next corner, work (3dc, ch2) twice. Repeat from * twice more. In each of next three ch2 spaces, work (3dc, ch2). In starting corner, work 3dc, ch2, join to starting ch, finish off and weave in ends.