
Now you’ve got the single crochet and slip stitch under your belt (or if you haven’t, check out the first lesson in this series, How to Single Crochet!), it’s time to learn how to crochet in the front loop or back loop only. Maybe you’re thinking, huh? What does that even mean? Let’s find out!
*Disclosure: Some of the links in this post are affiliate links, which means if you click on them and make a purchase I may, at no additional cost to you, earn a commission. Read full disclosure here.
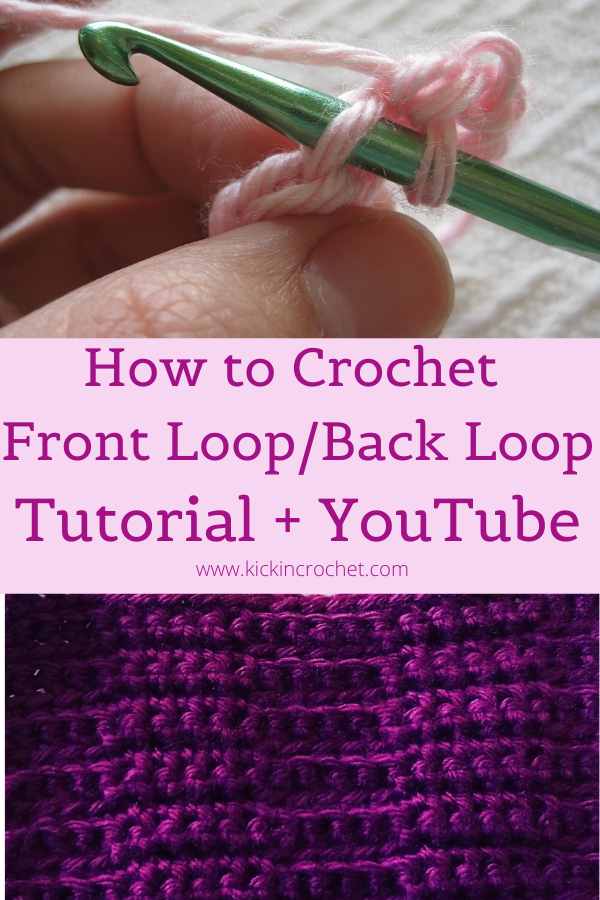
How to Front Loop/Back Loop Crochet YouTube Tutorial
Supplies
If you’re following along with the blanket blocks, you should use the same or similar yarn and hook that you used in the first lesson – here’s what I used:
- Worsted weight yarn of your choice – I used Caron Simply Soft
- Size H crochet hook – I love these Odyssey hooks from Furls Crochet!
- Yarn/Tapestry Needle for weaving in ends.
How to Crochet Front Loop or Back Loop Only
Since the stitch you’re most comfortable with so far is single crochet, I’ll use that stitch as my example, but you can do front loop or back loop crochet with any stitch.
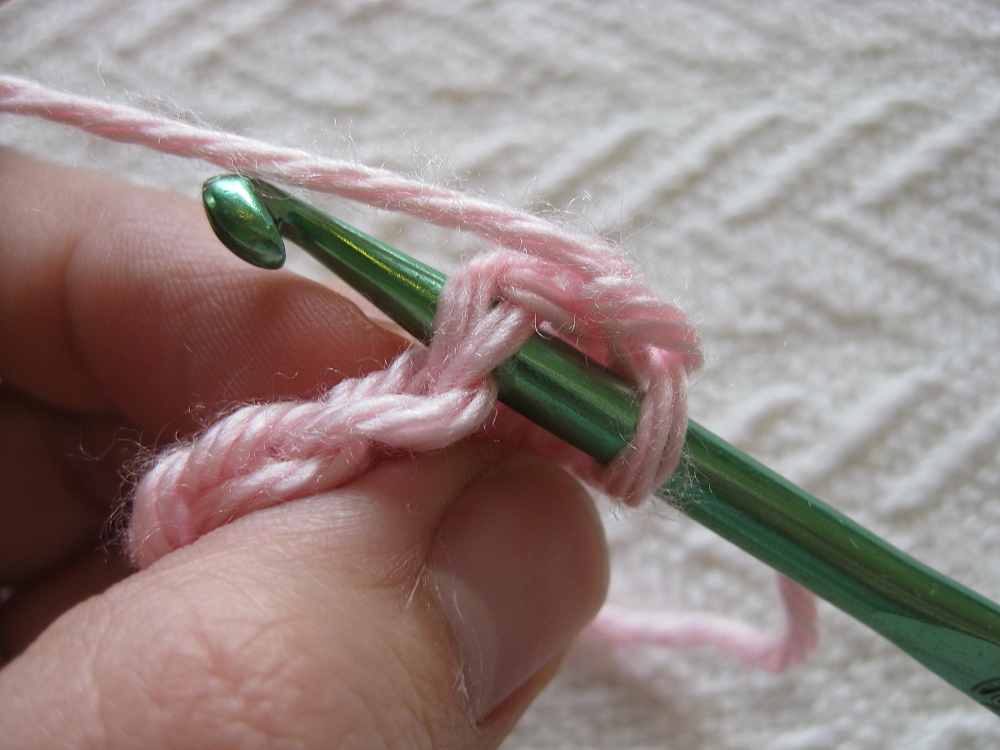
Remember how the top of the crochet stitch has two strands of yarn that look like a V? Normally, you’ll insert your hook under both of those strands to work your stitch, as shown below.
Well, for front loop only crochet, you quite simply only insert your hook under the first of those two loops, like this:
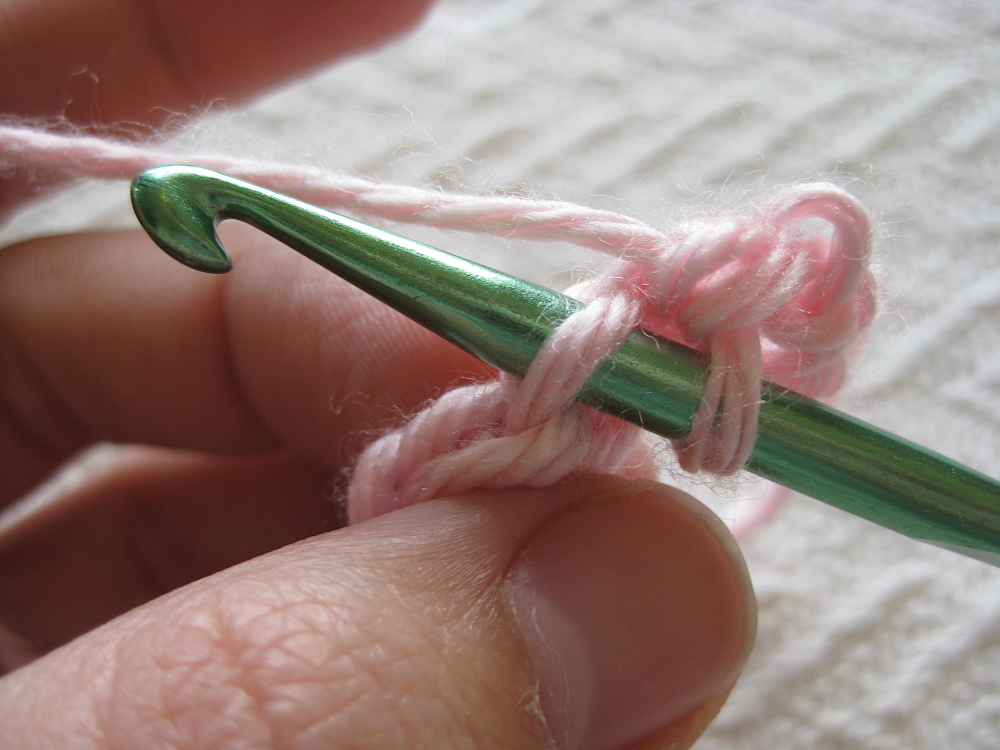
Then you’ll finish the stitch as usual. So for a single crochet, the whole stitch would go like this – insert your hook under the first loop of the stitch, yo and pull a loop through the stitch, yo and pull through both loops on your hook. See? It’s just like a regular single crochet, except that you only use one loop of the stitch.
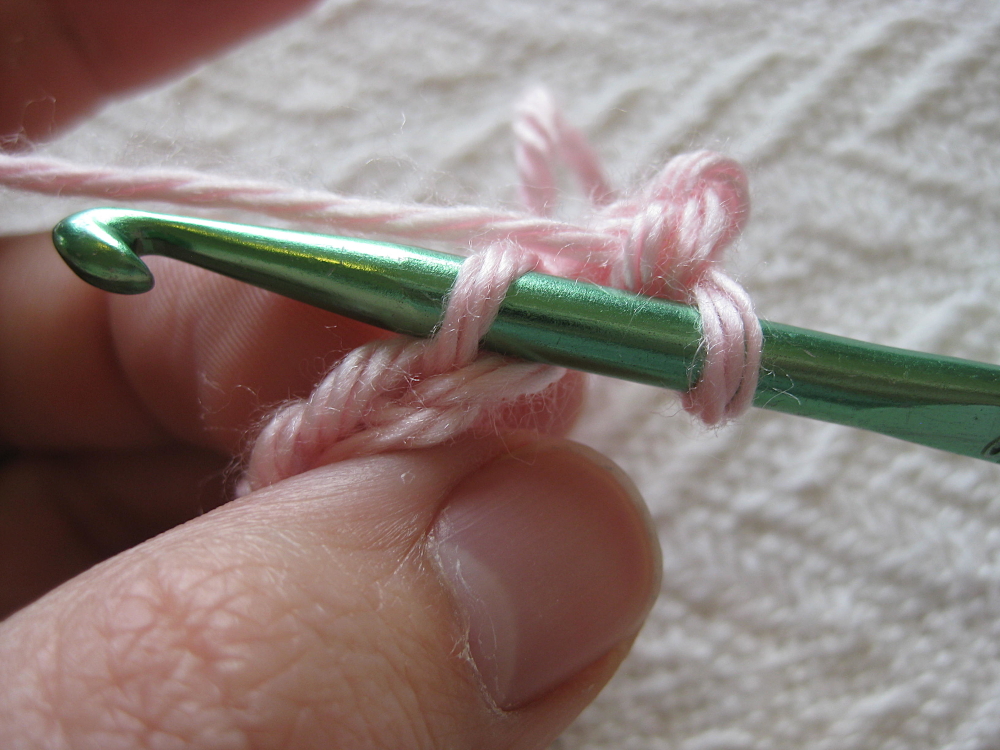
I’m betting at this point you could guess what it’ll look like to do a back loop only crochet. You work the stitch as normal, except that you insert your hook in only the back loop of the V, as shown below.
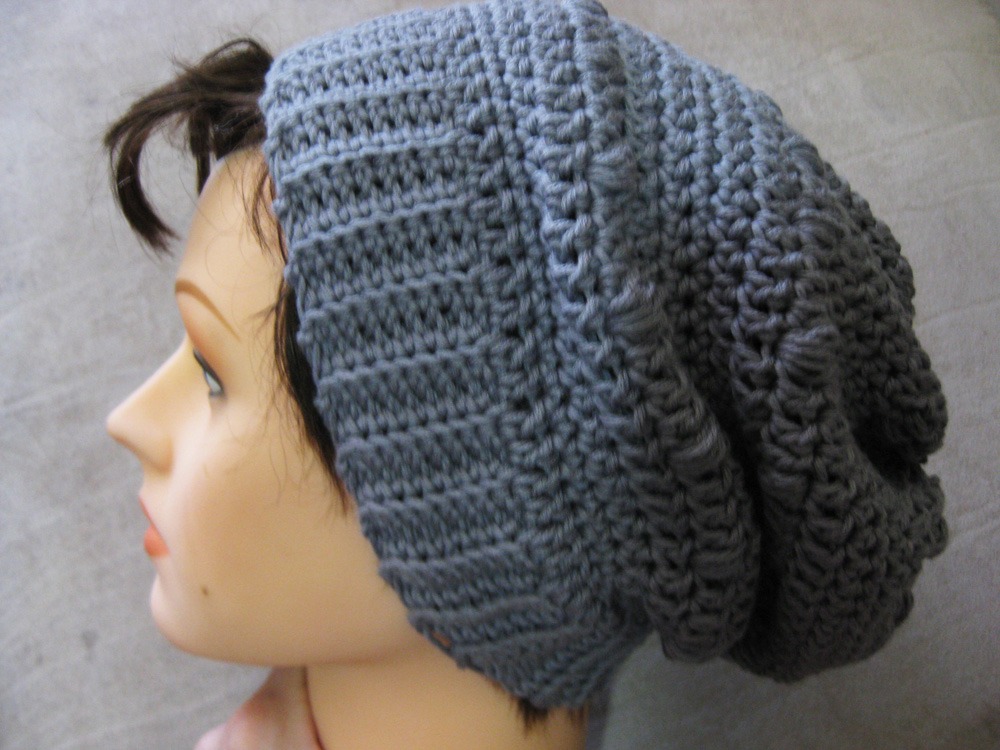
These stitches aren’t the most common stitches you’ll see, but they can be very useful! I often use them to make ribbings, like on my puff stitch hat pattern. They also can be used to make ridges in your crochet fabric.
Making Your Blanket Square
Often, a pattern will use only front loop or back loop only instead of both of them, but I want you to be able to practice both types. So our blanket square pattern today will use both front loop only and back loop only crochet stitches to create this fun wavy pattern.
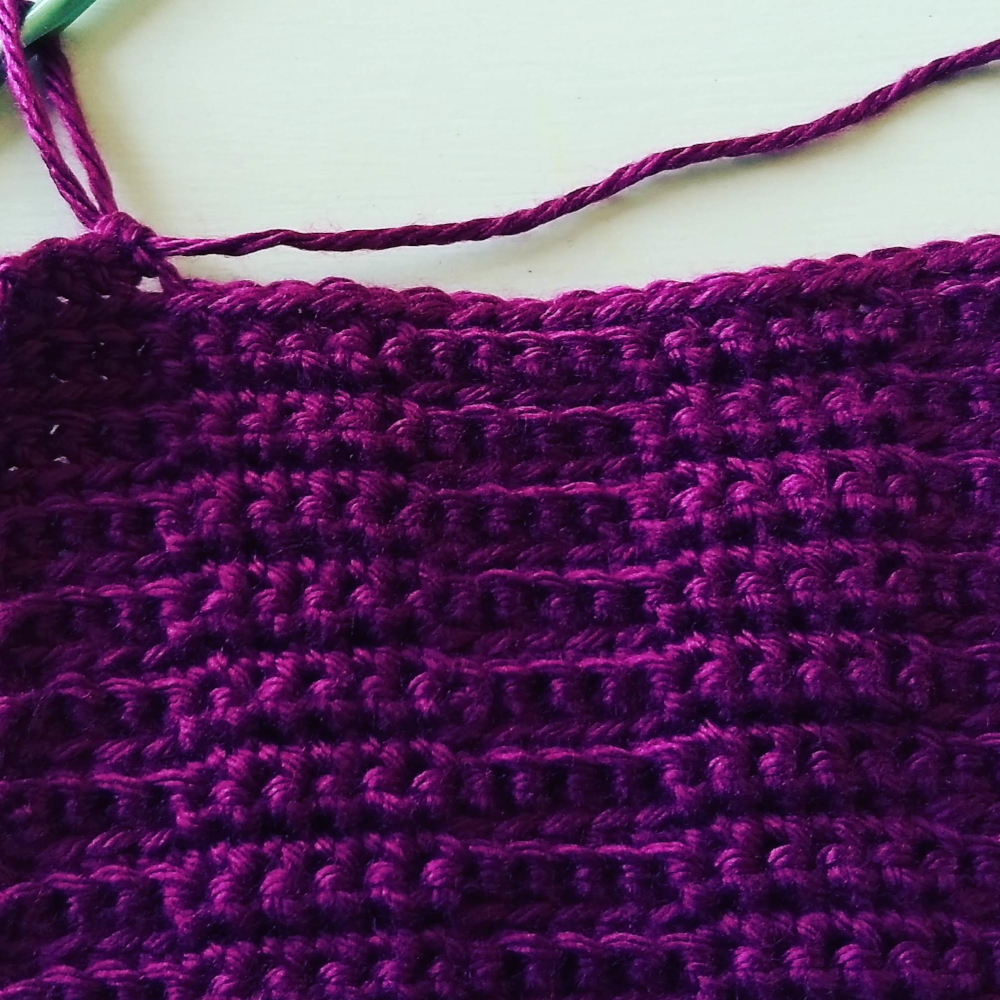
To make this square, you’ll work in groups of 5 stitches. I did 5 groups, but my square ended up a little small, so you might want to do 6 groups. If that’s too big, you could always make your edge groups one stitch bigger each. Play around to see how many stitches you need!
To work this pattern, we’ll do one row of regular sc across just to get started. Then each row will do 5 flo (front loop only), 5 blo (back loop only), and alternate back and forth. Then on the next row, whatever stitches were flo on the first row will be blo on the second row and vice versa. So, if I have 5 groups of 5 stitches (25 stitches total), my pattern will look like this –
- Row 1 – sc across
- Row 2 – 5flo, 5blo, 5flo, 5blo, 5flo
- Row 3 – 5blo, 5flo, 5blo, 5flo, 5blo
- Repeat rows 2 and 3 until measures 6″
If I had 6 groups of 5 stitches (30 stitches total), my pattern will look like this –
- Row 1 – sc across
- Row 2 – 5flo, 5blo, 5flo, 5blo, 5flo, 5blo
- Row 3 – Repeat row 2 until measures 6″ across
If I had 5 groups, but the outside groups had an extra stitch each, it would look like this –
- Row 1 – sc across
- Row 2 – 6flo, 5blo, 5flo, 5blo, 6flo
- Row 3 – 6blo, 5flo, 5blo, 5flo, 6blo
- Repeat rows 2 and 3 until measures 6″
I realize this is the first time I’ve made you think so much about your stitch counts, but it’s all good practice! And it makes a fun fabric, so it’s worth it, right? This pattern would be great fun as a cowl if you want to make it larger! I’d love to see it if you try it out!
Ready for your next project? Check out the free bonus Potholder Pattern. If you’ve mastered these first three lessons, then you’re ready for that project! If you’re looking for the next lesson, head on over to How to Half Double Crochet.
Don’t forget to Subscribe to the YouTube channel to get all the newest videos, and join the mailing list for updates. Happy Crocheting!