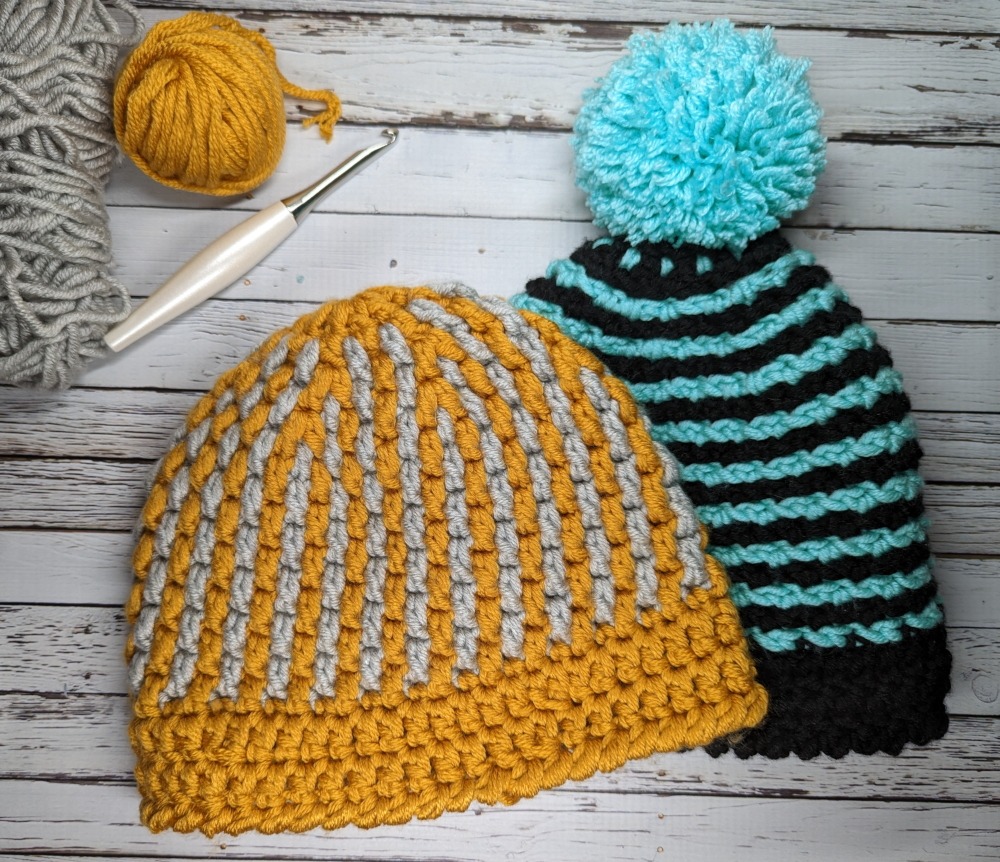
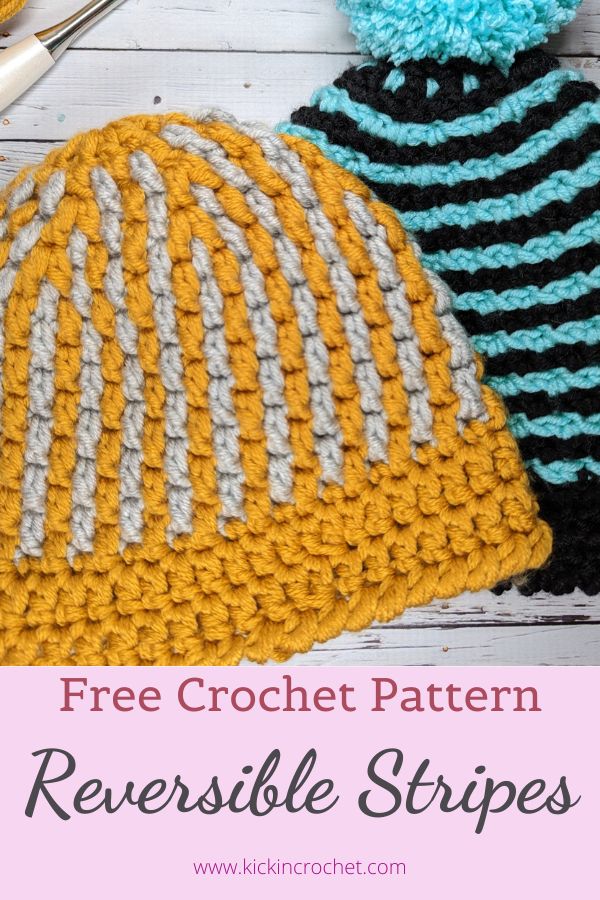
The Reversible Stripes Hat Crochet Pattern uses super bulky yarn and interlocking crochet to create a super quick reversible crochet hat. Add an optional pompom (attached to a button for reversibility) for a little extra flair! The pattern is available free on the blog for all sizes (toddler to adult extra large). Read below for all the details. I’ve also included a full video tutorial!
*Disclosure: Some of the links in this post are affiliate links, which means if you click on them and make a purchase I may, at no additional cost to you, earn a commission. Read full disclosure here.

As mentioned the Reversible Stripes Hat is completely free below, or you can purchase an ad-free PDF copy from Ravelry or Etsy! Sign up for my mailing list to get the latest news and exclusive discounts on new releases.
Supplies
- Uptown Super Bulky Yarn (100g/87y) or similar – one ball in each of two colors.
- Size M (8mm)crochet hook – I love these Odyssey hooks from Furls Crochet!
- 1/2″ to 3/4″ button (optional – for reversible pompom)
- pompom (optional)
- Yarn/Tapestry Needle for weaving in ends.
Stitch Abbreviations
- ch chain
- st(s) stitch(es)
- rsc reverse single crochet/crap stitch
- sc single crochet
- dc double crochet
- dc2tog double crochet 2 together
- fdc front double crochet
Pattern Notes
This hat is worked top down in joined rows with no turns. The main portion of the hat uses interlocking crochet to create the striped design. Then the hat is finished with rows of double crochet and crab stitch/reverse single crochet.
Stitch counts for different sizes are indicated in order from smallest to largest. If only one number is shown, all sizes have the same count.
You can find a full video tutorial for this hat below (note that the adult large size is shown, but I do mention different increase counts for the different sizes at various points in the video).
Notes on the pompom:
Since this hat is reversible, I used a detachable pompom. I attached a ½”-¾” button to the pompom so that I can take it off and then reattach to the other side of the hat. If you do not want to use a pompom, in step one, you can ch3 instead of 4 or use a magic ring for a tighter starting circle. If you want to use a larger button, feel free to add a stitch to the starting count. For a ½” button, you can get away with a ch3 instead of a ch4 to start.
Instruction video for how to make your own pompom with a Clover pompom maker. I used the largest size and had enough yarn left over for the pom even when making the adult XL hat size:
Sample pictures show adult large size
Special Stitches
Reverse Single Crochet (Crab Stitch):
insert hook in next st to the right, yo and pull up a loop, yo and pull through both loops on hook.
fdc (Front Double Crochet):
Working in front of the opposite color, dc in the same color stitch from the row below, ch1.
Increases – when increasing sts, the A color will work 2 sets of (dc, ch1) in one stitch. When you work the next B color row, the increase will come by making a dc across the chain that lies behind the A color increase. To do this, insert your hook between the two A color dc’s. Pull the B color ch through the gap to the front of the work, pull up a loop around the chain (being careful not to work around the A color chain as well), then complete the dc as normal. For help, please see the youtube video tutorial. From row 4 onward, you don’t even have to count stitches for B color rows – just make sure you increase in this manner every time you come to an A st increase from the row before.
YouTube Video Tutorial
Gauge/Sizing
11 sts & 11 rows in 4” (worked in interlocking stripes pattern, counting both colors – so counting across, it would include 6 dc of one color and 5 dc of the other, counting rows would be 6 rows with one color, 5 with the other).
Measurements are head circumference in inches:
Adult Extra Large: 25”
Adult large: 23”
Adult Small: 21”
Child: 19”
Toddler (1-2yr): 17”
How to Make The Reversible Stripes Hat

1- With A, ch4, join to form a ring
2- ch3 (counts as first dc), 11dc in ring, join. [12]
3a- ch4 (counts as dc+ch1), (dc, ch1) in each st around, join. Ch4 (counts as first fdc of next A row), pull up a loop so your work doesn’t unravel, and place working yarn to the front of your work. [12dc separated by ch1 spaces].
3b- Working in front of A color sts, join B color to the same st the first A color stitch used from row 2, just to the right of your first A color st from 3a, (dc, ch1) in every row 2 st around, join. Ch4 (counts as first fdc of next B row), pull up loop, and place working yarn to the front of the work [12dc separated by ch1 spaces – every stitch from row 2 should have 2 stitches worked into it, 1 st from each color]
4a- With A color, *2fdc in next st, fdc, repeat from * around, join. Ch4 (counts as first fdc of next A row), pull up loop, and place working yarn to the front of the work [18dc separated by ch1 spaces]
4b- With B color, fdc, *fdc over ch1 sp between A color dc’s (see note above), fdc 3, repeat from * around, ending with 1 fdc, join. Ch4 (counts as first fdc of next B row), pull up loop, and place working yarn to the front of the work [18dc separated by ch1 spaces]
5a- With A Color
Toddler: 2fdc in next st, fdc 8, 2fdc in next st, fdc 7, join. Ch4 (counts as first fdc of next A row), pull up loop, and place working yarn to the front of the work. [20dc separated by ch1 spaces]
Child: 2fdc in next st, fdc 3, 2fdc in next st, fdc 4, (2fdc in next st, fdc 3) twice, join. Ch4 (counts as first fdc of next A row), pull up loop, and place working yarn to the front of the work [22dc separated by ch1 spaces]
Adult Sizes: *2fdc in next st, fdc 2, repeat from * around, ending with 1 fdc, join. Ch4 (counts as first fdc of next A row), pull up loop, and place working yarn to the front of the work. [24dc separated by ch1 spaces]
5b- With B color
Toddler: fdc, fdc over ch1 sp, fdc 9, fdc over ch1 sp, fdc 8, join. Ch4 (counts as first fdc of next B row), pull up loop, and place working yarn to the front of the work. [20dc separated by ch1 spaces]
Child: fdc, fdc over ch1 sp, fdc 4, fdc over ch1 sp, fdc 5, fdc over ch1 sp, fdc 4, fdc over ch1 sp, fdc 3 join. Ch4 (counts as first fdc of next B row), pull up loop, and place working yarn to the front of the work. [22dc separated by ch1 spaces]
Adult Sizes: fdc, *fdc over ch1 sp, fdc 3, repeat from * around, ending with 1 fdc, join. Ch4 (counts as first fdc of next A row), pull up loop, and place working yarn to the front of the work. [24dc separated by ch1 spaces]
6a- With A Color
Toddler/Child/Adult Small: Skip This Row
Adult Large: 2fdc in next st, fdc11, 2fdc in next st, fdc 10, join. Ch4 (counts as first fdc of next A row), pull up loop, and place working yarn to the front of the work. [26dc separated by ch1 spaces]
Adult Extra Large: (2fdc in next st, fdc 5) three times, 2fdc in next st, fdc 4, join, Ch4 (counts as first fdc of next A row), pull up loop, and place working yarn to the front of the work. [28dc separated by ch1 spaces]
6b- With B Color
Toddler/Child/Adult Small: Skip This Row
Adult Large: fdc 1, fdc over ch1 sp, fdc 12, fdc over ch1 sp, fdc 10, join. Ch4 (counts as first fdc of next B row), pull up loop, and place working yarn to the front of the work. [26dc separated by ch1 spaces]
Adult Extra Large: fdc 1, (fdc over ch1 sp, fdc 6) 3 times, fdc over ch1 sp, fdc 4, join. Ch4 (counts as first fdc of next B row), pull up loop, and place working yarn to the front of the work. [28dc separated by ch1 spaces]
7a- All Sizes: With A color, fdc around, join. Ch4 (counts as first fdc of next A row), pull up loop, and place working yarn to the front of the work. [20, 22, 24, 26, 28 dc separated by ch1 spaces]
7b- All Sizes: With B color, fdc around, join. Ch4 (counts as first fdc of next B row), pull up loop, and place working yarn to the front of the work. [20, 22, 24, 26, 28 dc separated by ch1 spaces]
8- Repeat 7a-7b [0, 1, 2, 3, 4] times or until hat measures approximately 2” less than desired final length. On last A color row, ch3 instead of ch4 to prepare for next row. On last B color row, tie off B color instead of making a ch4 to prepare for the next row.
9- With A color, sc in each B color st and dc in each A color st around, join. [40, 44, 48, 52, 56 sts]
10- ch3 (counts as first dc), dc 7 (8, 9, 10, 11), dc2tog, *dc 8 (9, 10, 11, 12), dc2tog, repeat from * twice more, join. [36, 40, 44, 48, 52 sts]
11- Child/Toddler: ch3 (counts as first dc), dc 15, dc2tog, dc 16, dc2tog, join. [34, 38 sts]
Adult Small/Large/Extra Large: ch3 (counts as first dc), dc 8 (9, 10), dc2tog, *dc 9 (10, 11, 12), dc2tog, repeat from * twice more, join. [40, 44, 48 sts]
12- ch1, rsc around, join. [34, 38, 40, 44, 48 sts]13. Bind off, weave in ends. If desired, attach pompom.

If you like this pattern, you may also like the Cobblestone Scarf or the Seaside Hat
This pattern and all associated images are copyrighted. If you would like to use this pattern in a roundup blog post, you may use 1 image and link to this blog post. You may not copy the pattern instructions. Thank you for supporting Kickin Crochet!
