
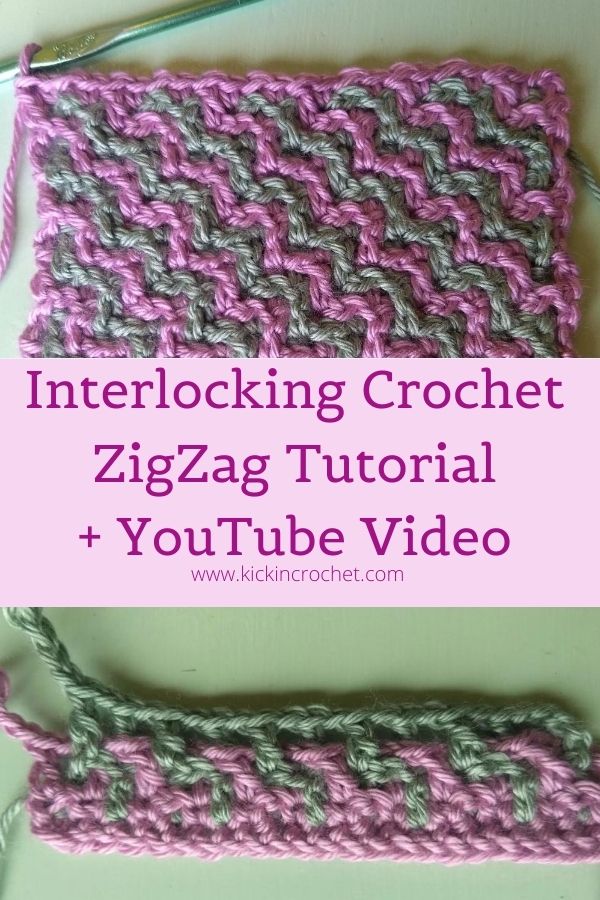
Interlocking crochet, also known as intermeshing crochet or double filet crochet, is a unique colorwork technique where both colors are worked simultaneously in a way that weaves the colors together as you go. This technique can be used to make many fun, interesting patterns. Today I’m going to show you the basic technique and how to make a beginner design – the Interlocking Crochet ZigZag!
*Disclosure: Some of the links in this post are affiliate links, which means if you click on them and make a purchase I may, at no additional cost to you, earn a commission. Read full disclosure here.
Supplies
If you’re following along in the Learn to crochet series and you plan on joining your sample squares together at the end of the project, I recommend using the same yarns throughout. You’re welcome to use whatever you’d like, but here’s what I used:
- Worsted weight yarn – I used Caron Simply Soft
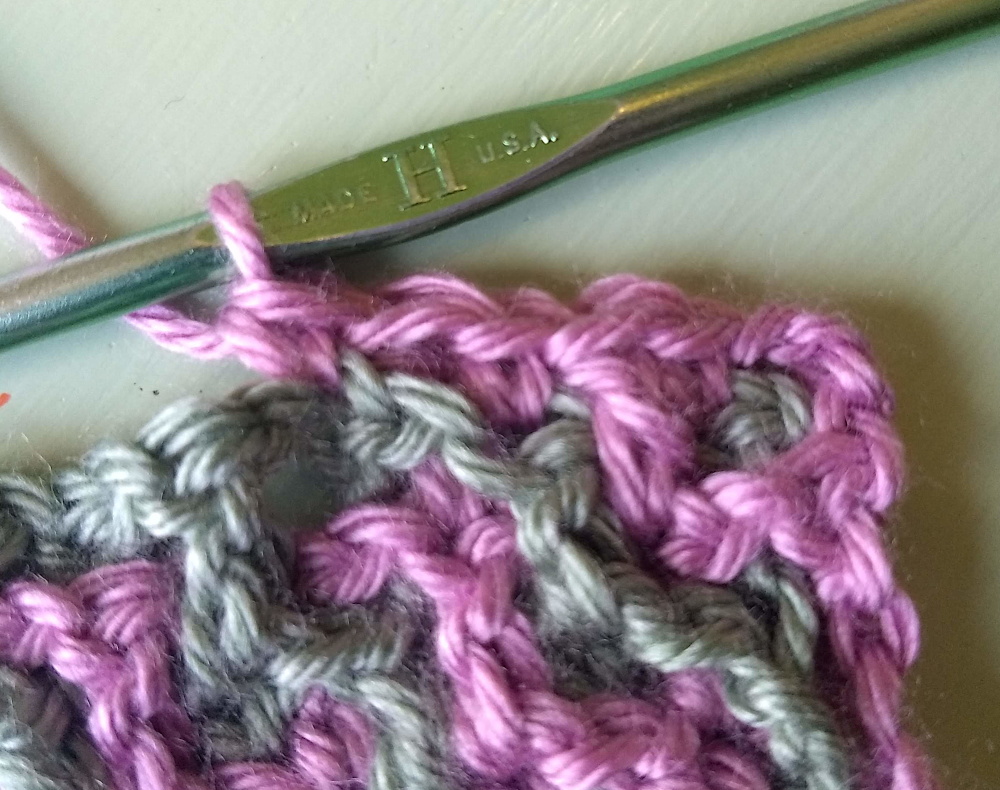
- Size H crochet hook – I love these Odyssey hooks from Furls Crochet!
- Yarn/Tapestry Needle for weaving in ends.
Interlocking Crochet Zigzag Video Tutorial
Interlocking Crochet – The Basics
Intermeshing crochet can seem really daunting at first and can be confusing until you’re used to the technique. Once you’ve had a little practice, though, you’ll find that it’s actually quite simple! The interlocking pattern only uses double crochet and chain stitches, but you can make a limitless number of designs!
There are two types of double crochet used to make intermeshing crochet designs, the front double crochet (f-dc) and the back double crochet (b-dc). A front dc simply means that you’ll work from in front of the contrasting color yarn, and a back dc means that you’ll work from behind the contrasting color yarn. This will make more sense as we get going!
The Foundation/Set Up Row
There are a few different ways to start an interlocking crochet project. I’m going to show you the technique I prefer to use, which I use in the Cobblestone Scarf and the ZigZag Cowl (pattern coming soon!). However, if you are planning on making squares that you intend to join into a blanket like granny squares, a different starting technique will give you a more uniform square look. I’ll provide a tutorial for that starting technique another time, but for now, let’s stick to one option.
You can easily start doing intermeshing stitches mid-project with this starting technique, which is why I prefer it. I like to be able to start with a cuff or ribbing before jumping into the geometric wonder that is interlocking crochet.
To make a foundation row for interlocking, you’re going to start with a row of stitches to work into – this could be a chain, a foundation chain, ribbing, etc, whatever you want, just so long as the stitch count is an odd number! When you’re ready to start the intermeshing pattern, with your main color, you’re going to start the row with a ch2 (counts as sc and ch1), skip a stitch, *sc, ch1, sk, and repeat across, ending with an sc. This is just like the start for the moss stitch! Finish the row by doing a ch4 and pulling up a long loop.
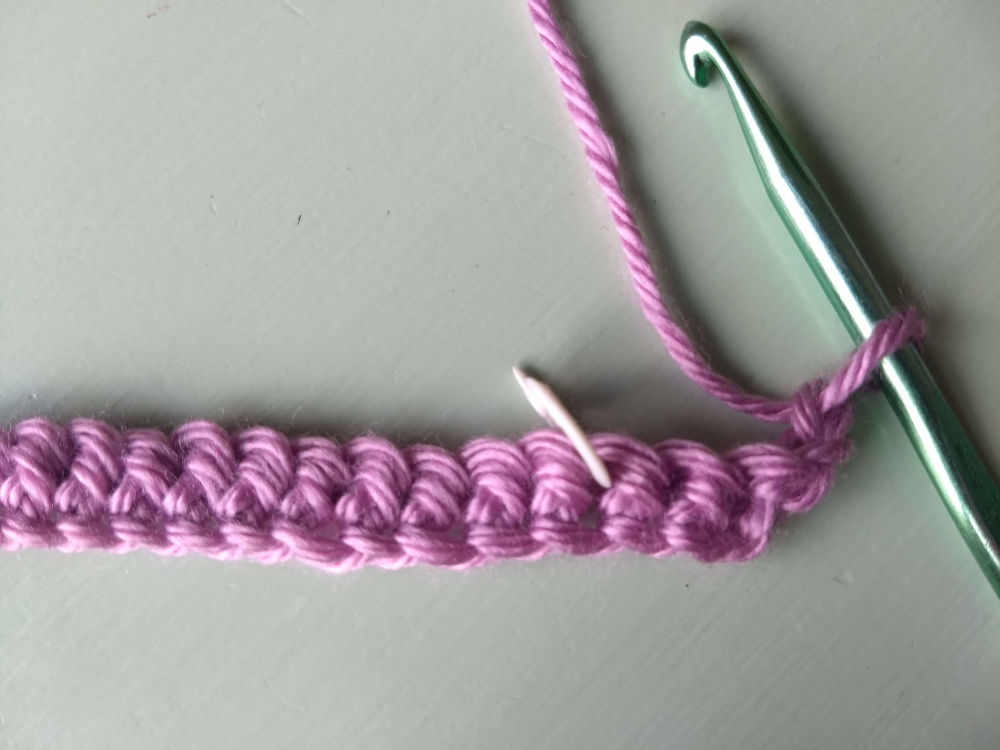
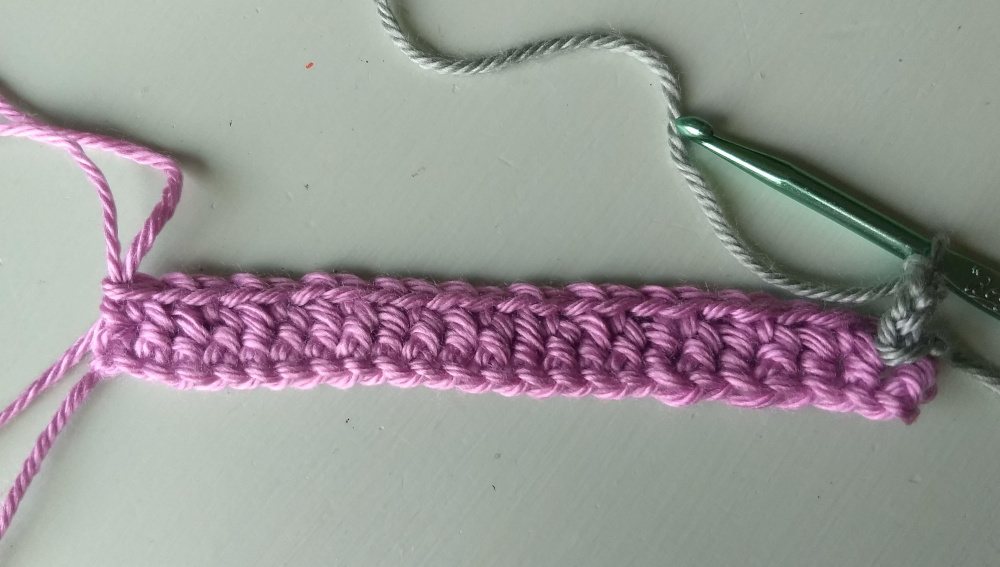
You should now have a foundation row of single crochets separated by ch1-spaces in your main color.
Now it’s time to add your contrast color. Do not turn your work around yet! For intermeshing crochet, each row will have an A and B portion. A is worked with main color, and B is worked with contrasting color. You have to work both the A and B portion before turning the work!
Adding Contrasting Color
When you add your contrasting color, it’s important to know whether you need to add it from the front or from the back. If you’re adding it from the front, the ch1 of the main color will be behind your contrasting color (contrast color in front). If you’re adding it from the back, the ch1 of the main color will be in front of your contrasting color (contrast color in back). In this example, we’re adding contrasting color from the front.
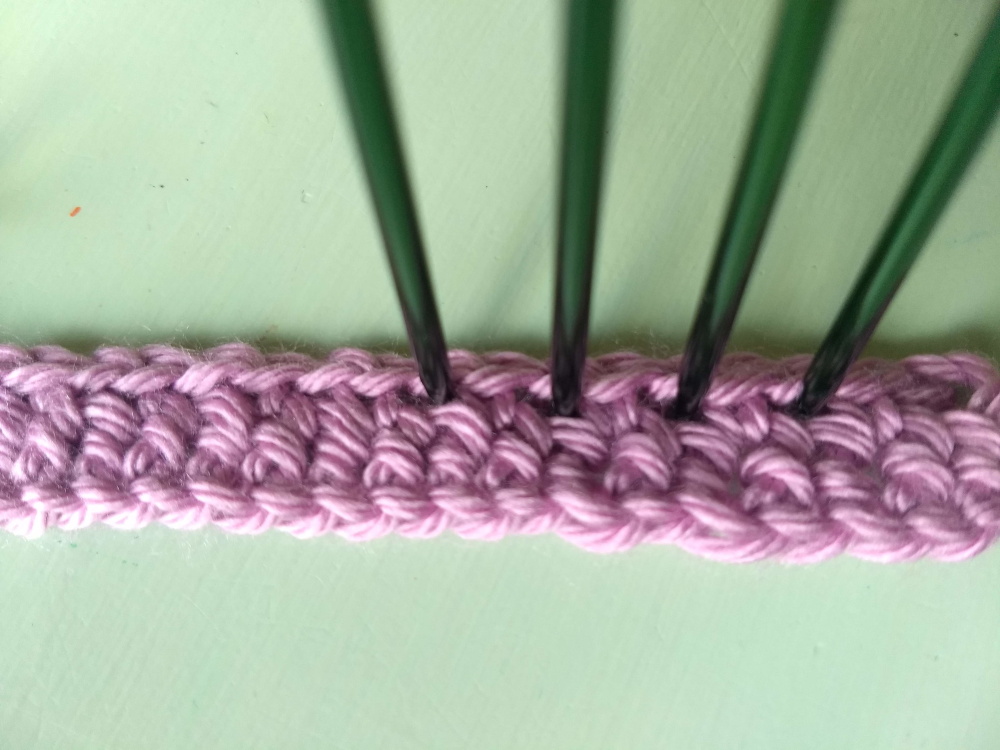
Remeber those stitches we skipped when we made the foundation row of the main color? Those are the stitches we’re going to work into with contrast color! There will always be one fewer stitch of contrasting color than there is of main color because of the odd number of stitches.
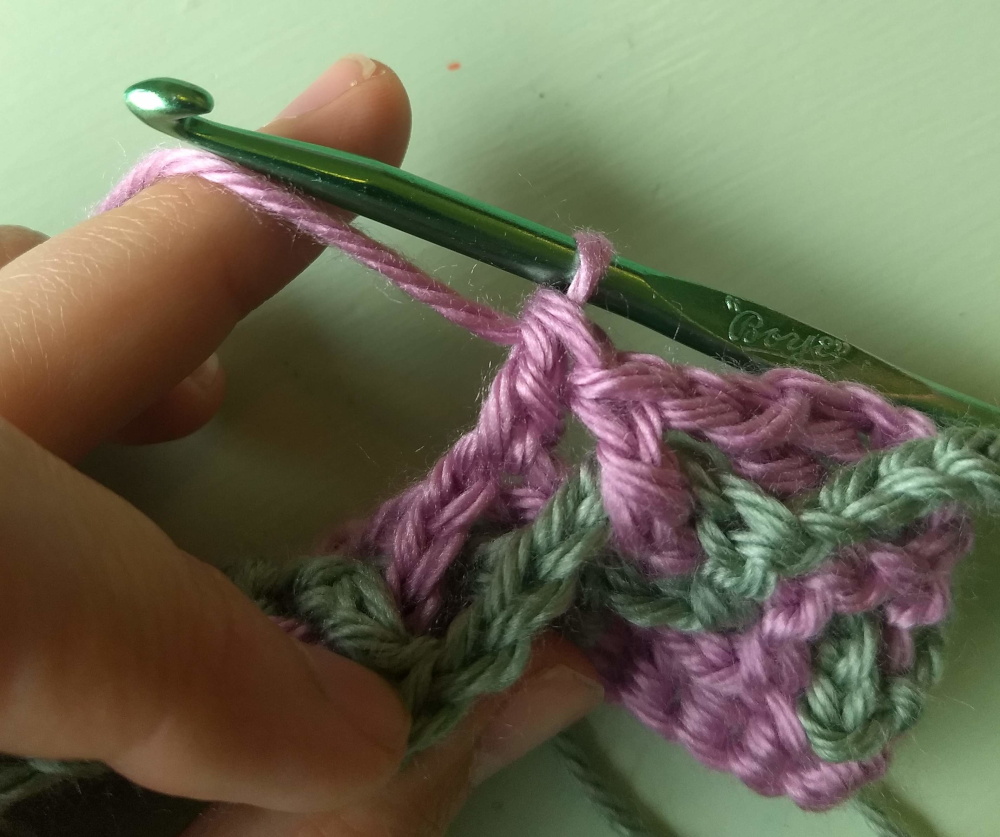
Join contrast color to the first skipped sc from the previous row, making sure to keep the main color foundation row behind your work. Ch4 (counts as dc and ch1).
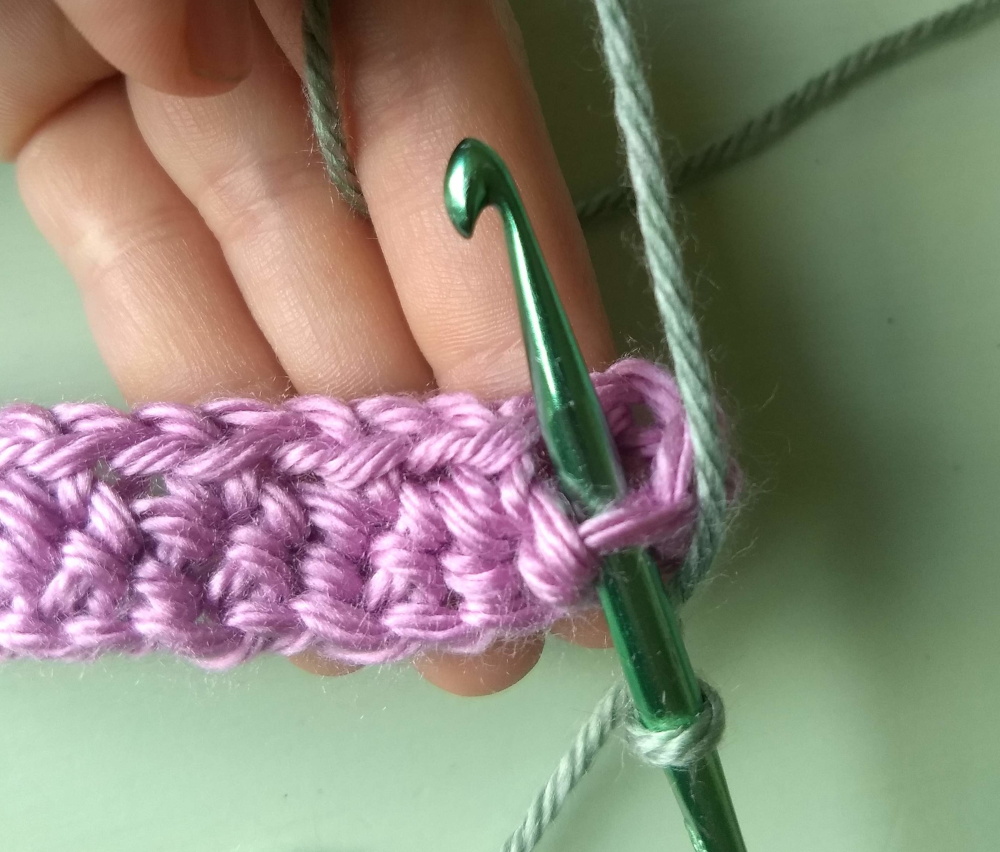
For this sample we’re going to alternate b-dc and f-dc stitches. Since we joined our color to the front, we’ll make our next stitch a b-dc.
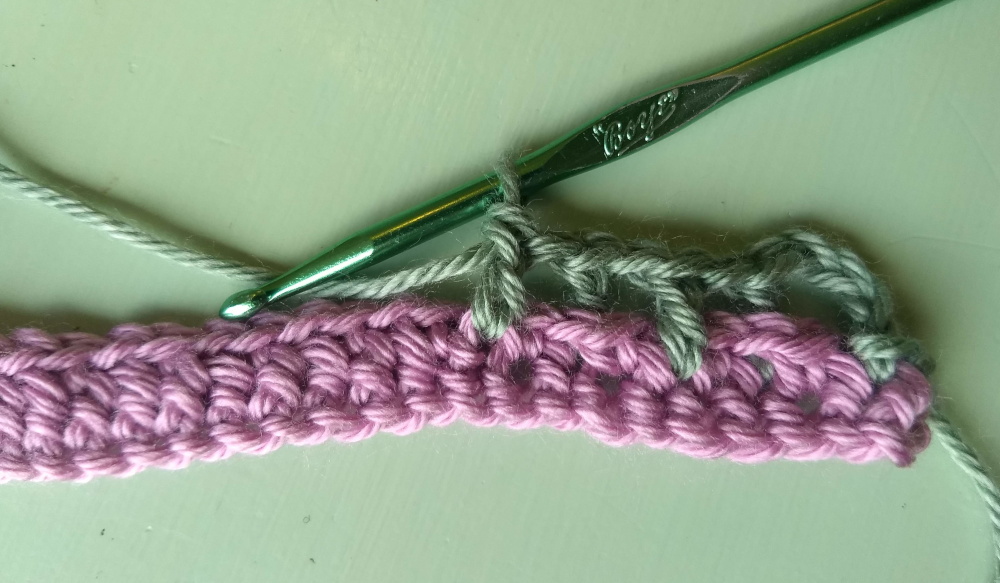
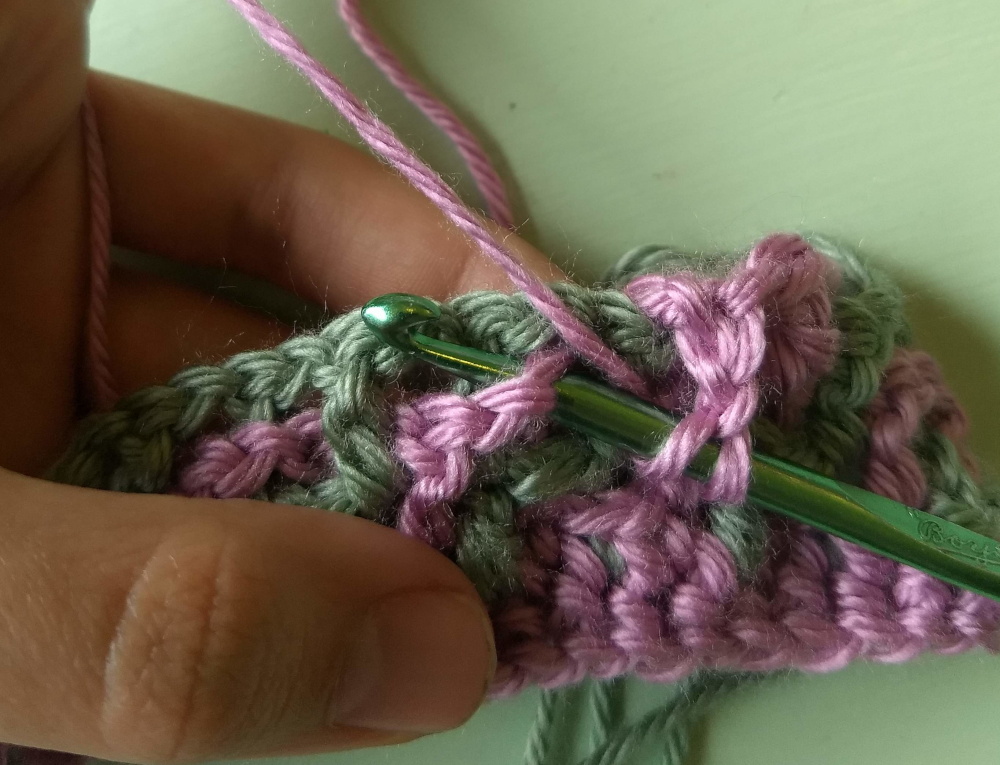
Working a Back Double Crochet (b-dc)
To make a b-dc stitch, push the ch1 of the other color row forward and make a dc in the next skipped sc of the previous row (for all rows after the first row, you will work into a same-color dc from the previous row, but the principle is the same), ch-1. Interlocking crochet is always done as a series of double crochets and ch1 spaces.
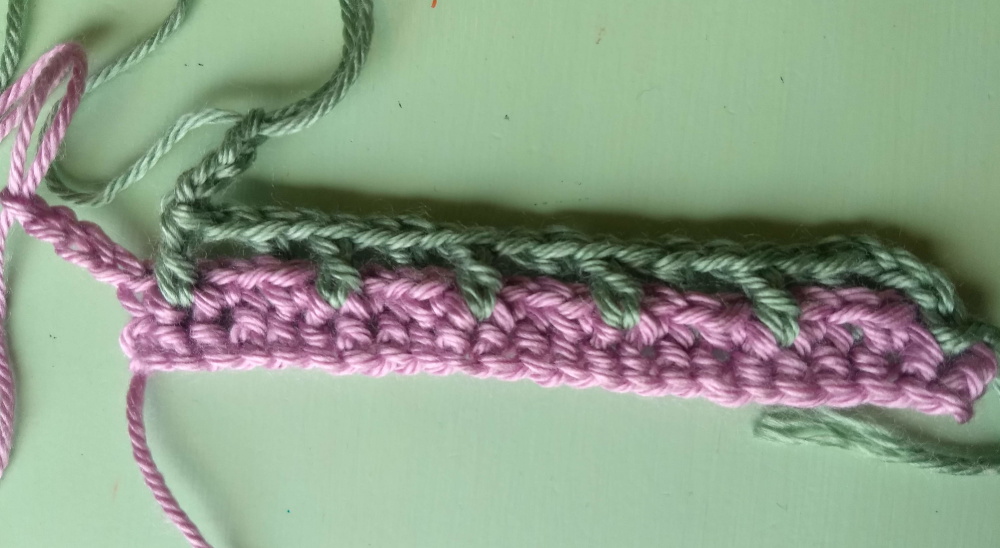
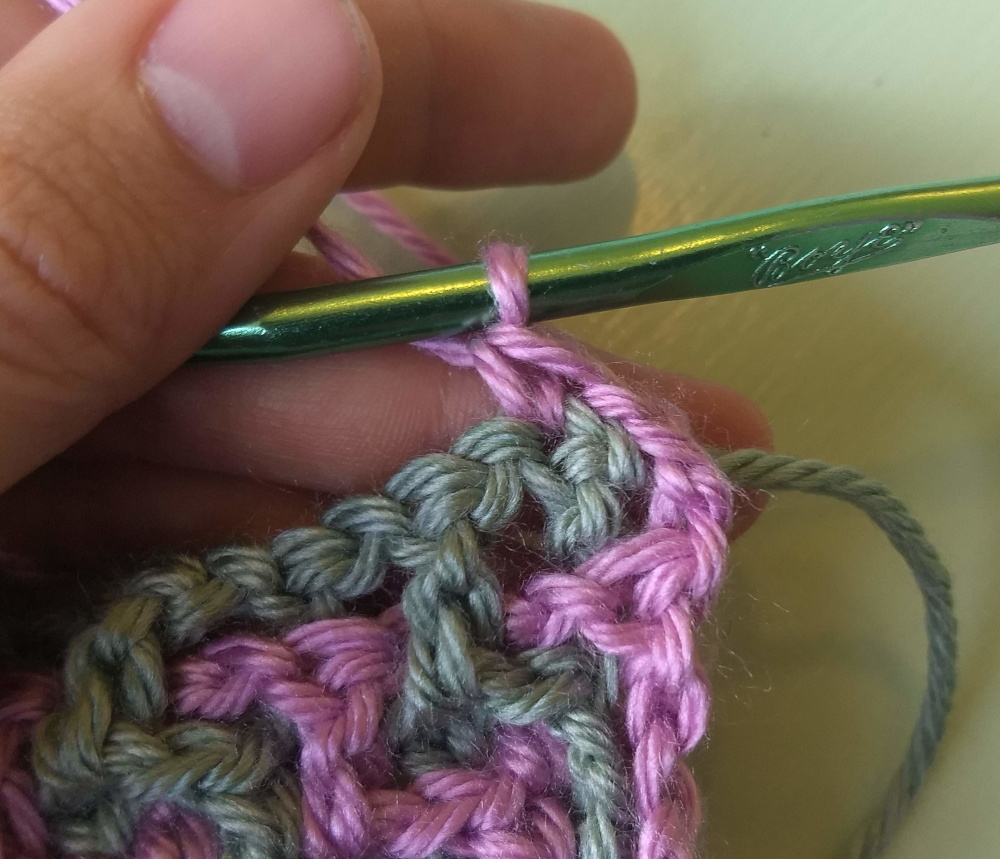
Working a Front Double Crochet (f-dc)
To make a f-dc stitch, keep the ch1 space of the other color row behind your hook. Make a dc in the next skipped sc of the previous row, ch1 (again, for all rows after the first row, you will work into the same-color dc of the previous row)
Keep alternating f-dc and b-dc until you get to the end of the row (or do whatever combo of f-dc and b-dc you want while you practice. Experiment!). Just like for the A row, finish by making a ch4 and pulling up a long loop.
Working More Rows
Now that you’ve worked an A and B for the first row, it’s time to turn the work around.
You’re going to work with the main color (pink, in this example) first, so go ahead and insert your hook in that loop and snug up the yarn. Before you start, however, there is one important thing to know! It is very important that you know whether to have the tail of the contrasting color yarn starting in front of the work or in back of the work. Your pattern should tell you which way it should be.
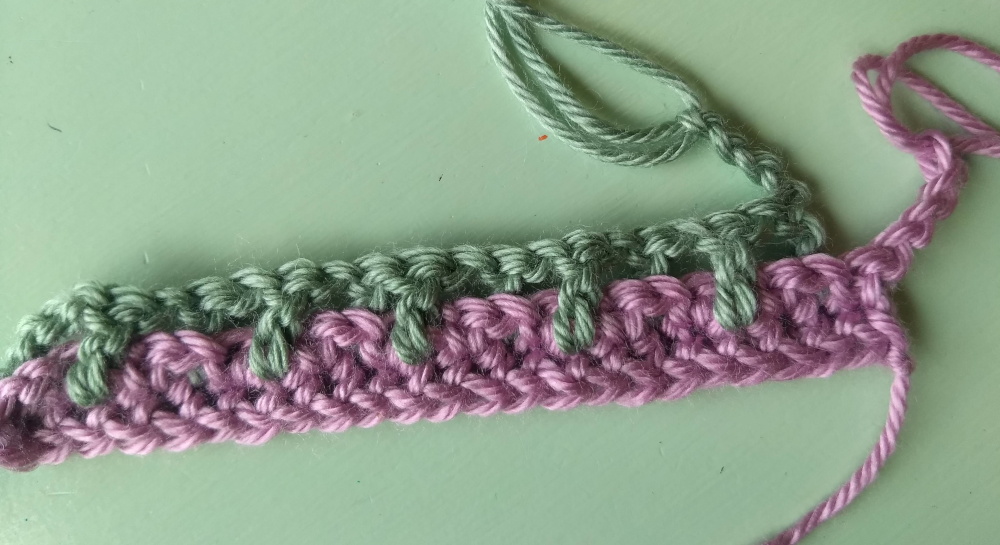
For my sample, I’m going to have the contrast tail in front of the work to start. Now I’ll work alternating f-dc and b-dc stitches with my main color. Now that the foundation row is done, my main color will only ever work into main color dc’s of the previous row, and my contrast color will only ever work into contrast color dc’s of the previous row. The two colors after never actually crocheted together except for the starting row and the finishing row!
Don’t turn at the end of the A row, because we still need to work the contrast color B row. Again, we’ll alternate b-dc and f-dc stitches (or whatever you want to do for practice)
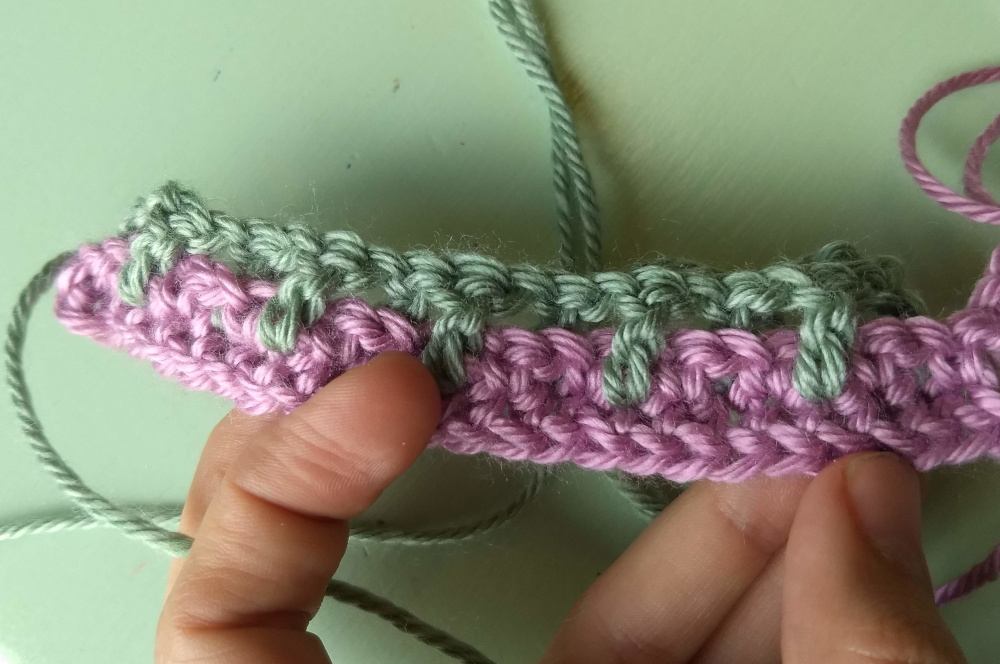
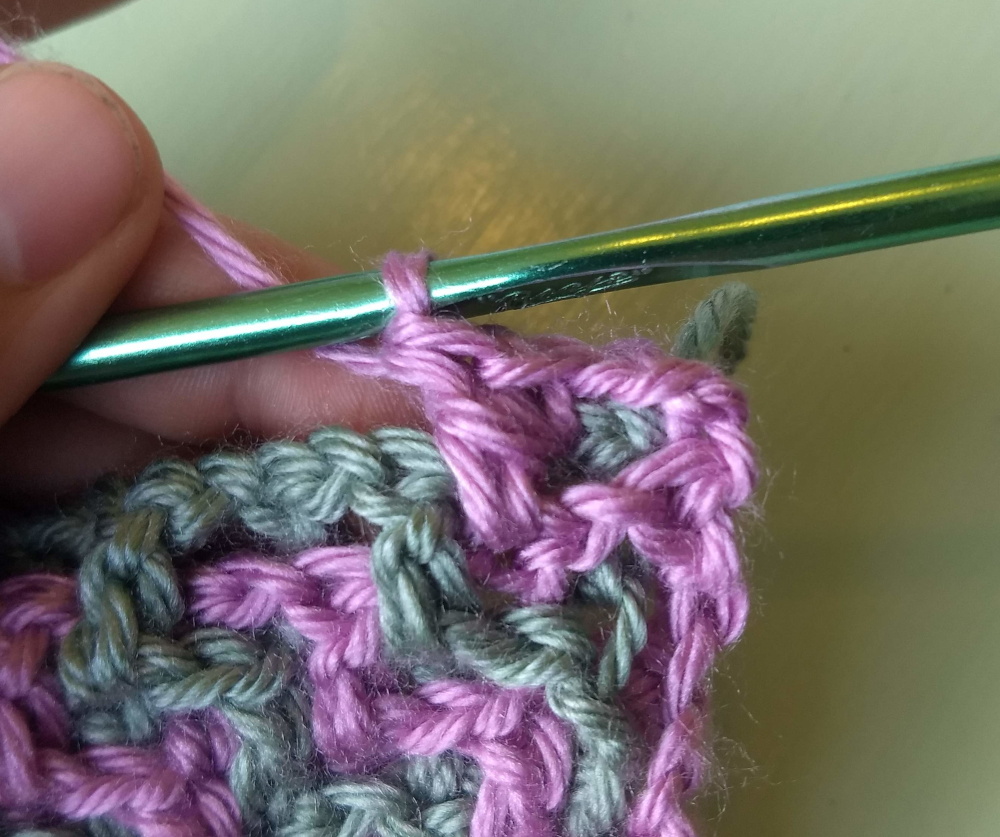
I just want to add an extra note and a few closeup shots – make sure you don’t skip stitches (including the turn chain for the contrast color at the end of each row), and make sure not to accidentally pick up loops in the wrong color!
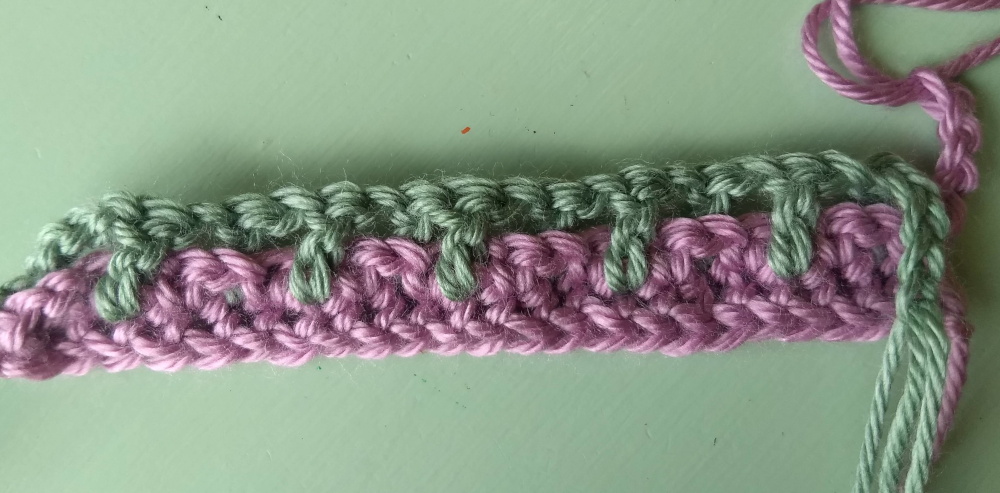
Making the Finishing Row/Re-joining
When you’re done with the intermeshing portion, you’ll probably want to join the tops of the two colors back together so you don’t have flapping edges. To do this, tie off your contrast color. With main color, ch3 (counts as first dc), sc in next contrast color st, dc (either f-dc or b-dc, following your pattern, but without the ch1 after the dc) in next main color stitch, repeat across, finishing with dc in the last main color stitch.

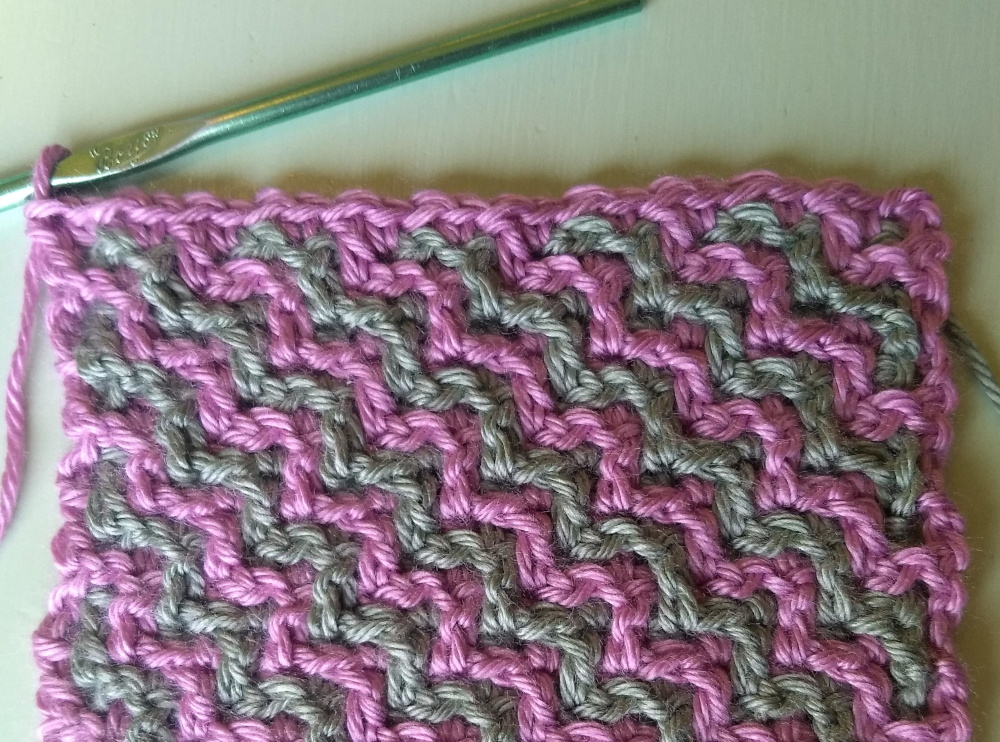
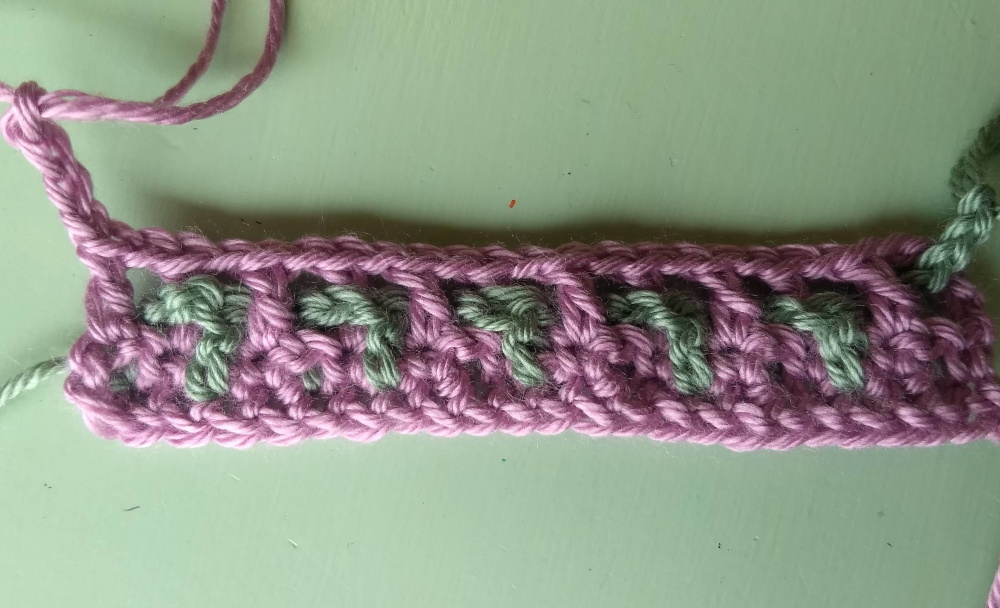
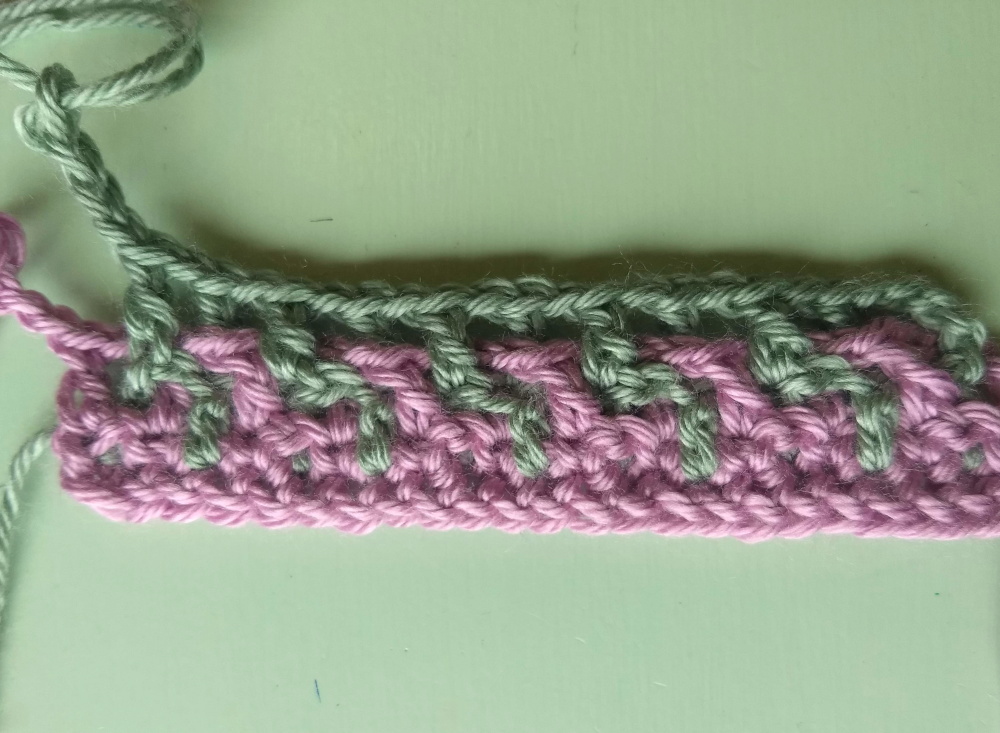
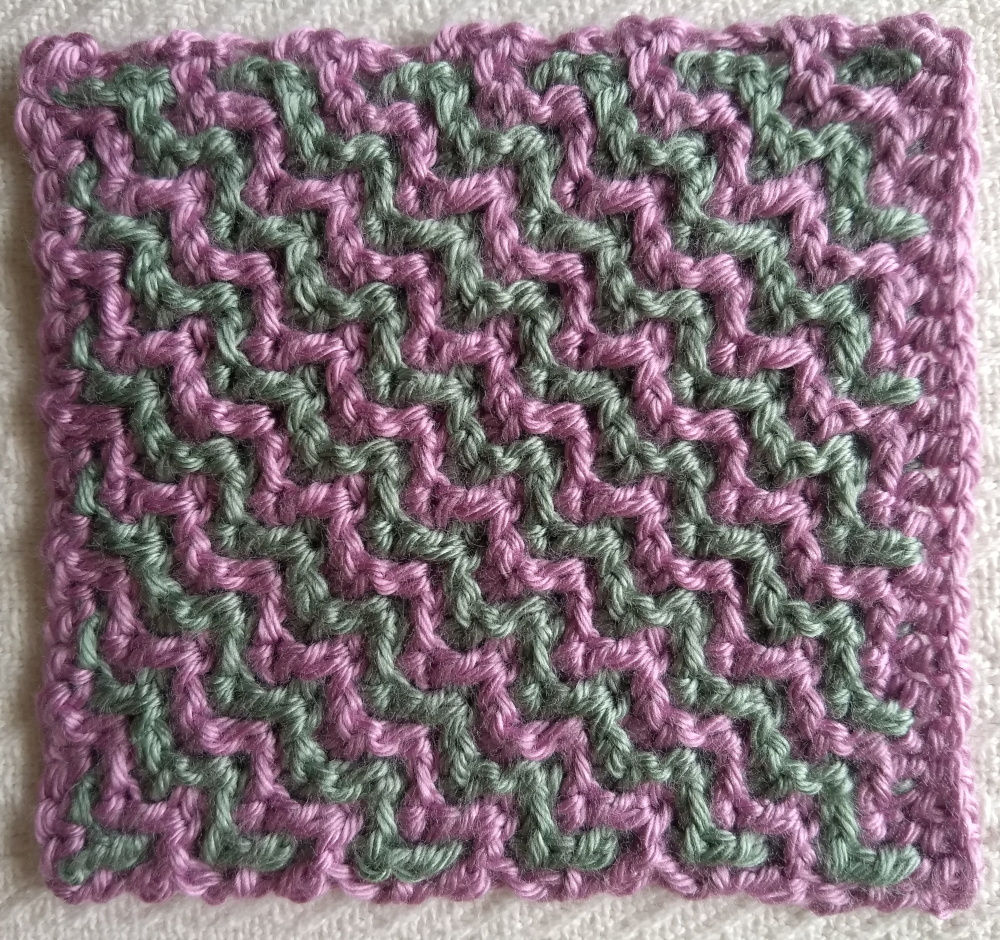
The Interlocking Crochet ZigZag Square
An Interlocking Crochet ZigZag pattern is formed when you alternate f-dc and b-dc from one row to the next. You can make a zigzag with any odd numbered interlocking crochet pattern, but if you have a multiple of 4 plus 1 it will be a little different from a multiple of 4 plus 3. Here’s how I made this sample square.
- 0 – With MC (main color) foundation single crochet 23 (or ch23)
- 1a – ch2 (counts as sc and ch1), sk st, sc, *ch1, sk st, sc, repeat from * across. ch4, pull up loop, do not turn
- 1b – From the front, join CC (contrast color) to first skipped sc. *Ch1, sc in next skipped sc, repeat from * across. ch4, pull up loop, turn
- 2a – Pick up MC. With CC tail in front of work, f-dc, b-dc, repeat from * across Ch4, pull up loop, do not turn (make sure you did a ch1 between each dc for the b-dc and f-dc’s)
- 2b – Pick up CC. b-dc, f-dc, repeat across. ch4, pull up loop, turn.
- 3a – Pick up MC. With CC tail in front of work, b-dc, f-dc, repeat from * across Ch4, pull up loop, do not turn
- 3b – Pick up CC. b-dc, f-dc, repeat across. ch4, pull up loop, turn.
- 4 – Repeat rows 2 and 3 four more times, leaving off the turn chains for the last repeat. Tie off CC.
- 5 – With MC, ch3, sc in CC st, f-dc in MC st, sc in CC, b-dc in MC. Repeat across, ending with dc in turn chain.
Your work is absolutely amazing. I have never come across such beautiful patterns in all my days searching the internet for patterns. I cannot thank you enough for your generous sharing of your patterns
Thank you so much!
Teressa
Thank you so much! I’m so glad you’re enjoying them. 🙂