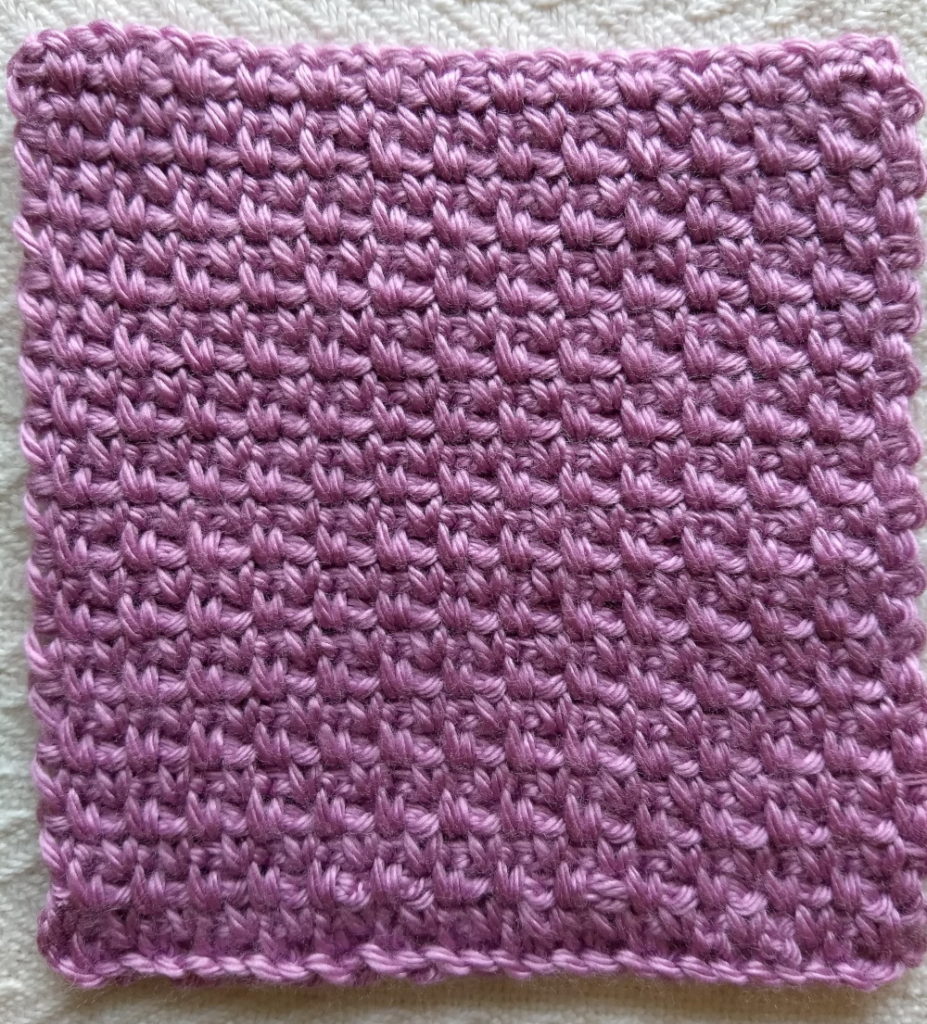
The moss stitch has been has become quite fashionable the past few years – dare I say trendy – but for good reason! This stitch is quick and easy, but looks gorgeous and has great texture. Today I’m going to teach you how to do the ever-popular moss stitch, including a video walkthrough tutorial. The moss stitch is also sometimes called the seed stitch, linen stitch, or granite stitch, though I most often see it written as moss stitch.
*Disclosure: Some of the links in this post are affiliate links, which means if you click on them and make a purchase I may, at no additional cost to you, earn a commission. Read full disclosure here.

Supplies
If you’re following along in the Learn to crochet series and you plan on joining your sample squares together at the end of the project, I recommend using the same yarns throughout. You’re welcome to use whatever you’d like, but here’s what I used:
- Worsted weight yarn of your choice – I used Caron Simply Soft
- Size H crochet hook – I love these Odyssey hooks from Furls Crochet!
- Yarn/Tapestry Needle for weaving in ends.
Moss Stitch Video Tutorial
How to Crochet the Moss Stitch
Moss stitch is one of those stitches that is surprisingly simple. All you need is chains and single crochets! To get started, you will make a chain of even numbered stitches. The length of your chain depends on your desired width of the project, so that’s up to you, just make sure that it is an even number.
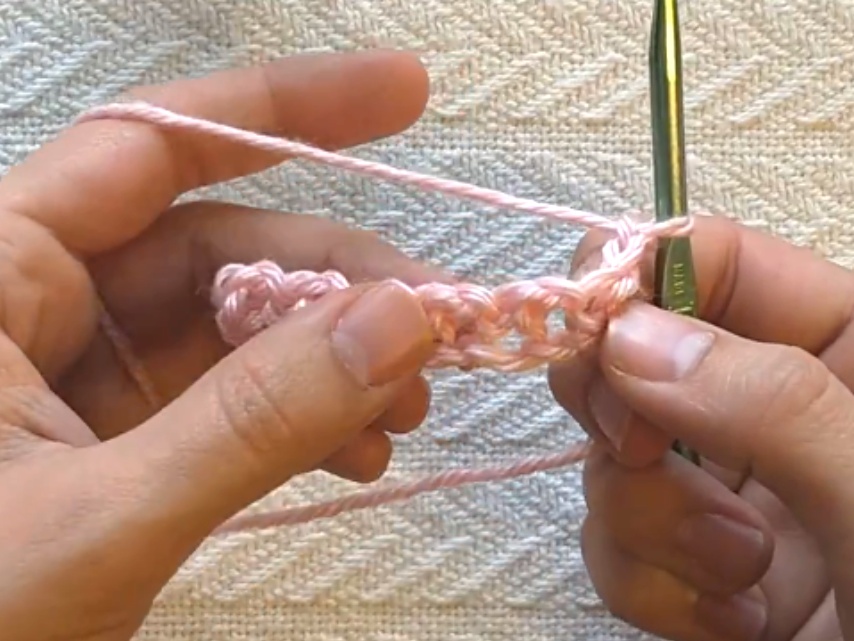
Make a single crochet in the 4th chain from the hook. Now *ch1, skip the next st, sc. Repeat from *, ending with a single crochet in the last stitch of the chain. This is your setup row for the moss stitch. You’ll notice that you have a series of single crochets with ch-1 spaces in between each stitch. On a pattern, this may be written as ch1 sp, or just sp for space.

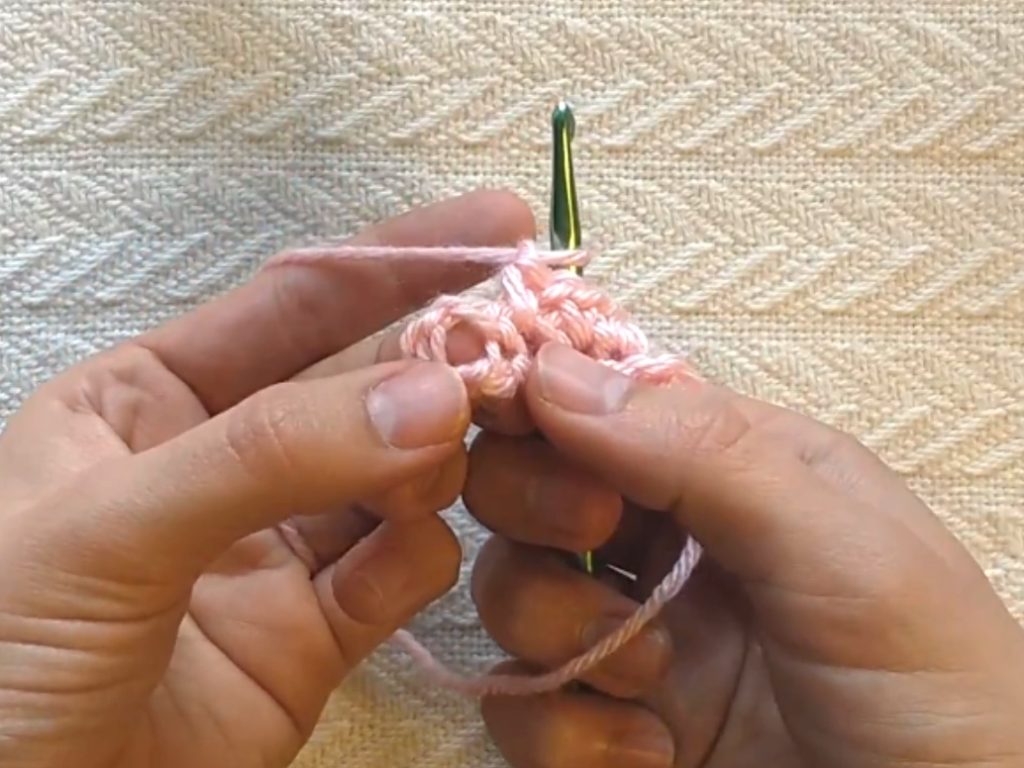
Ch2, turn, skip the sc on the row before, and sc into the ch-1 space you made instead, *ch1, sc into next ch-1 space. Repeat from *, ending with a crochet in the last ch-1 space (which is the turn chain from the previous row).

Repeat this row as many times as you need to to get to your desired length! If you’ve been following along with the blanket squares, here are the instructions for my 6-inch square:
- ch30
- sc in 4th ch from hook, *ch1, sk next ch, sc, repeat from * across
- ch2, turn, sc in ch1 sp, *ch1, sc in ch1 sp, repeat from * across
- repeat row 3 25 more times (27 rows total)

That’s it – now you know how to crochet moss stitch! Have fun practicing this one. Like I said, it’s deceptively simple. It also makes a fairly dense fabric, so it’s good for garments and things like that. I’d love to see what you make out of it!
Did you miss the last tutorial? Learn how to do back post crochet stitches!
