
If you’re like me, you like to buy all the pretty yarns – the hand-painted, the local yarn store goodies, and hanks and skeins you can purchase online. If you’re also like me, then you hate to wind yarn by hand, and you know you can’t use it straight from the hank without a big, big mess. Enter the yarn swift and ball winder! Today I’m going to walk you through how to use an Amish-style yarn swift and a basic ball winder. This is the setup I use at home. It’ simple, easy, relatively inexpensive, and doesn’t take up a lot of room in my house. Perfect!
*Disclosure: Some of the links in this post are affiliate links, which means if you click on them and make a purchase I may, at no additional cost to you, earn a commission. Read full disclosure here.

What You’ll Need
Here are the supplies you’ll need for this project:
A hank of yarn, whatever kind you want.
An amish-style yarn swift. Mine is from Stanwood Needlecraft, and I ordered it off of Amazon.
A ball winder. Mine is from knit picks, and so far it’s worked well for me.
A table or counter to set up on that you can attach the ball winder to.
If you want to skip to the video tutorial, click here! If you don’t have a yarn swift and want to know how to manually wind a ball of yarn, check out this tutorial on how to make a center-pull ball of yarn!
How to Set Up the Amish Style Yarn Swift
An Amish-style yarn swift is made entirely of wood, which I looooove. There’s just something about wood that makes me feel good, like it connects me with the earth or grounds me or some other such nonsense, I don’t know. Anyway, it’s made of wood. So first, take out all the pieces. You should have two pieces for the stand, two long wooden arms, four long pegs, and one short peg.
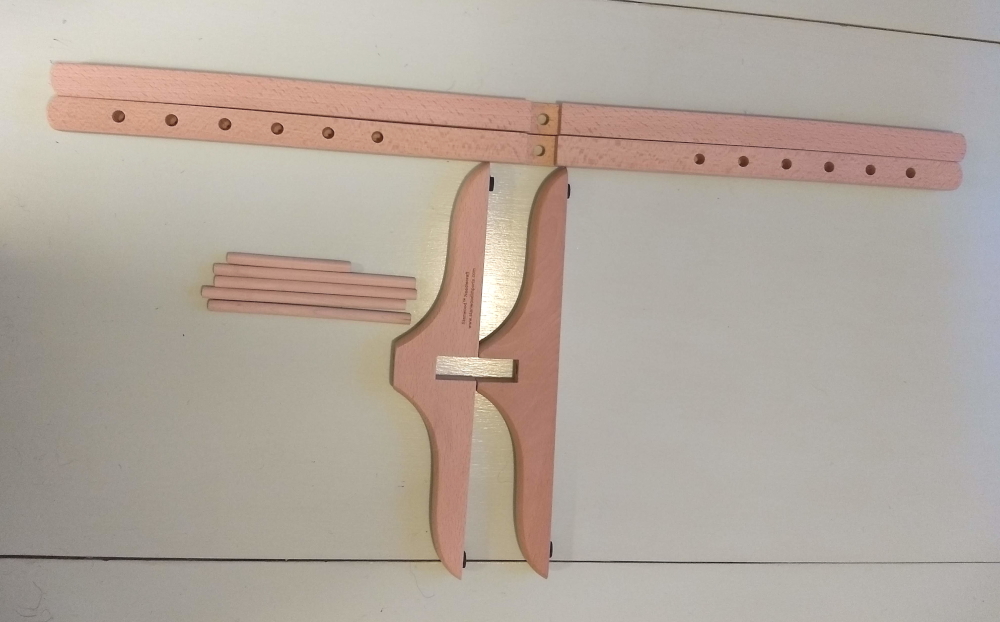
First, take the two base pieces and slot them together to make an X or plus.

Next, find the one shorter dowel and put it into the hole in the base.
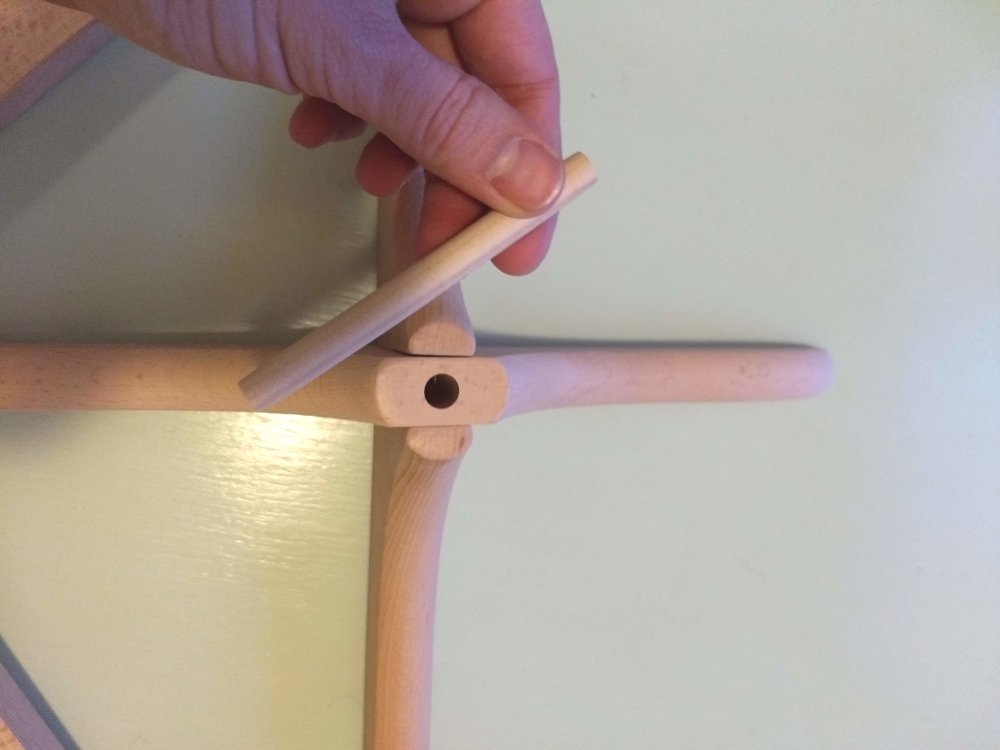
Take the two long arm pieces and slot them together in the middle, forming another cross. Place the hole in the middle over the dowel sticking out of the base. Make sure that the holes on the ends of the arms are pointing up, not down.


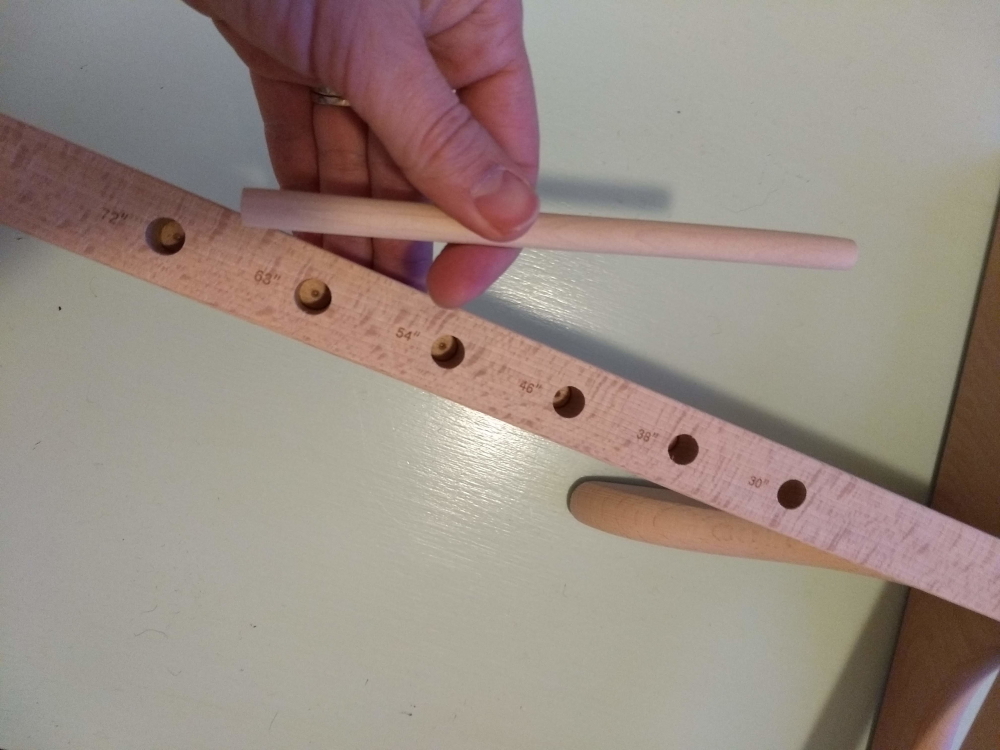
Insert one of the four long dowels into a hole on each arm. You will adjust these depending on how large your hank of yarn is, so don’t worry too much about where they are now.

Ta-da! Your yarn swift is set up and ready to go! Next up, preparing the yarn and ball winder!
How to Set Up The Ball Winder
My ball winder is from Knit Picks, and it is pretty easy to use, but takes a little bit of practice. First, take the ball winder out of the box.

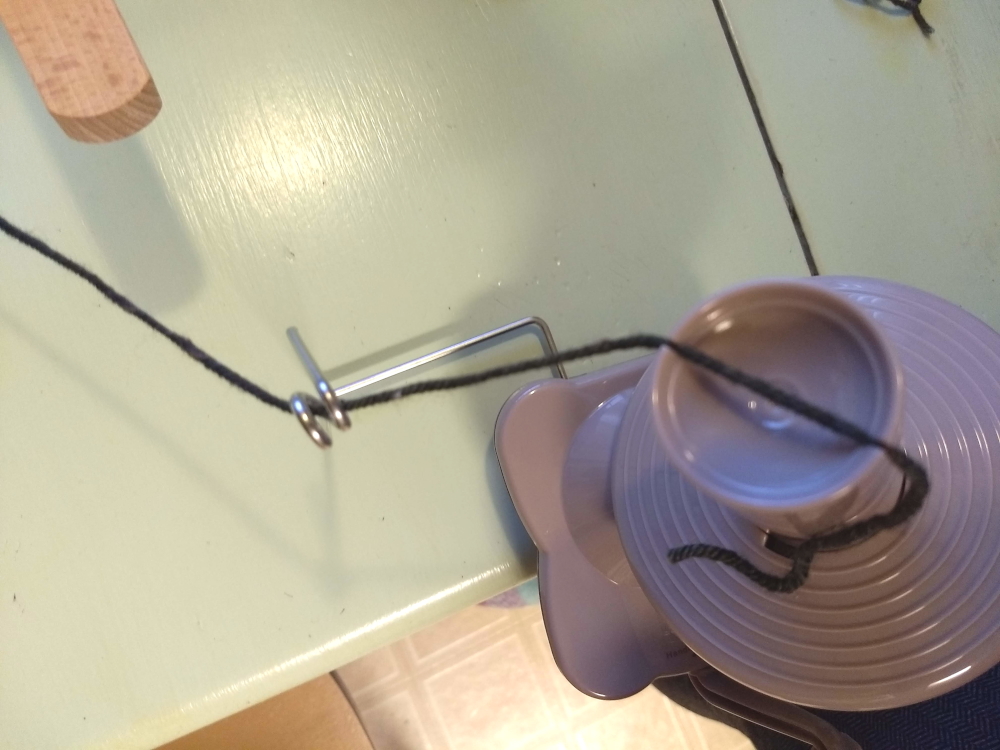
Insert the cylinder into the top and turn it to lock it into place. Unscrew the screw on the bottom of the ball winder far enough to allow the clamp to fit over the edge of your table. Make sure it’s as far onto the table as it can go, then tighten the clamp to secure the ball winder. Extend the little silver arm, which will guide the yarn. That’s it!

How to Load Yarn on the Amish Yarn Swift
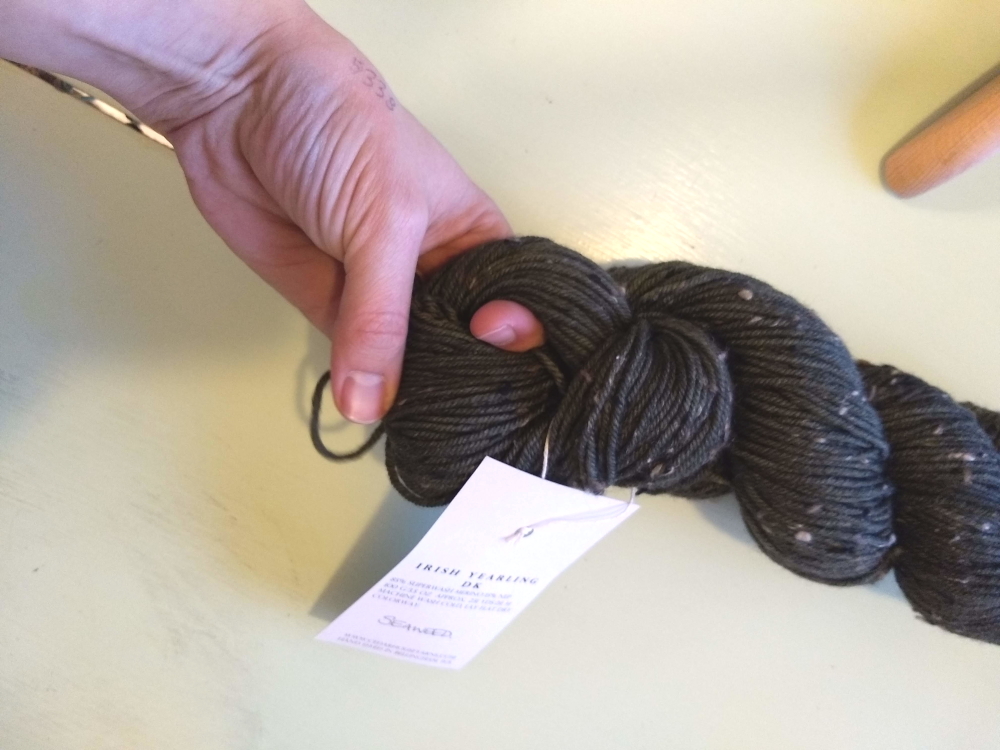
First, you have to unfold the yarn. These hanks are big loops of yarn that are twisted up, then one end of the twisted yarn is tucked through the other end. To unfold it, insert a finger through the end loop and pull out the other end.
Once you’ve untwisted the yarn, lay it around the pegs of the yarn swift. You may need to adjust the placement of the pegs. You want the yarn to be pretty tight, but you don’t want it to be so tight that it’s pulling on the pegs. If you need to, you can have two of the pegs be closer than the other two. To keep the yarn swift balanced, just make sure the pegs across from each other are in the same slots.

The yarn also usually comes tied. There will be a few places along the hank where another piece of yarn is looped around the hank and tied. This is just there to keep the hank from getting tangled before you’re ready to use it. Find these strings and clip them off. Usually, one of them also is where the two ends of the yarn are tied together. You can trim off the knot. You’ll use one of the ends to start the ball of yarn, and leave the other one loose. It’s a good idea to make sure the loose end isn’t very long. You don’t want it to get tangled in the yarn swift!


Now You’re Ready to Wind the Ball!
First, we need to get the ball started. Take your yarn end and insert it through the little spiral on the ball winder’s guide arm. Then put the yarn over the slot in the top of the ball winder. Usually, I’ll hold the tail down to get the ball started. Slowly start winding the ball winder, making sure that the yarn pins down the tail end as you go. Once you’ve got a few wraps around the tail end, you can let go and just start winding!

The yarn swift will work best if you keep spinning at a steady pace, but you can actually go pretty quickly. Sometimes the yarn on the swift appears twisted. If that’s the case, just untwist it so it can wind easier, and keep going. Before you know it, you’ll have a lovely ball of yarn. It’s so quick, and it’s actually pretty fun!
When you’re done, just slide the finished ball off the end of the winder. I always fold up the yarn label and tuck it into the center of the ball so that I remember what type of yarn it is when I get it back out later.

YouTube Amish Yarn Swift Video Tutorial
That’s it! I hope you enjoyed the tutorial and found it useful! Don’t forget to sign up for our mailing list to get weekly updates, sneak peaks of works in progress, and more!