
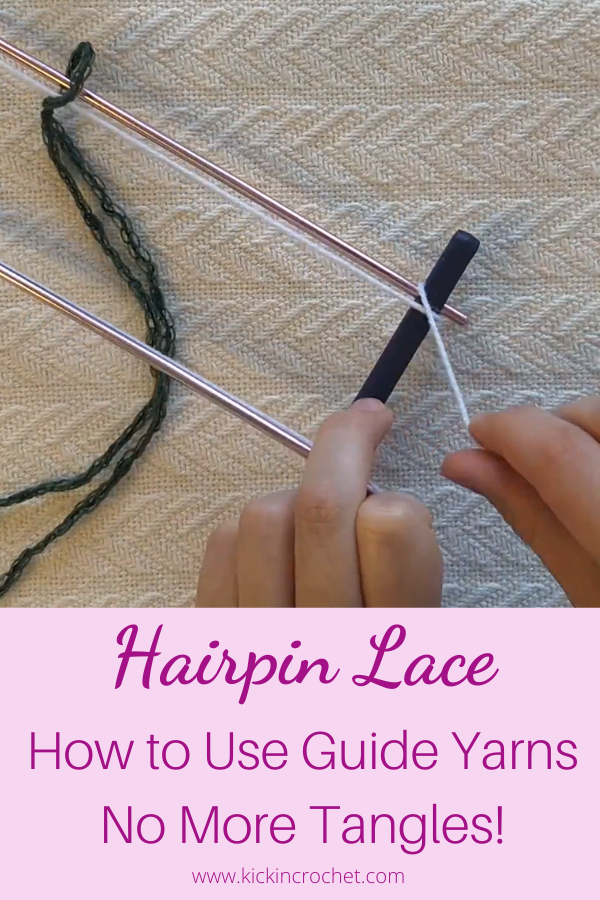
If you’ve started making hairpin lace, you may have noticed the completely annoying tendency for your strips to twist. Once the strands twist, it’s much harder to make sure your loops all stay straight for you to work into them. In this tutorial, I’m going to show you how to make lace guide strands out of scrap yarn for your hairpin lace loom to keep those lace strips nice and tidy.
How to Keep Hairpin Lace Strands Straight YouTube Video Tutorial
Adding Hairpin Lace Guide Strands
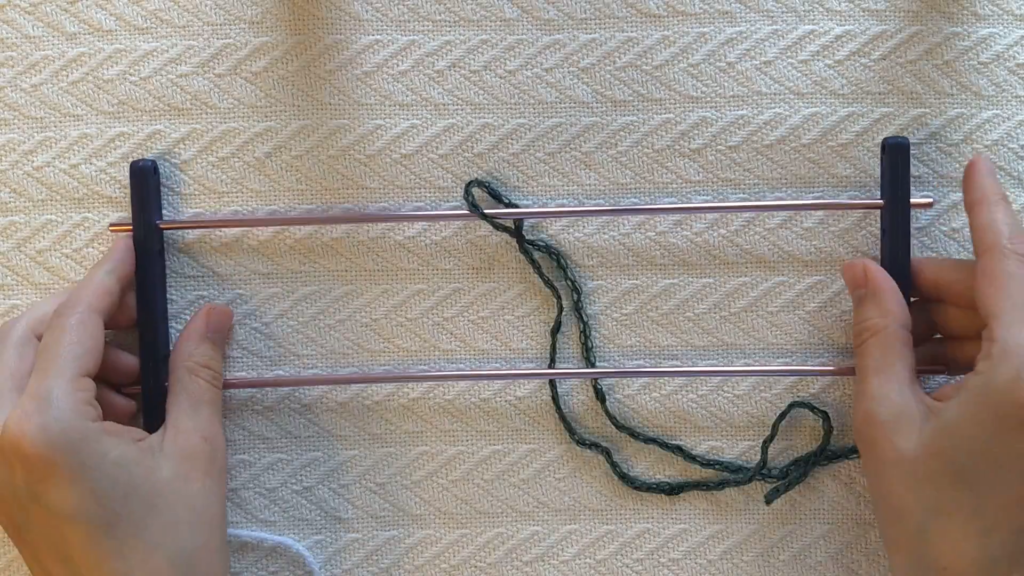
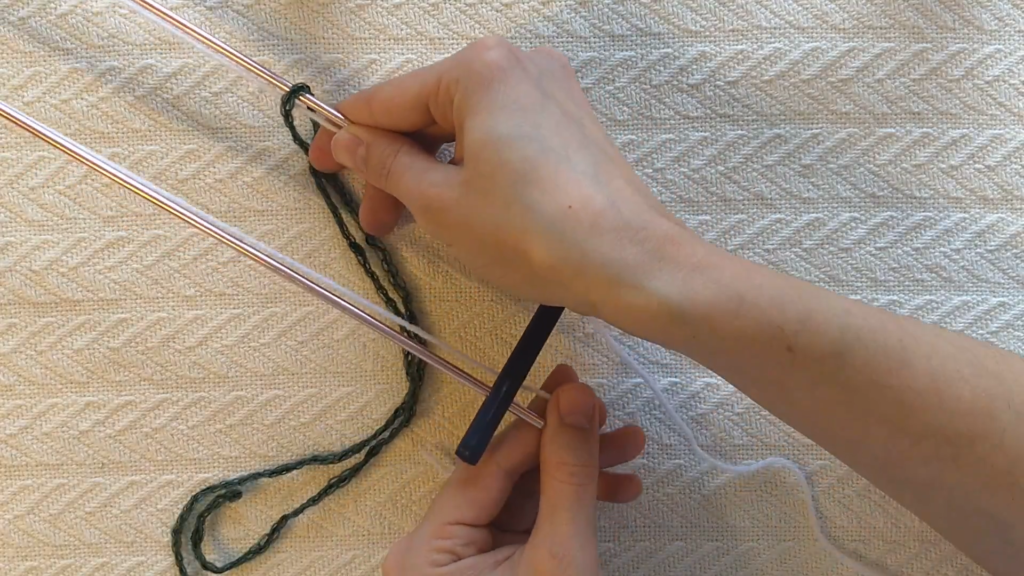
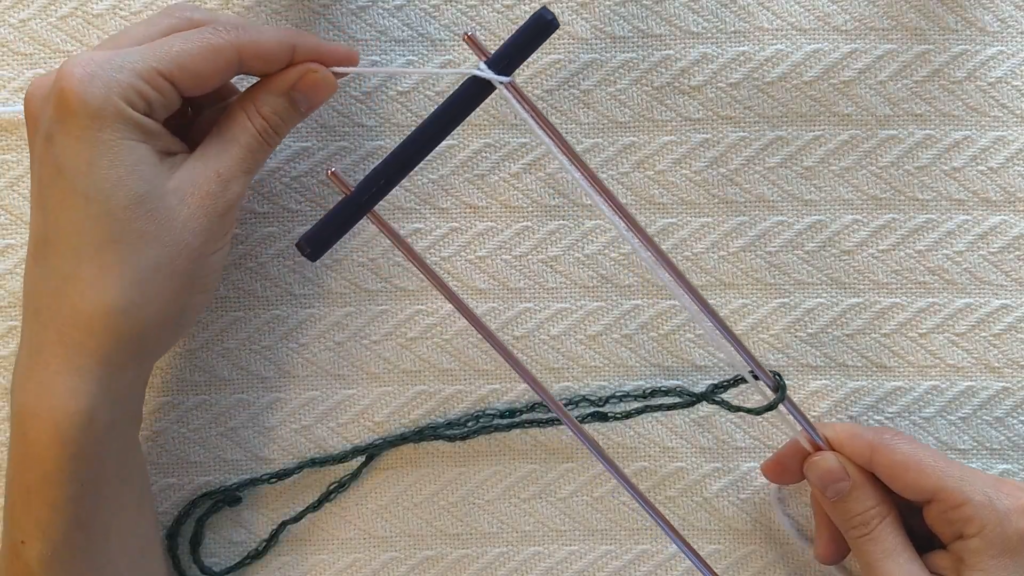
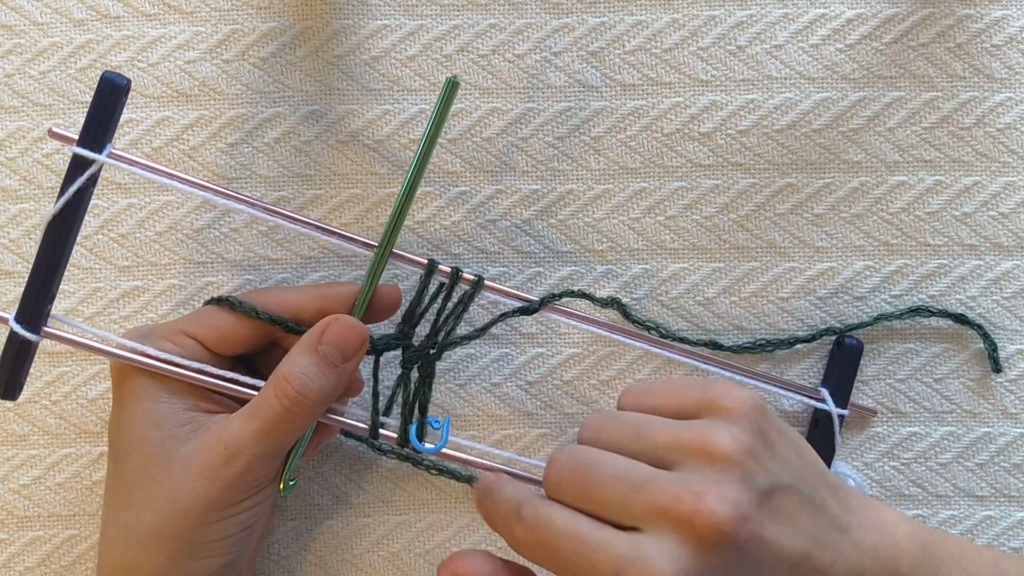
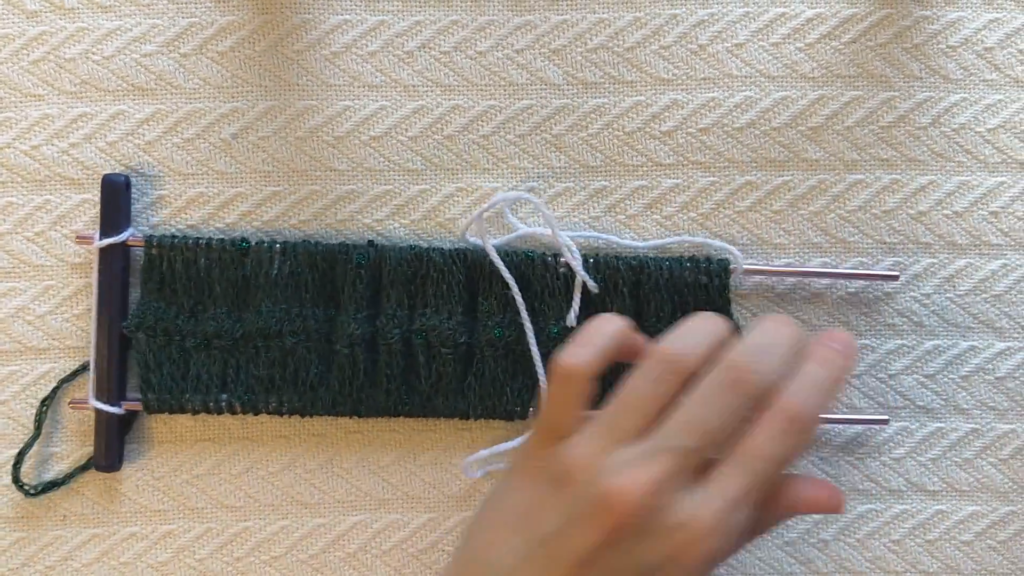
I like to start by typing my yarn onto my loom (with a slip knot) before I attach the base of my loom and my guide yarns. For this project, you’ll need to cut a generous length of scrap yarn to use as your guide yarn. I’d say it should be at least three times the length of your loom, but I never actually measure it. With your slipknot loop on the right side of your loom, you’ll start by threading the yarn through the loop you have made on your hairpin lace loom. (Of course, you could have the loop on the left. I just happen to like to put it on the right). Keep one end hanging down, and stretch the other side of the yarn all the way to the top of the loom.
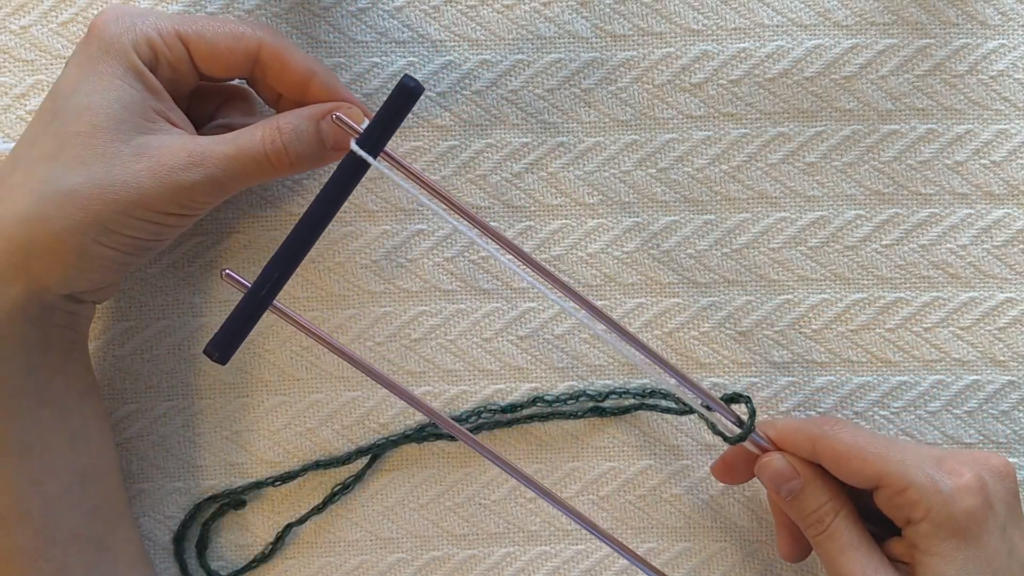
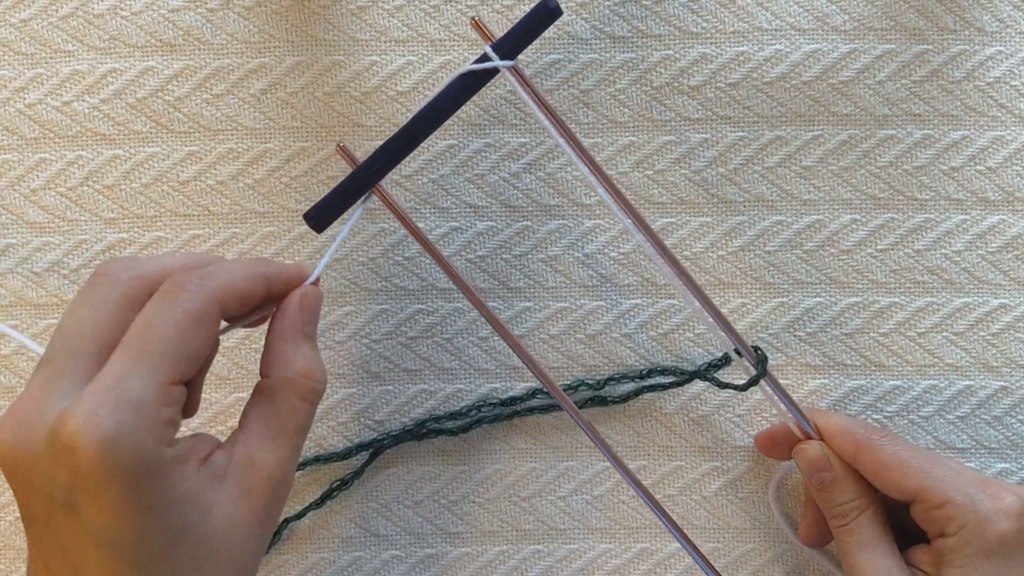
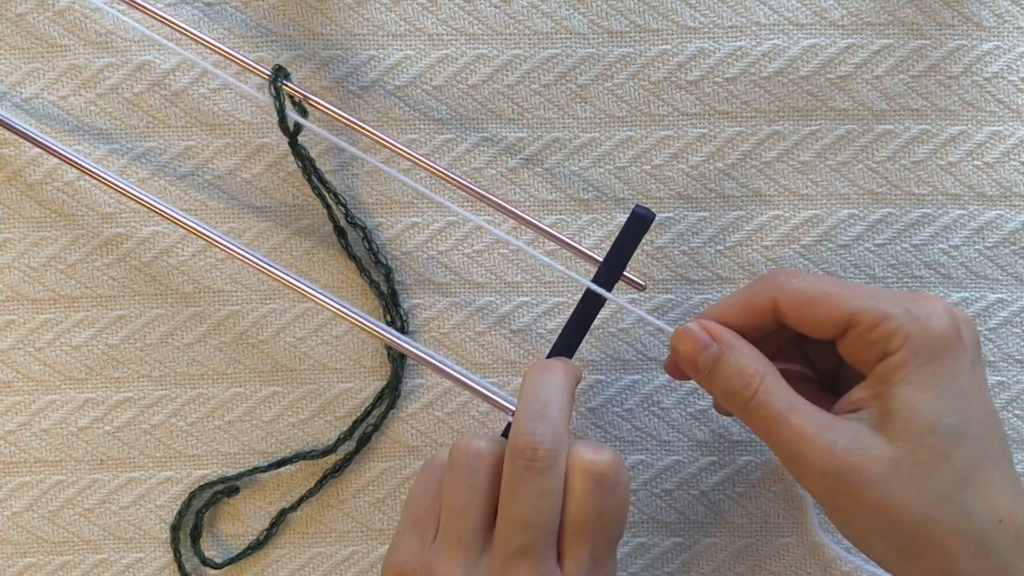
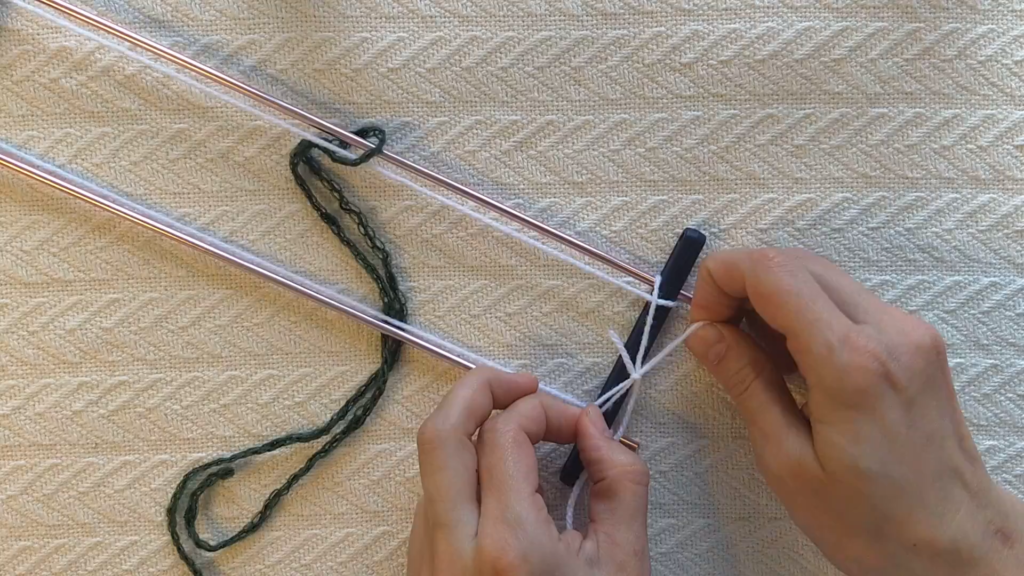
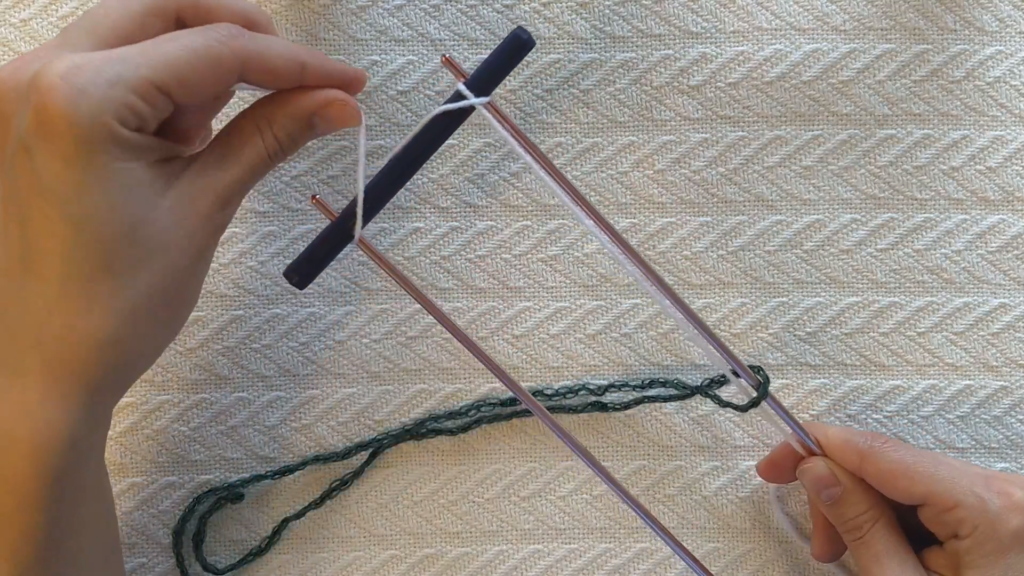
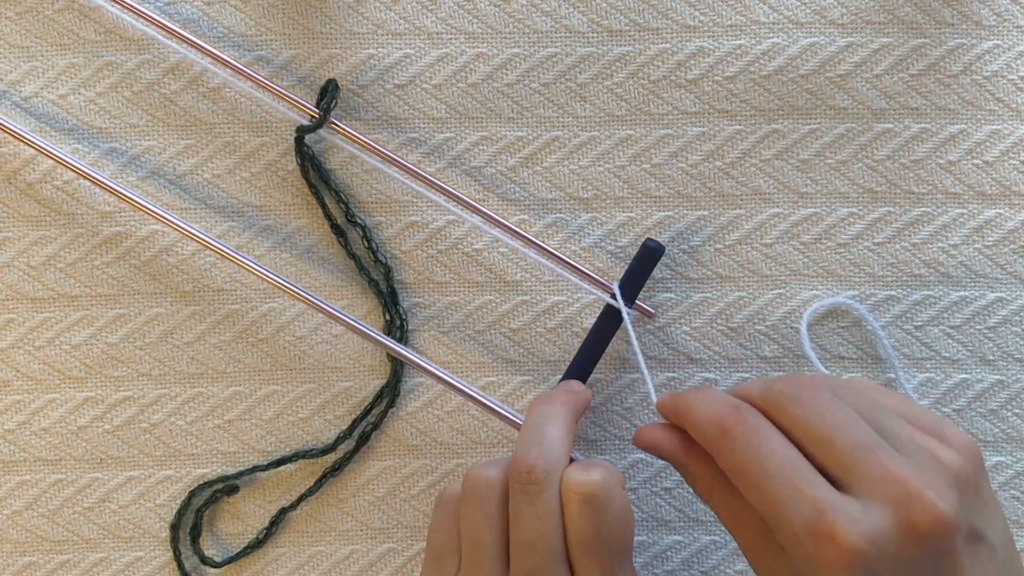
Next, you’ll wrap the yarn around the top of your loom on the right side. Then pull it over to the top left and wrap it around that corner. Now take the guide yarn all the way down the left side of your loom, and wrap it around the bottom left corner. Take your tail you left at the beginning and wrap it around the bottom right corner of your loom. Tie the two ends together in a bow or some other easily removable knot. Ta da! Now you have guide yarns.
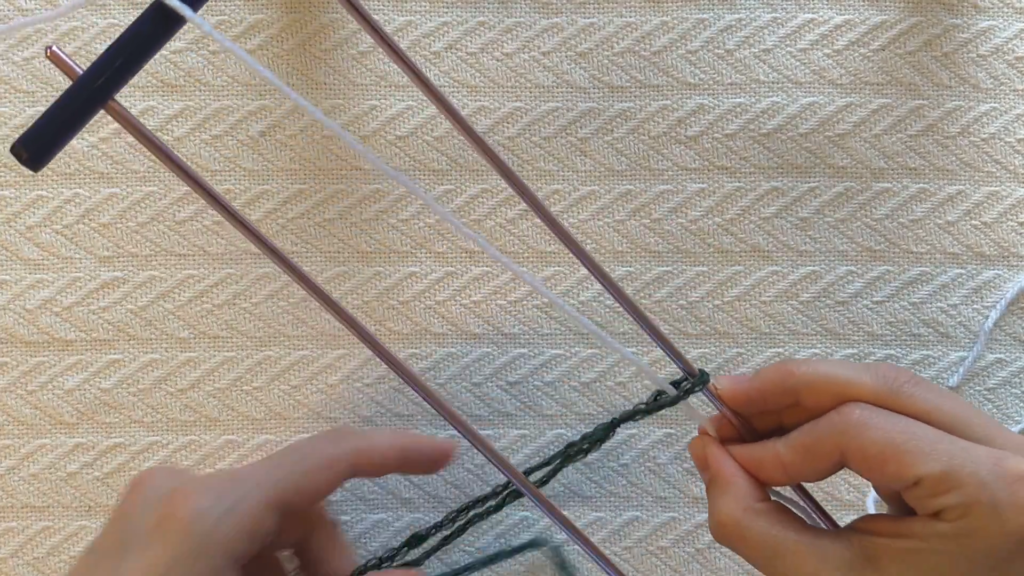
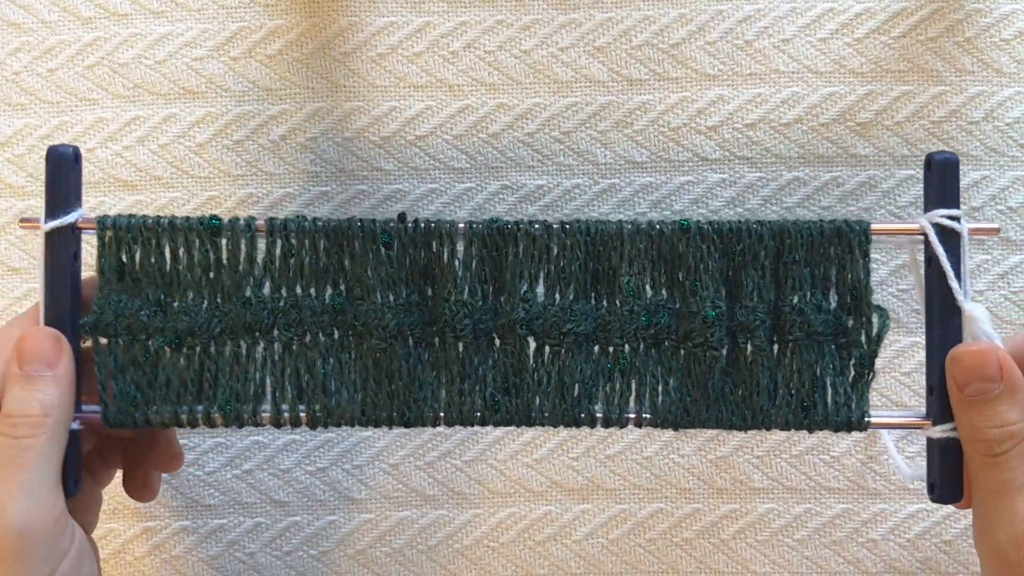
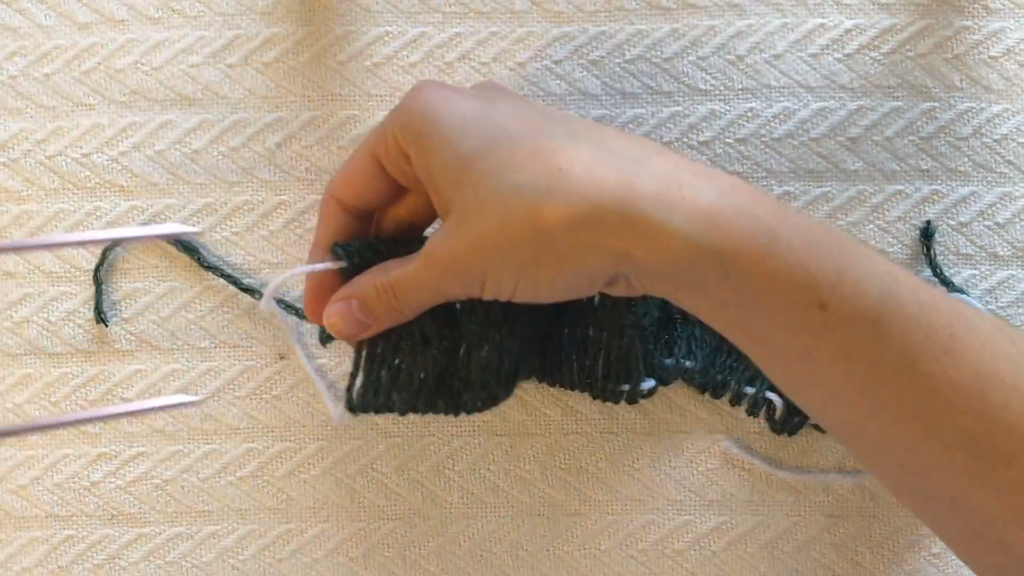
When you make your lace, each time the yarn wraps around the side of the loom, it will also wrap around your guide strands. If you forget to tie guide strands before you make your lace, but you want to add them later, you can. Just thread yarn onto a needle and guide the yarn up through the loops on one side of your loom, then down through the loops on the other side before you take the lace strip off the loom.
Removing Your Lace Strip
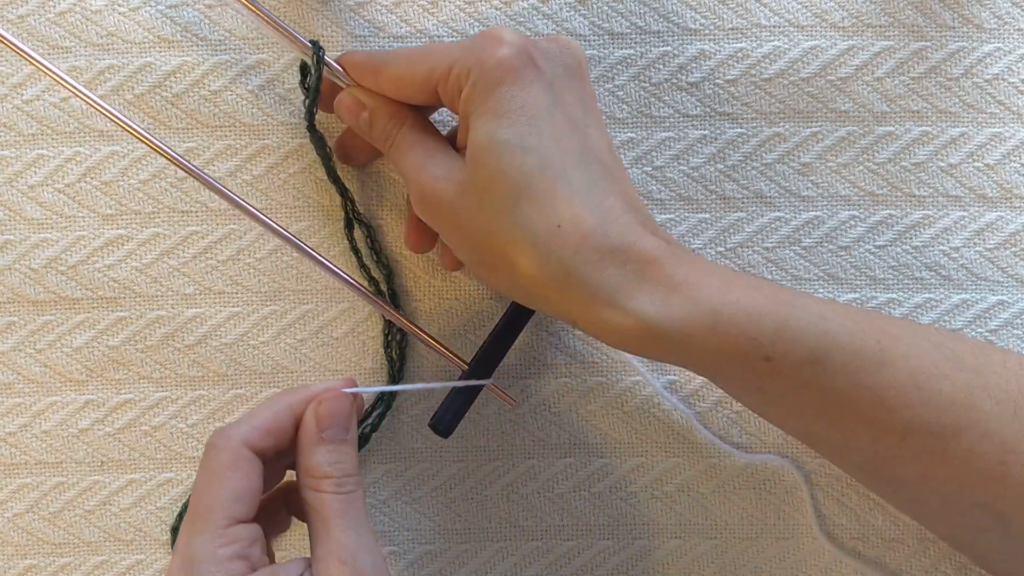
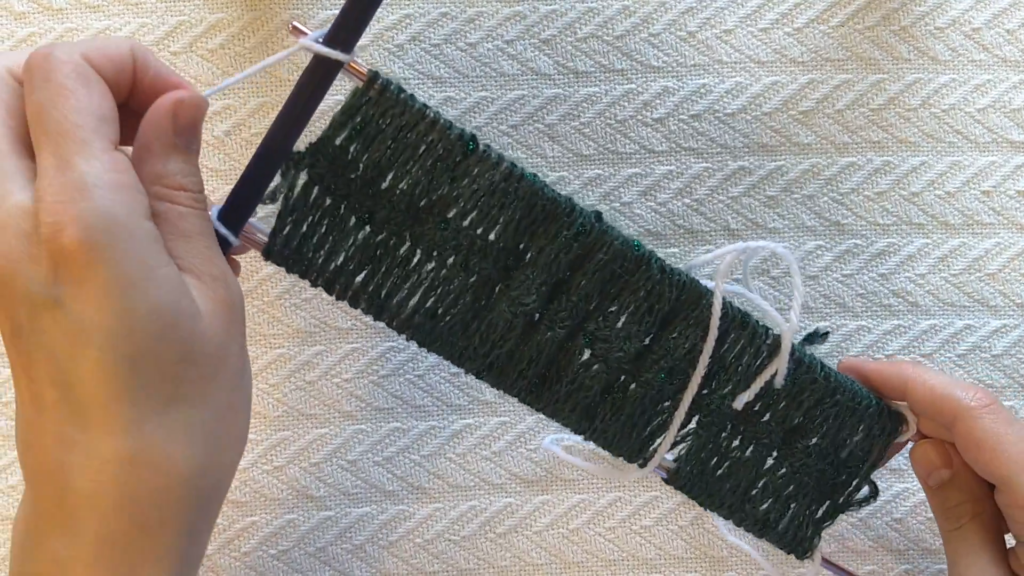
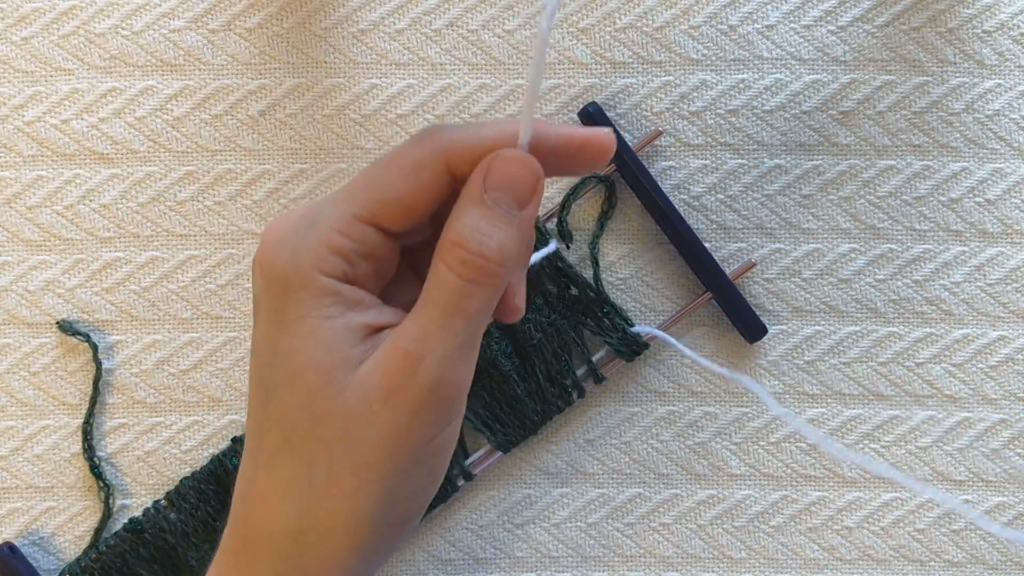
Go ahead and make your lace strip like you normally would. When you’re done, untie your bow. Unwrap the loose ends from the end of your loom, and retie them with a sturdier knot for storage. Now you can slip the end of your loom off. On the other end, you’ll need to pull the guide yarns off the top corners of your loom. Once the top corners are free, go ahead and slide your lace strip off your loom.

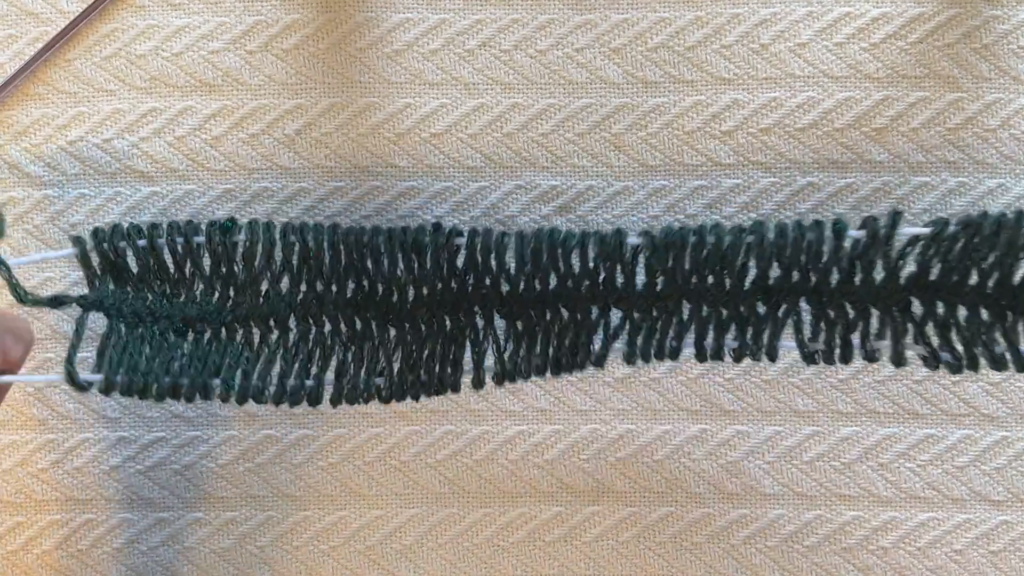
This technique is super useful for hairpin lace. Most projects need several strips of lace, and keeping them untangled can be a real pain! This way, if one of my kids gets ahold of one of my lace strips and throws it across the room into a tangled, jumbled mess just because it looks like a fun thing to do (ah, the mind of a three-year-old), I won’t have to stress about it, because my guide yarns are in place keeping all of my loops straight.
I hope you found this tutorial helpful. Please don’t forget to subscribe to the mailing list below to get all the latest updates! Now that you know how to keep hairpin lace strands straight, I can’t wait to see all of your hairpin lace projects! It’s such a beautiful, unique technique! If you’re new to hairpin lace, check out my beginner tutorial and free baby blanket project!