
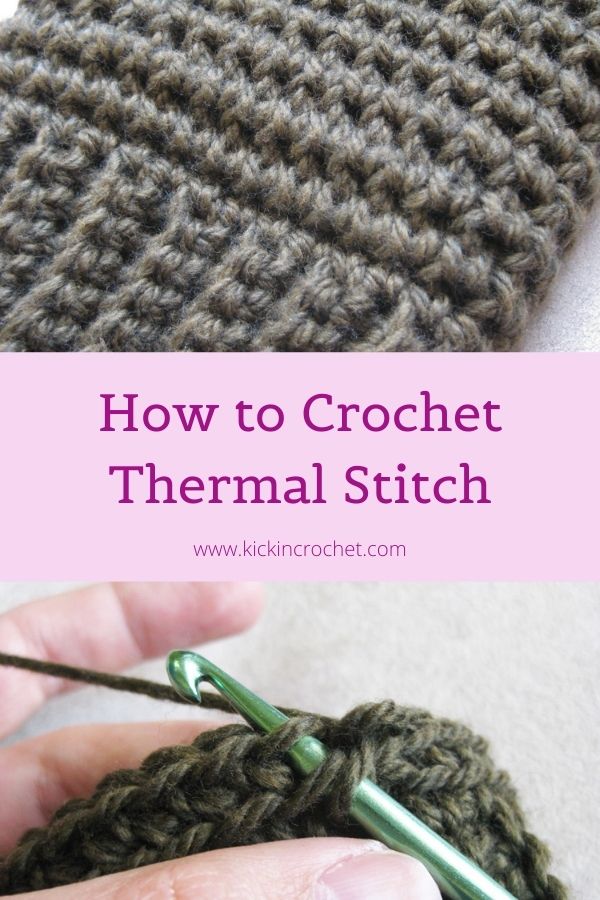
The thermal stitch is one of those deceptive stitches – it seems much more complicated than it is! See below for a video tutorial and photo walk through to learn how to crochet thermal stitch. Let’s demystify this thick, warm, wonderful stitch!
*Disclosure: Some of the links in this post are affiliate links, which means if you click on them and make a purchase I may, at no additional cost to you, earn a commission. Read full disclosure here.
I’ve been planning on filming a quick video for the thermal stitch for ages, after all the Men’s Thermal Fingerless gloves and matching hat have been my all-time best selling patterns (I’m so excited to update them to add additional sizes!)
Supplies
You can use whatever yarn and hook you have on hand for this lesson, but here’s what I used:
- In the photos below, the pictured yarn is one of my favorites, Spud and Chloe Sweater yarn.
- In the video tutorial, I used Audine Wools Sleek in colorway Unwind from Knitcrate.
- Size H Crochet Hook or size needed for yarn
How to Crochet Thermal Stitch Video Tutorial
How to Crochet Thermal Stitch
The first step is to have some sort of foundation row, and for this tutorial we’ll work with single crochet. For practice, I would make a strip maybe 10 stitches wide so you get more rows faster and can see the thermal pattern take shape. So to start:
1. ch11, turn, sc in 2nd ch from hook and across (10sc).
Next, you need a set-up row. For those of you who are looking at my men’s thermal fingerless gloves pattern, note that I start with back loop sc in that pattern, but that is because I do not turn at the end of this setup row. If you are working back and forth rows, you will need to to work a row of front loop single crochet next.
2. ch1 (doesn’t count as sc), turn, fl-sc across
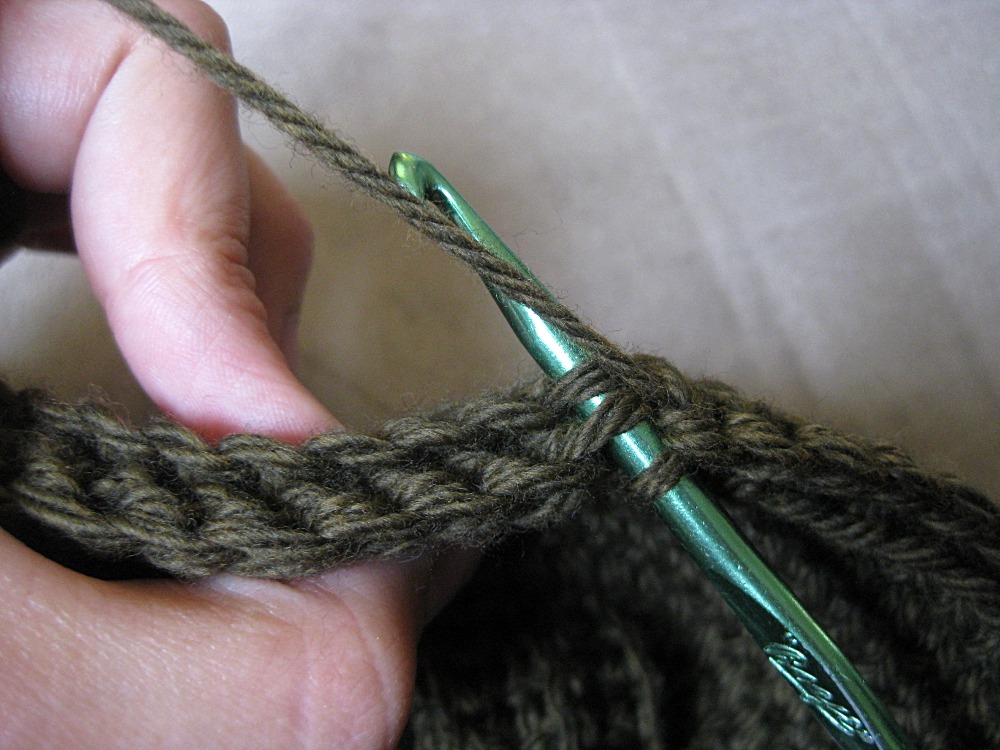
Now you get to start actually doing the thermal stitch. Chain 1 and turn – you’ll notice that there is a left over loop on the row below. This is the back loop that was left over from doing front loop only on the set up row. Since you turned the project around, that loop is now on the front. To work the thermal stitch, insert your hook up through that extra loop on the row below and through the front loop of your current row, then yarn over and pull through both of those loops, then yarn over and finish the stitch. The thermal stitch is basically a front loop single crochet, you’re just going through one extra loop on the front of the fabric!

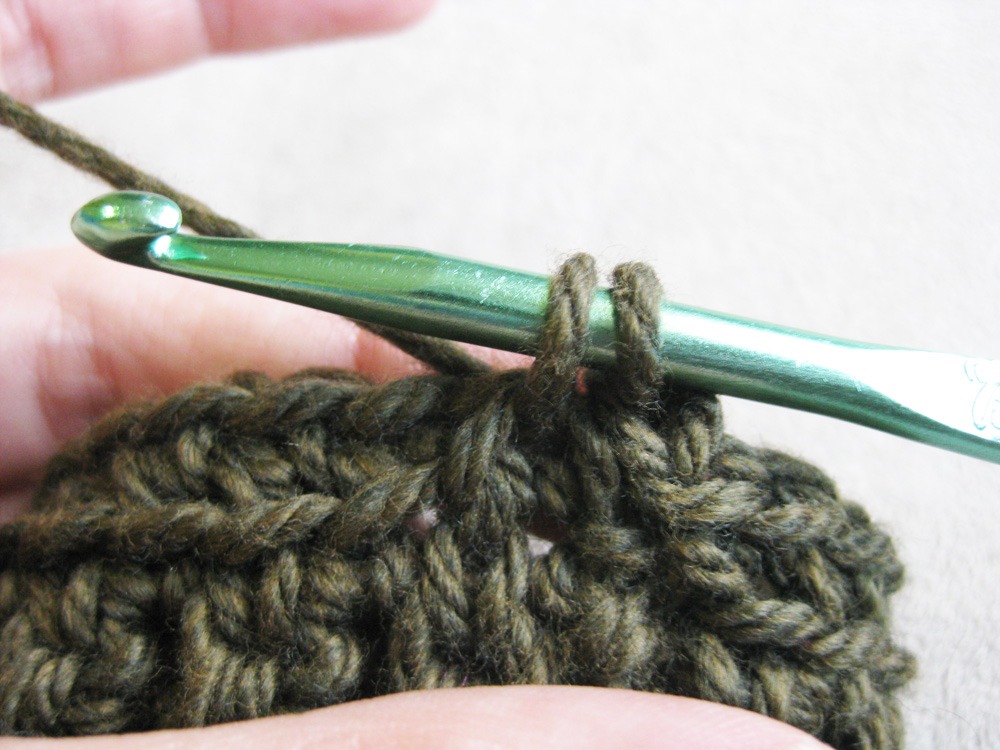
3. ch1 (doesn’t count), turn, thermal across
From here on out, you can just repeat step three to create the thermal fabric! See – it’s not as hard as it may look!
Variation – Back Thermal Stitch Crochet
In my thermal hat pattern, I use a variation of the thermal stitch, the back thermal stitch. This stitch is very similar to the regular thermal stitch, with a few important differences.
First, instead of doing front loop single crochet for your setup row, you’ll need to do back loop single crochet. Now the extra loop will be on the back of your work when you turn. To work a back thermal stitch, insert your hook from the top into the back loop the stitch on your current row and then through the leftover loop on the row below. Then finish the stitch like a regular thermal stitch (yarn over, pull through both of those loops, then yarn over and pull through both loops on your hook).
You may never need to use the back thermal stitch. I used it in my hat pattern because I felt that it left less of an obvious seam region compared to working in turned rows.
If you’d like to try your hand at a project that uses this stitch, check out my thermal hat and gloves pattern set.