
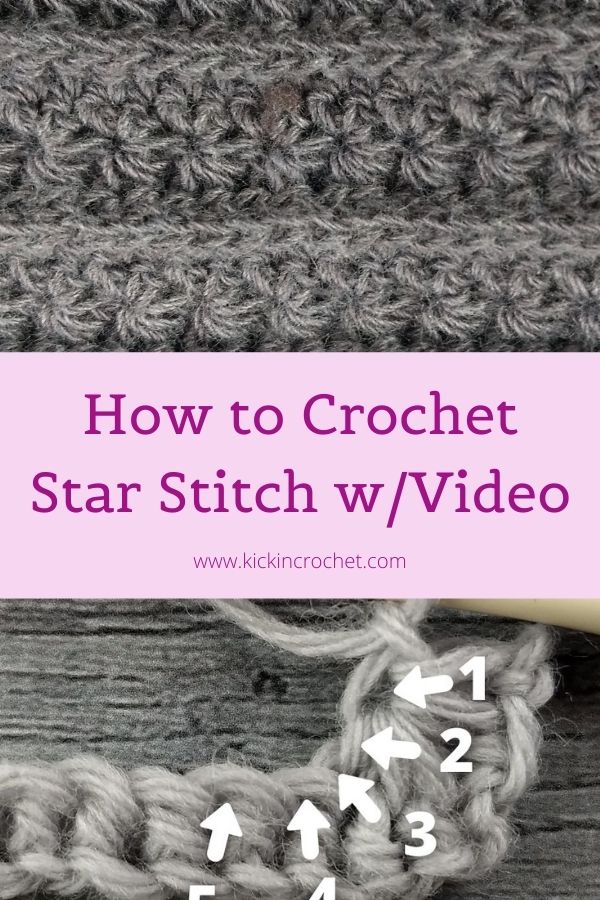
The star stitch is one of my very favorite stitches. It’s super pretty, and not as difficult to do as you might think! In this post, I’ll walk you through how to crochet the star stitch. I’ve also included a video tutorial and star stitch variation!
*Disclosure: Some of the links in this post are affiliate links, which means if you click on them and make a purchase I may, at no additional cost to you, earn a commission. Read full disclosure here.
Supplies
You can use any yarn and hook for this tutorial. In my samples, I used two different yarns and a size H hook:
- Whims Merino yarn (the dark gray yarn with killer stitch definition, used in some of the photos)
- Wool of the Andes Worsted yarn (light gray yarn in video and photos)
- Size H Crochet Hook or size needed for yarn – I used a Furls Cookies and Cream Streamline Swirl in the video.
YouTube Video Tutorial
How to Crochet Star Stitch
The First Stitch of the Row
To start, you’ll need an odd number of stitches. This could be a starting chain or a row of any other regular crochet stitch.
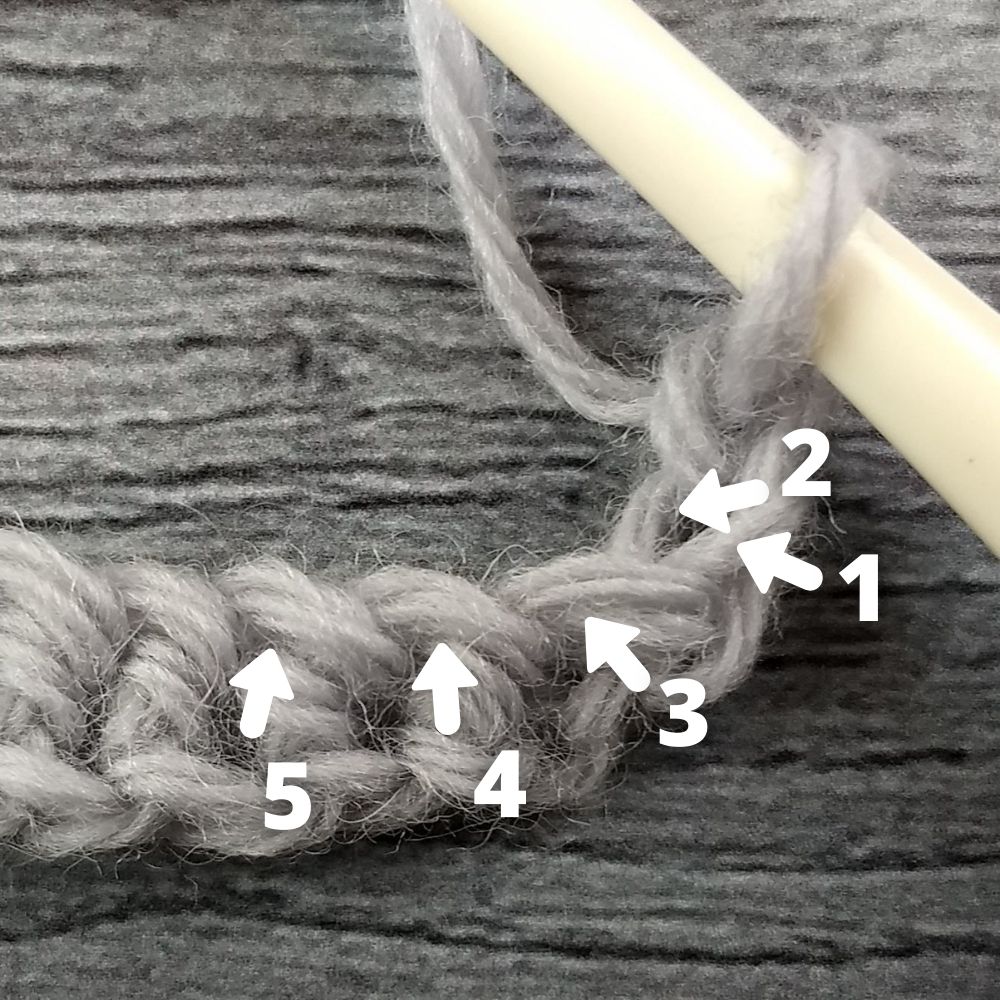
The first stitch in the row is always the trickiest. First, ch2 (does not normally count as a stitch, but different patterns/designers may treat it differently, so pay attention to your pattern). Insert your hook through the front loop of the 2nd ch from your hook and pull a loop through (2 loops on hook), then insert your hook in the back loop of that same chain and pull up a loop (3 loops on hook). Now insert your hook into the stitch at the base of your starting ch, yo and pull a loop through (4 loops on your hook), then insert your hook in the next stitch and pull up a loop (5 loops on your hook), and do the same with the next stitch (6 loops on your hook). Now yo and pull through all 6 loops. Finally, close the star stitch by working a ch1. That’s your “first star” or “starting star” for the row. The picture below shows where you’re picking up loops for your starting star.
The Rest of the Star Stitches
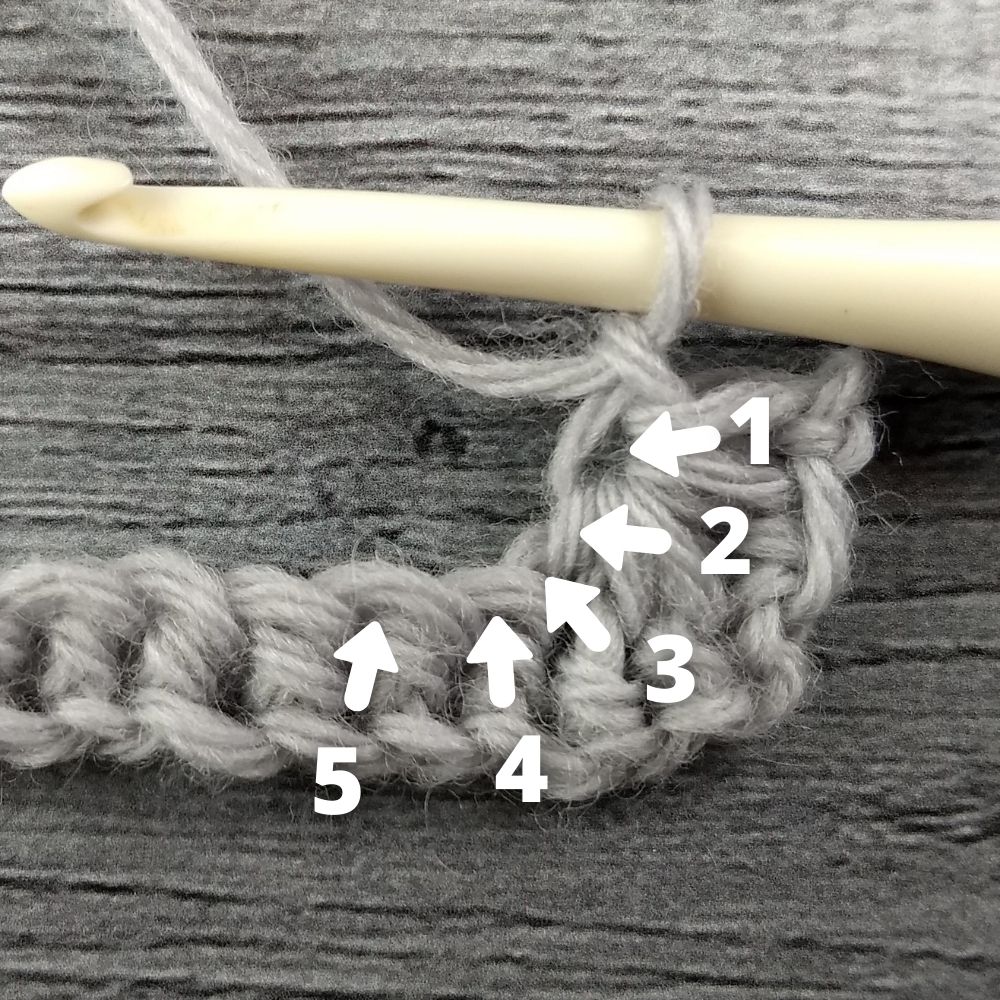
To work a regular star stitch, you’ll first insert your hook into what I call the “eye” of the previous star – the little hole made when you closed the previous star stitch. Insert your hook in the eye of the previous star, yo and pull up a loop (2 loops on your hook), insert your hook in the last loop of the previous star, yo and pull up a loop (3 loops on your hook), insert your hook in the stitch the last loop of the previous star comes out of, yo and pull up a loop (4 loops on your hook), then pull up a loop in each of the next two stitches (6 loops on your hook). You’ll finish the star the same way as the starting star – by doing a yo, pulling through all 6 loops on your hook, then doing a ch1 to close the star. See the photo below to see where you’re picking up loops for a regular star stitch.
Now the rest of the row will be all regular star stitches until the very last stitch. For the last stitch, work a half double crochet in the same stitch the last loop of the previous star came out of to finish the row.
The next row should all be a regular crochet stitch. The standard is doing sc stitches across the next row, but you can vary this, using hdc, dc, or whatever other stitch you want! Just make sure you work a stitch in the eye of each star and the chain in between each eye all the way across (2 sts/star stitch).
Small Star Variation
A variation on the star stitch that I’ve used in a few of my patterns is what I call the Small Star Stitch. The Small Star Stitch is worked in exactly the same way as a regular star stitch except that you’ll stop after you have 5 loops on your hook instead of 6. So you go through one fewer stitch on the previous row for each star you make.
The smaller star stitch is very useful for working in the round while using star stitch. If you did an entire row of small star stitches, you would basically double your stitch count for the next row. This works because each star stitch only takes up 1 stitch from the row before, but you’ll work two stitches into each small star stitch for the next row! Its important for you to be aware of the stitch count oddity of using small start stitches. If you intend to use them in a design that is not increasing, you’ll have to skip stitches on the next row to keep your stitch count right. I’ve got a design coming up soon that uses the small star stitch technique in the round – the Stella hat – so stay tuned for that!
Big Star Variation
Big star stitch is the same as a regular star stitch, except you will pick up one extra loop (so you would pick up loops in the eye of the star, the last loop of the star, the stitch the last loop came out of, and three more rather than two more stitches). Whereas small stars cause increases, big stars cause decreases. This sounds backwards, since the word “big” makes us think we’re getting “bigger”. But in this case, “big” is showing that the stitch is using up more of the stitches on the previous row, thereby causing a decreases. Whew!
I hope you enjoyed this tutorial! If you liked this, you may also like this post on crochet shells.
I saw a swatch advertisement on the Furls website that had a gorgeous stitch that I would love the pattern to and they said you were the designer and took the pic of it. It’s a rectangular, grey swatch with 2 Furls crochet hooks on the swatch with 2 round samples on the side that look like coasters. I would love the pattern of that grey, rectangular piece in picture. How can I get that pattern? Thank you so much.
Hi Sherry! Yup, that swatch was designed by me…however, it was designed for a pattern that is a Furls exclusive (I haven’t been told the release date, just that it was planned to be released mid-January, but I’m not sure if that’s still on track). I’ll be able to release the individual pattern myself a few months after Furls releases it. Thank you so much for your support! (I was so excited myself when I saw that they used that picture in their recent email!)