
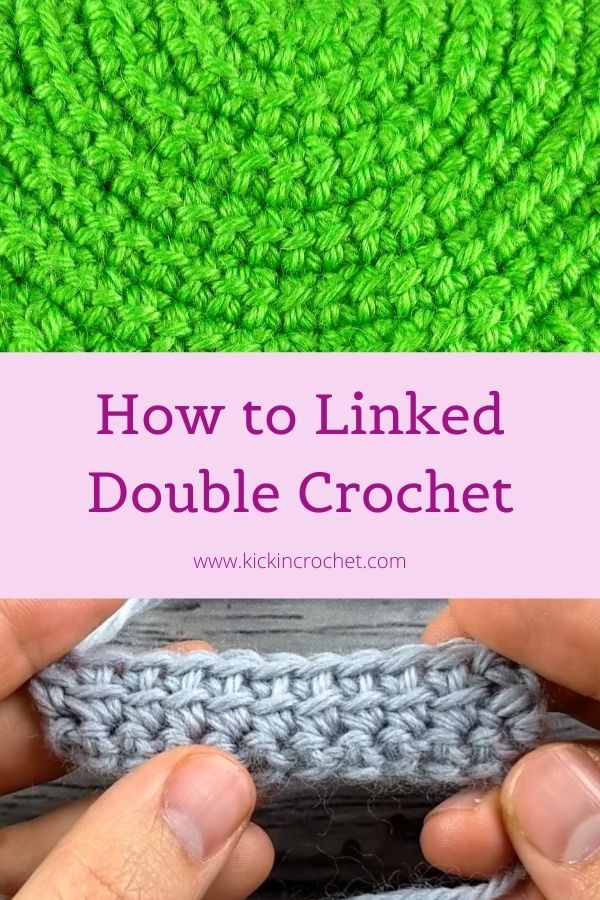
In this tutorial, I’ll show you how to crochet linked dc, or linked double crochet. This stitch is creates a denser fabric with less ‘gaps’ when compared to regular double crochet. It also has a slightly different texture, as it leaves a horizontal ‘ridge’ across the fabric. I’ve also included a video tutorial so you can see the linked dc in action!
*Disclosure: Some of the links in this post are affiliate links, which means if you click on them and make a purchase I may, at no additional cost to you, earn a commission. Read full disclosure here.
Supplies
For this tutorial, you can use any yarn you have on hand and a hook appropriate for your yarn. Here’s what I used:
- Wool of the Andes Worsted from WeCrochet in Gull (gray)
- Green yarn from my Knitcrate box was used on the hat pictured in the video.
- Size H Crochet Hook – I used my Odyssey White hook from Furls Crochet
YouTube Video Tutorial
How to Crochet Linked DC
Before we get into how to do a linked DC, I want to share with you a variation I do to start each row, do the turn chain. I use this variation sometimes with other stitches, but I almost always use it with linked dc because it gives a nice horizontal bar to work into, and so looks more uniform. Instead of doing a ch3 and turn, I will do a single crochet, ch1, and then turn, and this will count as my first stitch on the following row. This turn stitch is optional – you absolutely can use a regular ch2 or ch3 instead.
Now, we’ll get into how to do the linked dc! First, you need to look at the previous stitch and identify the horizontal bar going across the middle of the stitch.
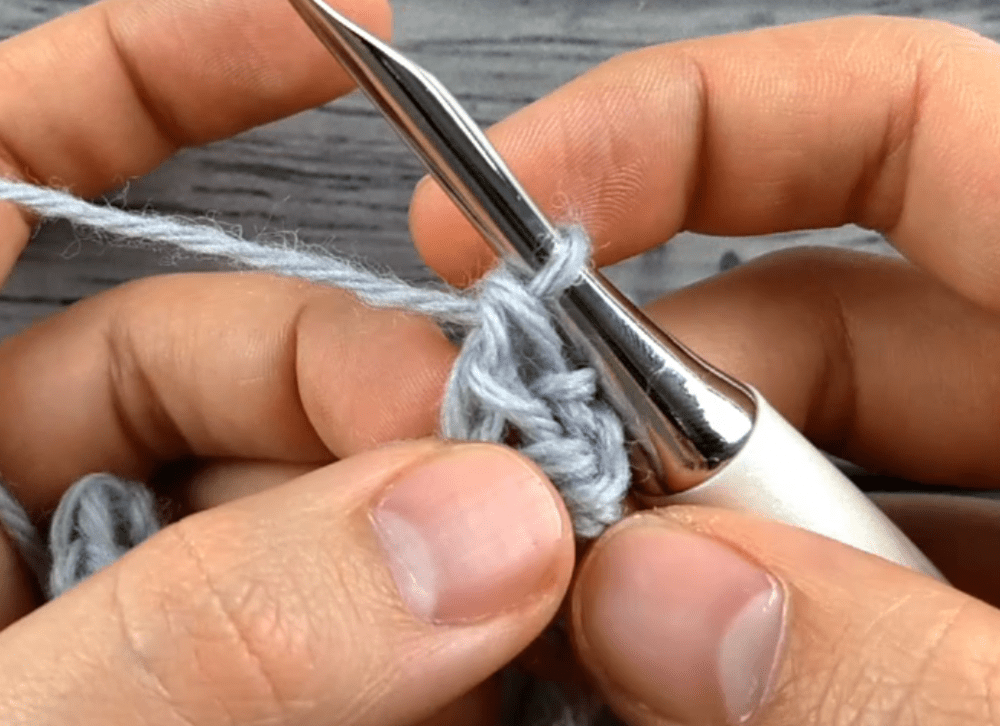
Do not yarn over like you would for a normal DC. Instead, insert your hook in that horizontal bar, then yo and pull a loop up through that bar.

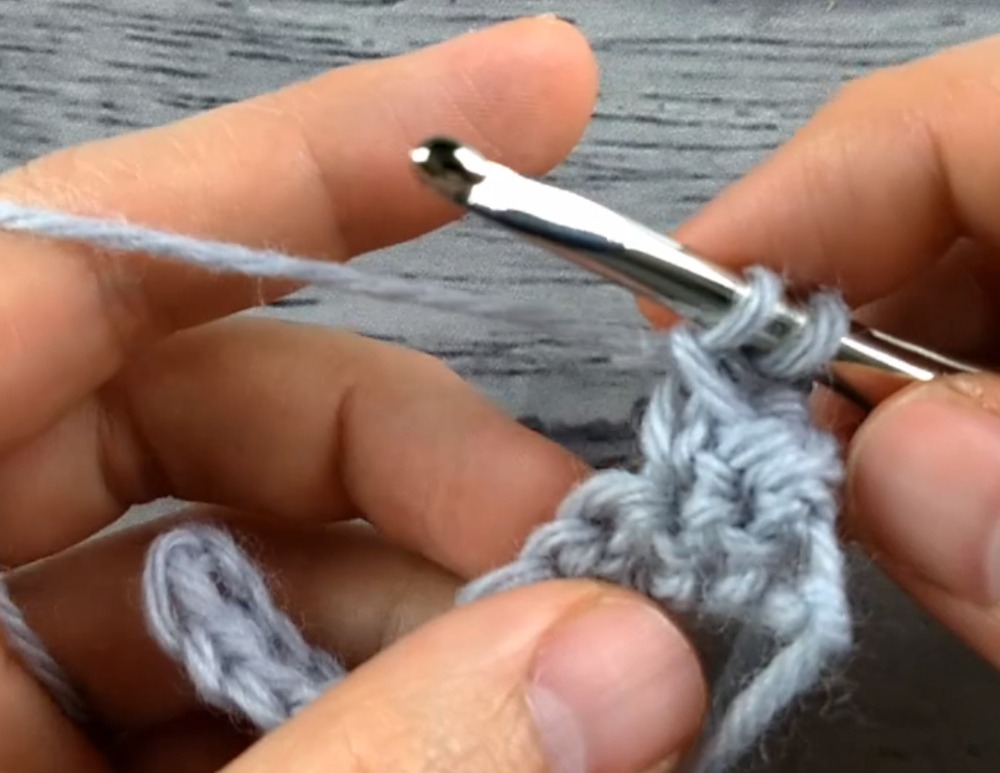
You should now have two loops on your hook. Basically, pulling up a loop in the middle bar replaces the yarn over for your double crochet. Now you can finish the stitch as though it were a regular double crochet by inserting your hook in the next stitch, yo, pull up a loop, then yo and pull through two loops on your hook twice.
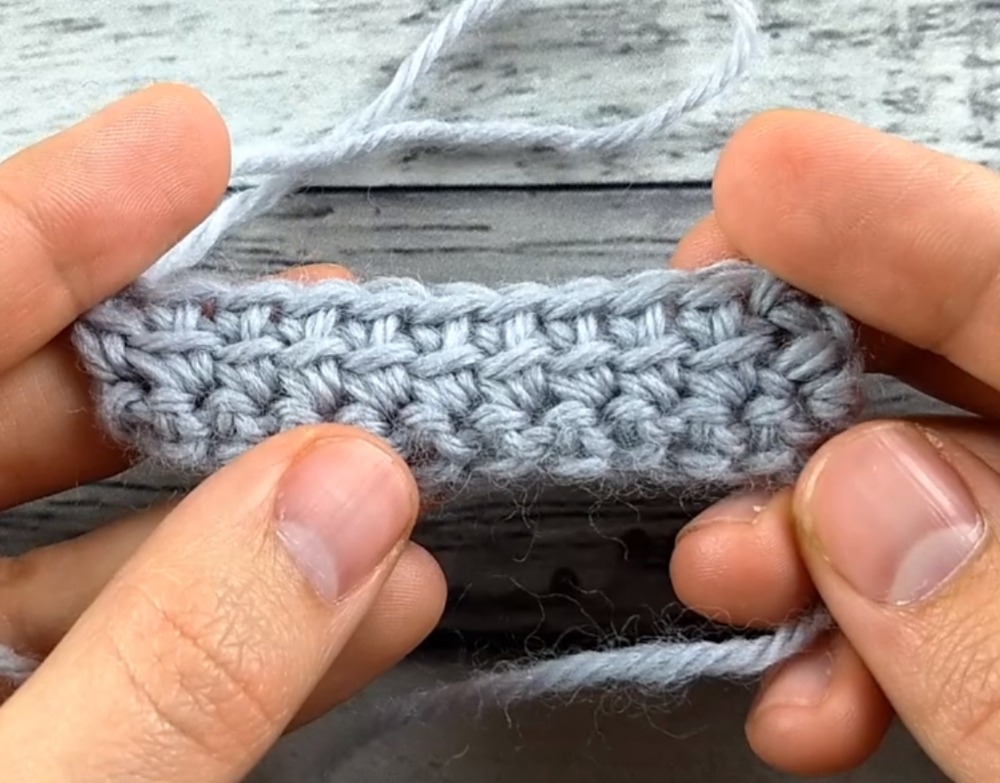
A row of finished linked dc will have a horizontal line along the middle of the stitches on the front side, but no line on the back side. So if you work in back and forth rows, the horizontal bar will be visible on every other row. If you work in the round, the bar will be visible on every row.
That’s it! You can also do linked triple crochet by picking up a loop in the first and second horizontal bar, then finishing the stitch as normal (there will be two horizontal lines going across the front of a row of finished stitches in linked triple crochet). If you liked this tutorial, stay tuned next week for the release of the Pebble Hat crochet pattern (the one shown in green in the video)! You may also like how to crochet the star stitch.