
Tassels can add just the right finishing touch to a project, so today I’m going to show you a simple way to make a tassel using yarn. All you need for this project is yarn, scissors, and a tapestry/yarn needle!
*Disclosure: Some of the links in this post are affiliate links, which means if you click on them and make a purchase I may, at no additional cost to you, earn a commission. Read full disclosure here.
Supplies
- Yarn of your choice. This is a great opportunity to use up yarn scraps, or just use whatever yarn your project is made of.
- Scissors
- Something to Wrap your yarn around – I tend to use cardboard scraps from my recycling box. Empty paper towel or toilet paper tubes can work great, too, depending on what size tassel you’re looking for.
- Yarn Needle for weaving in ends.
YouTube Video Tutorial
How to Make a Tassel
Random Aside – you know that thing where you say the same word over and over again until it loses all meaning? For me, right now that word is “tassel”. I’ve thought the word “tassel” so much over the past hour that it has taken on a half-life of its own.
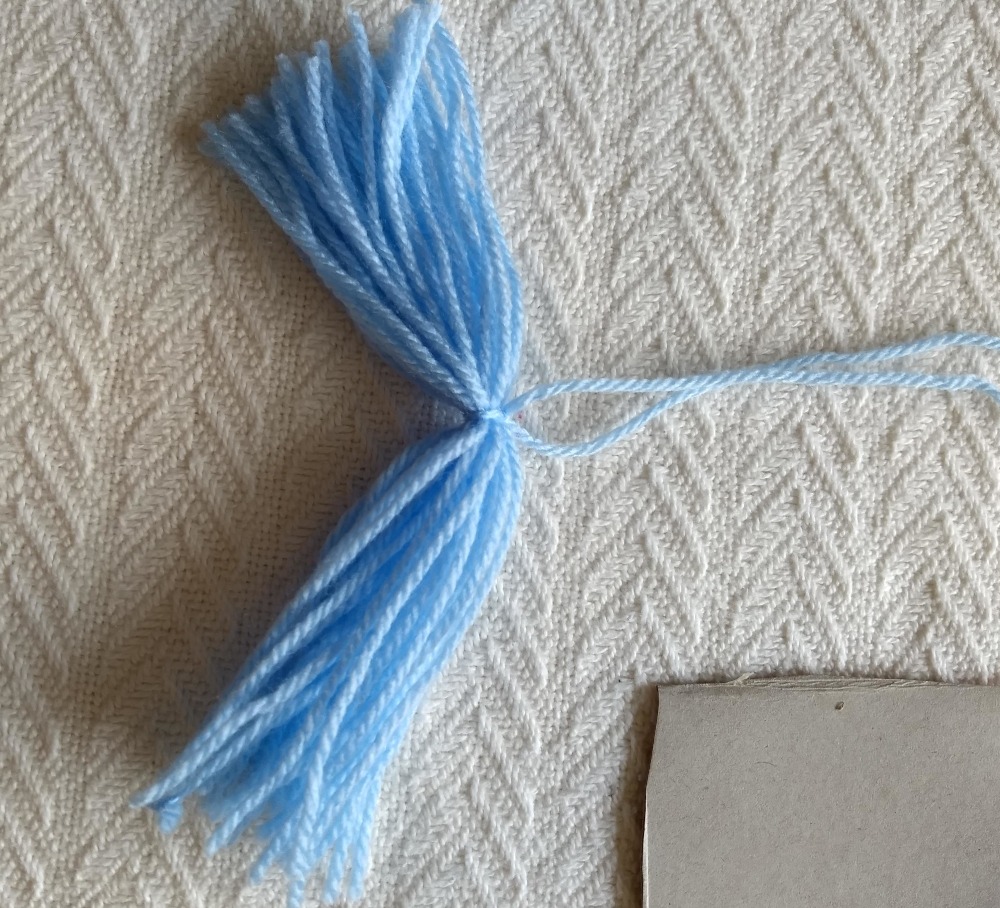
Anyway, back to the tutorial! You need something to wrap your yarn around – your tassel will end up a little bit shorter than the size of the object, so keep that in mind as you’re working. I’ve used scraps of cardboard from my recycling bin. In the video, I used an empty McDonald’s gift card holder that my son’s teacher sent to him. You can use empty paper towel or toilet paper rolls, water bottles, jars, etc…. it doesn’t have to be anything fancy! If you really don’t have anything to wrap it around, don’t worry, you can just cut a bunch of pieces of yarn the same length, then tie them in the middle as in the third picture!
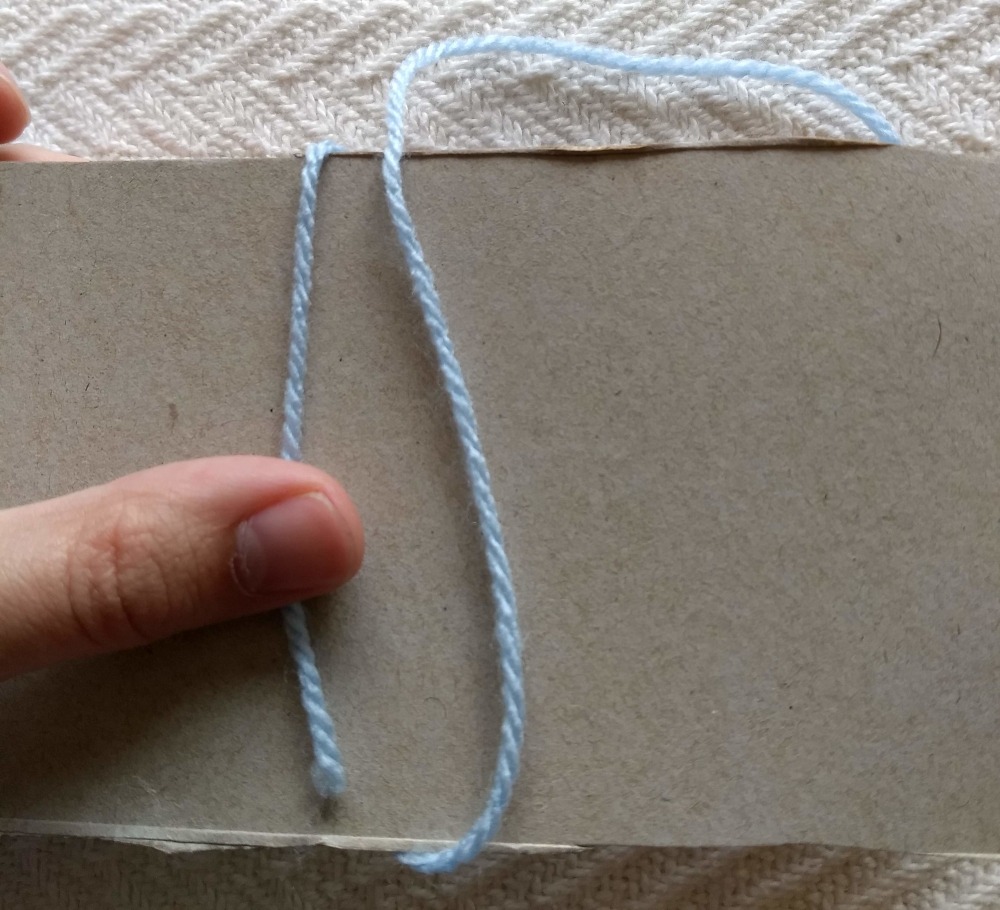
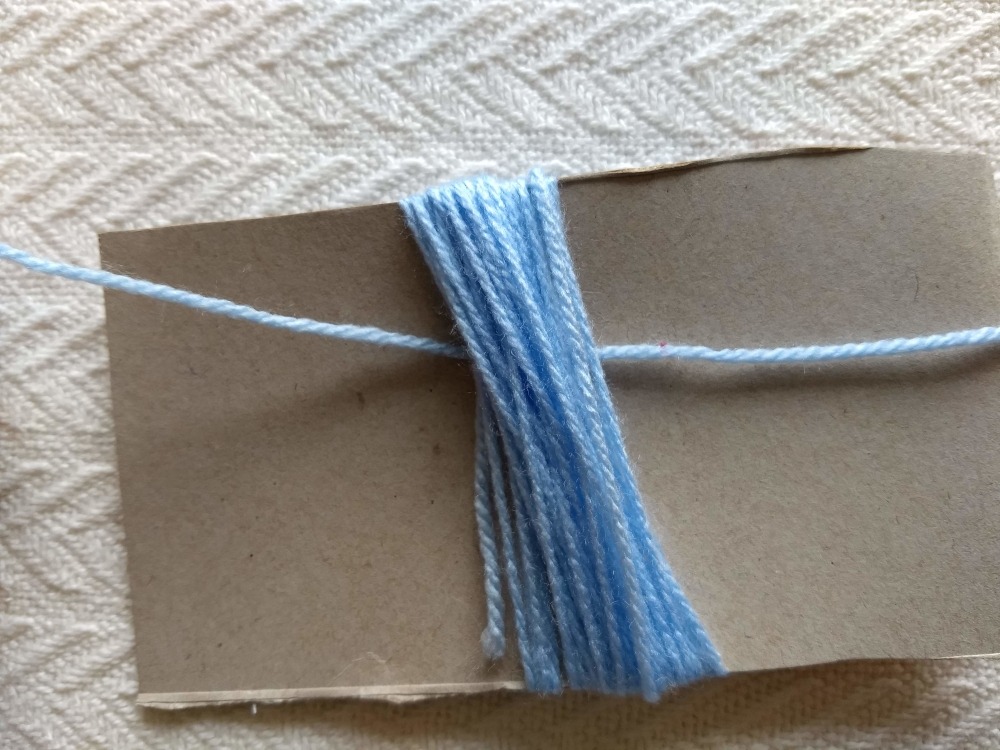
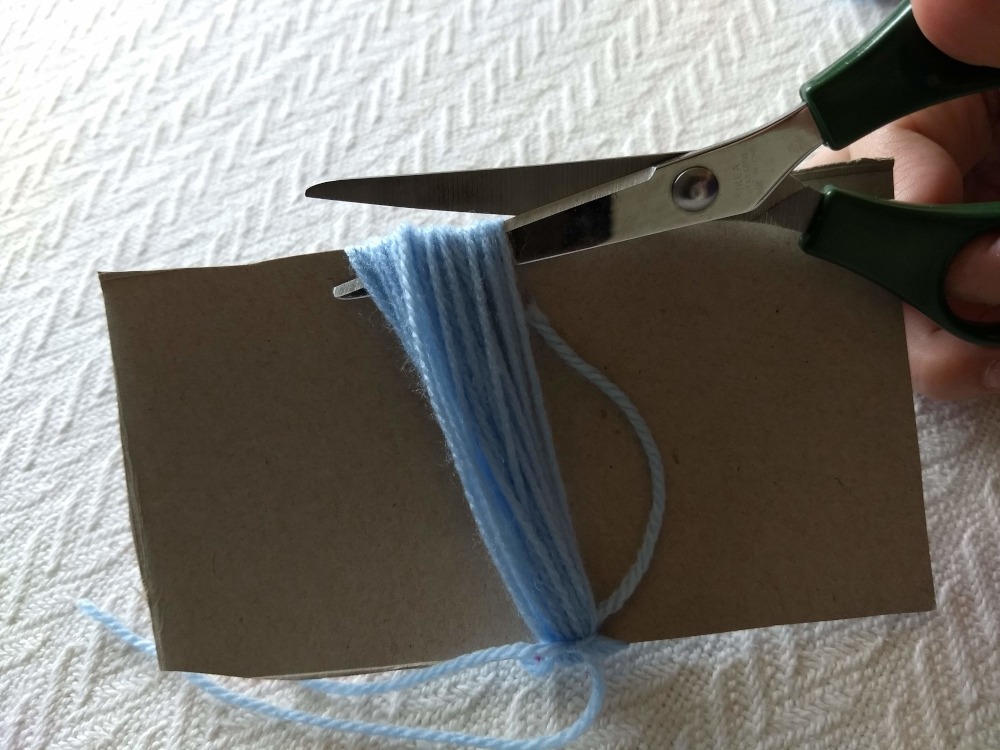
To get started, hold one end of the yarn onto the cardboard (or whatever you’re using), then wrap the yarn around a bunch of times. The more you wrap, the pouffier your tassel will be. If you’re making multiple tassels for a project and you want them to match, you can always count your wraps. I’m too lazy for this, lol!
Once you’ve gotten as many wraps as you want, you can trim off the end of your yarn, cutting it even with the bottom of your cardboard. Now cut another small length of yarn and slide it under all of the strands of your tassel.
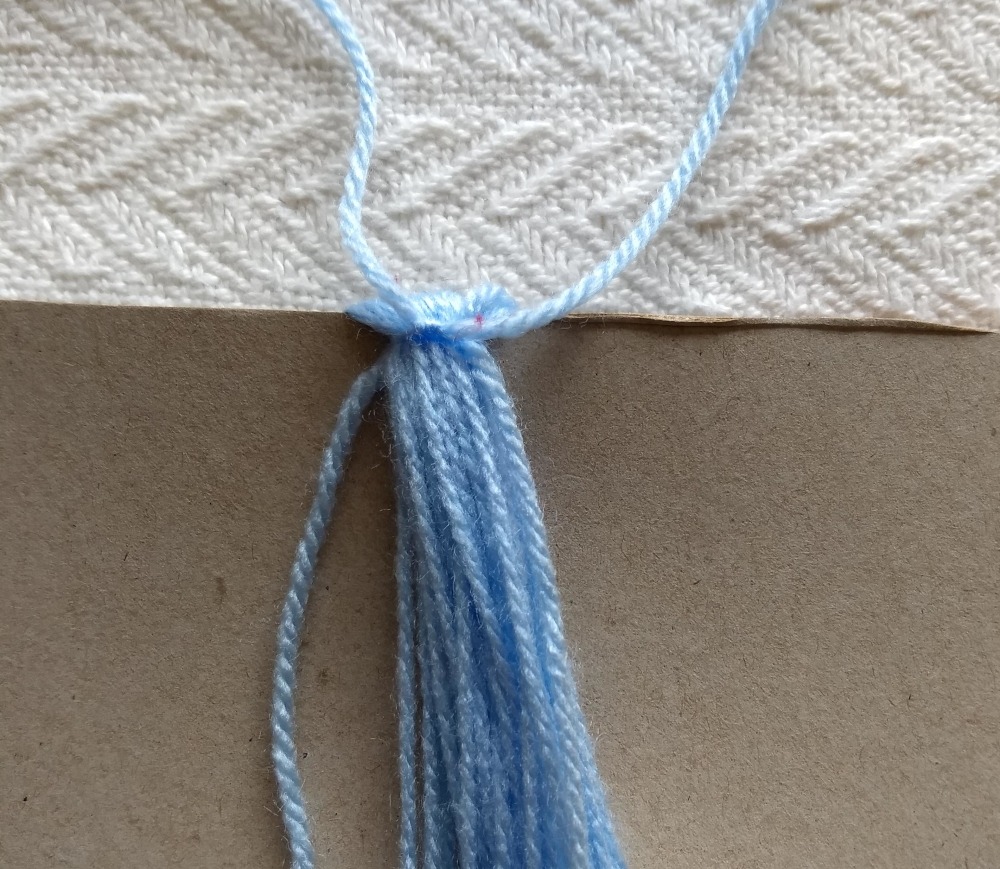
Tie a square knot at the top of your tassel. Make sure it’s tight, but not so tight you break your yarn, of course!
Now, cut the yarn wraps on the other side of your tassel, at the other edge of your cardboard.
This will release your tassel from your cardboard.
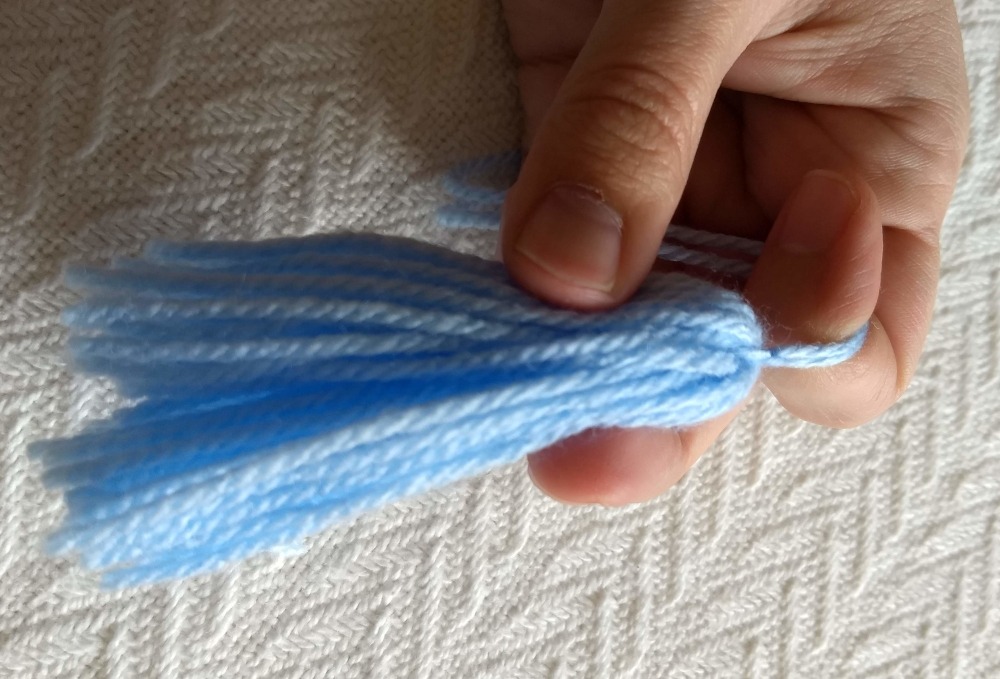
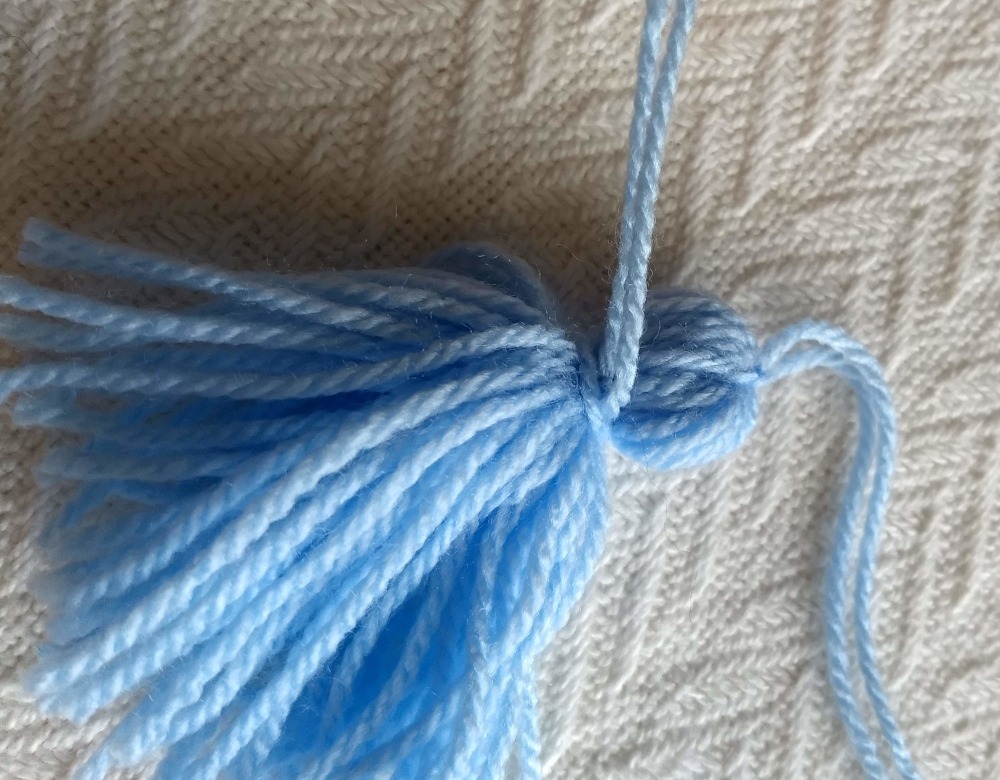
Keeping your two ends of yarn from your knot separate at the top, fold your tassel.
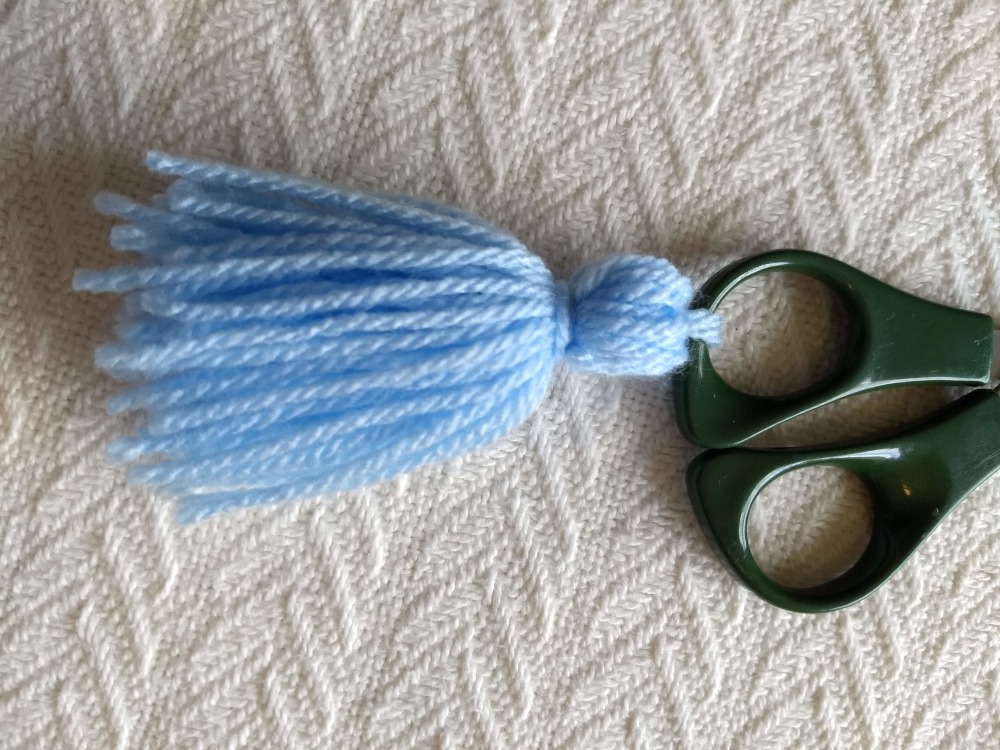
Cut another small length of yarn from your yarn ball, and tie it around your tassel to separate out the rounded upper portion of your tassel.
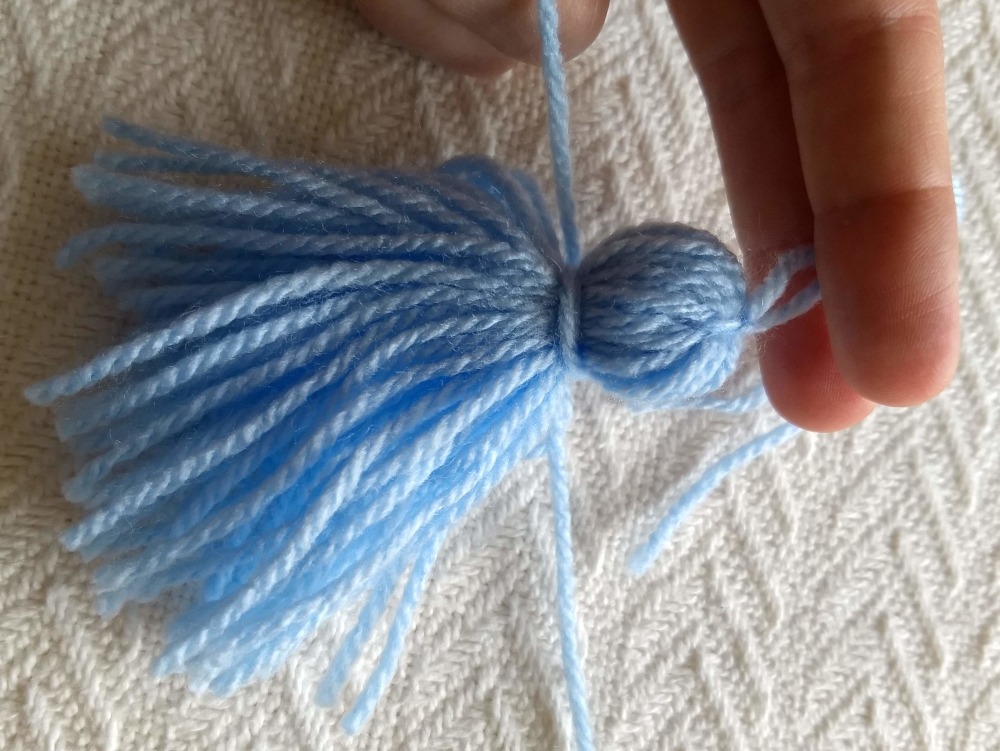
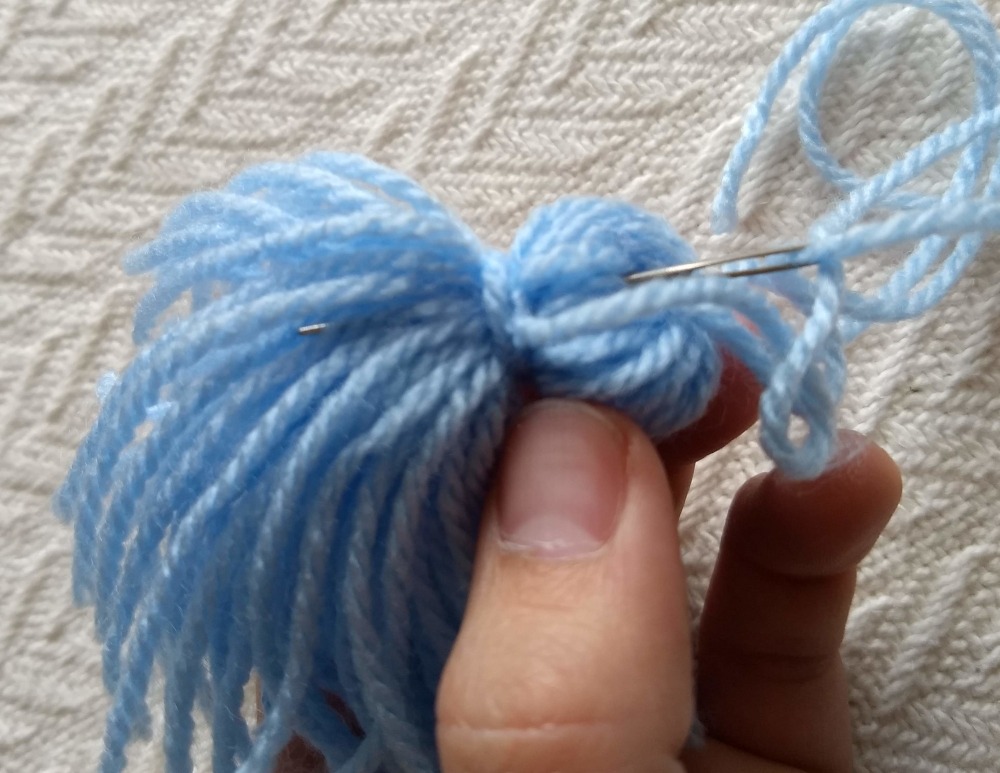
Thread the two tails from this yarn onto a tapestry needle, then hide the tails by pulling them down into the center of the tassel.
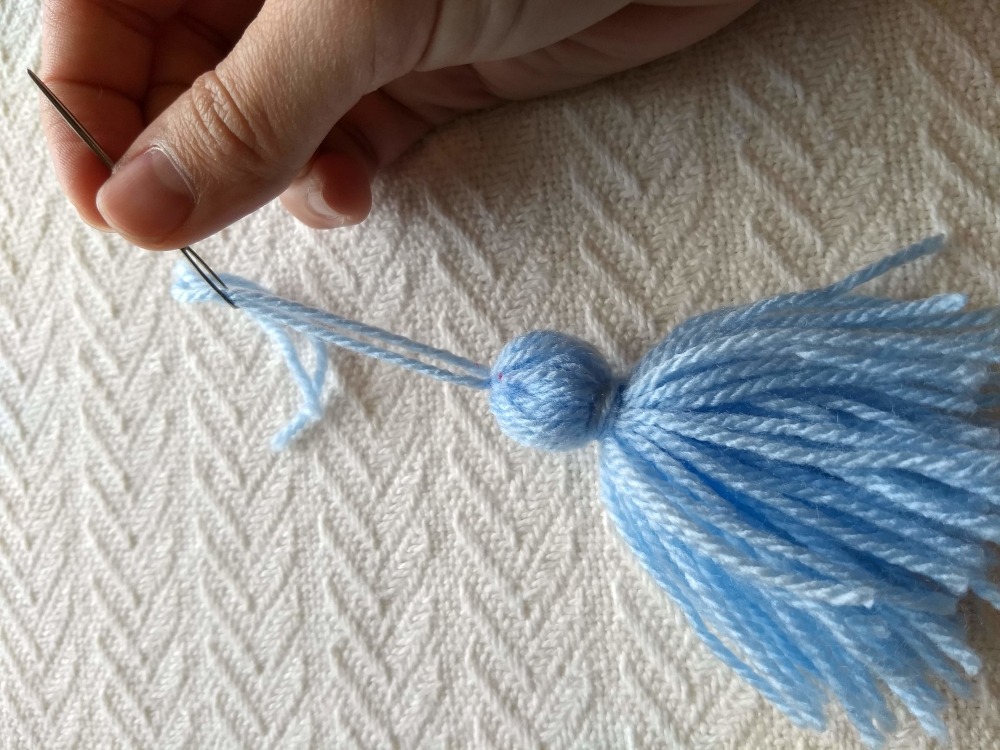
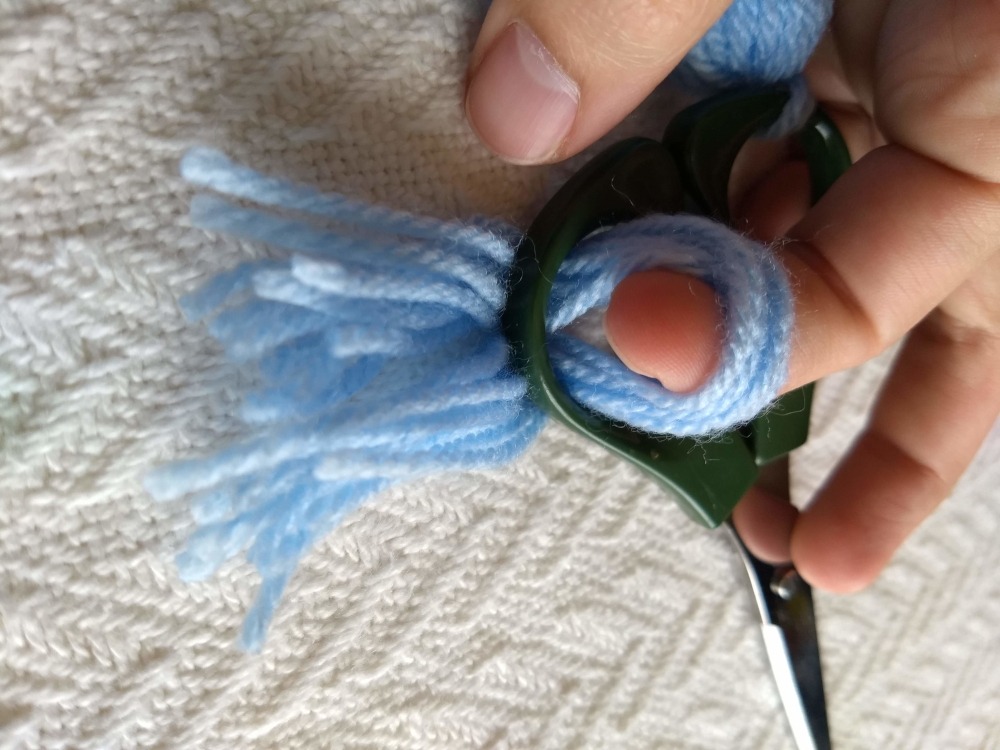
To easily attach your tassel to your project, thread the two top strands onto your yarn needle.
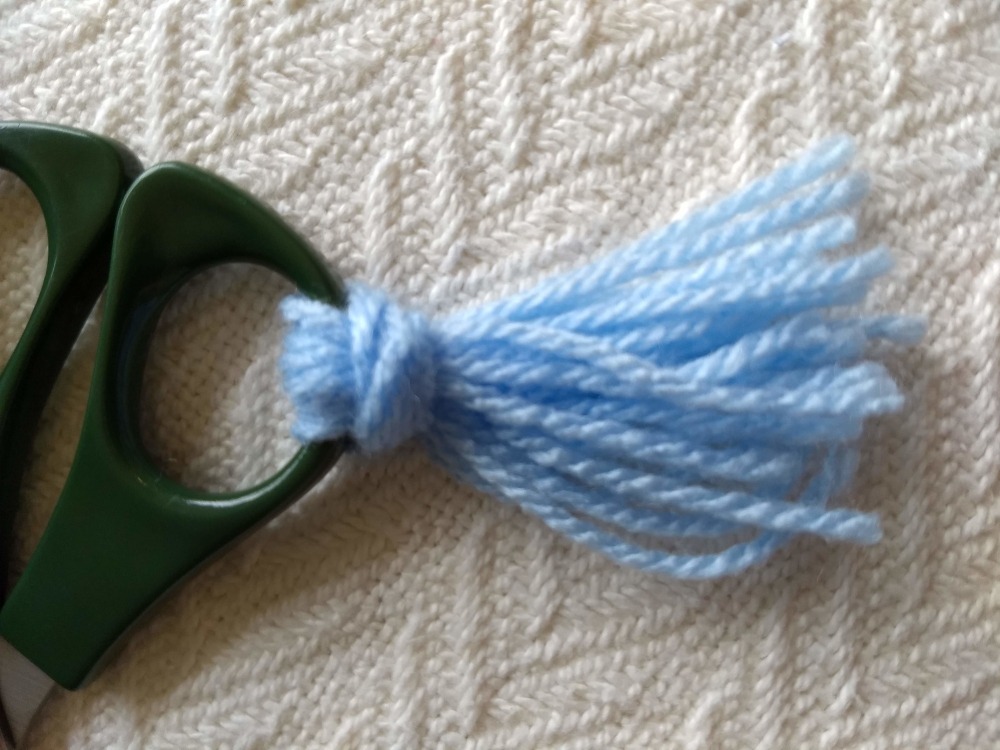
Go through whatever you want to add the tassel to. In this case, I just attached it to the handle of my scissors, since they were nearby. Then go back down the center of your tassel and out the bottom. Or, you can just use the two strands to tie the tassel onto your object, then hide the strings within, which is a little more secure, but a little less pretty.
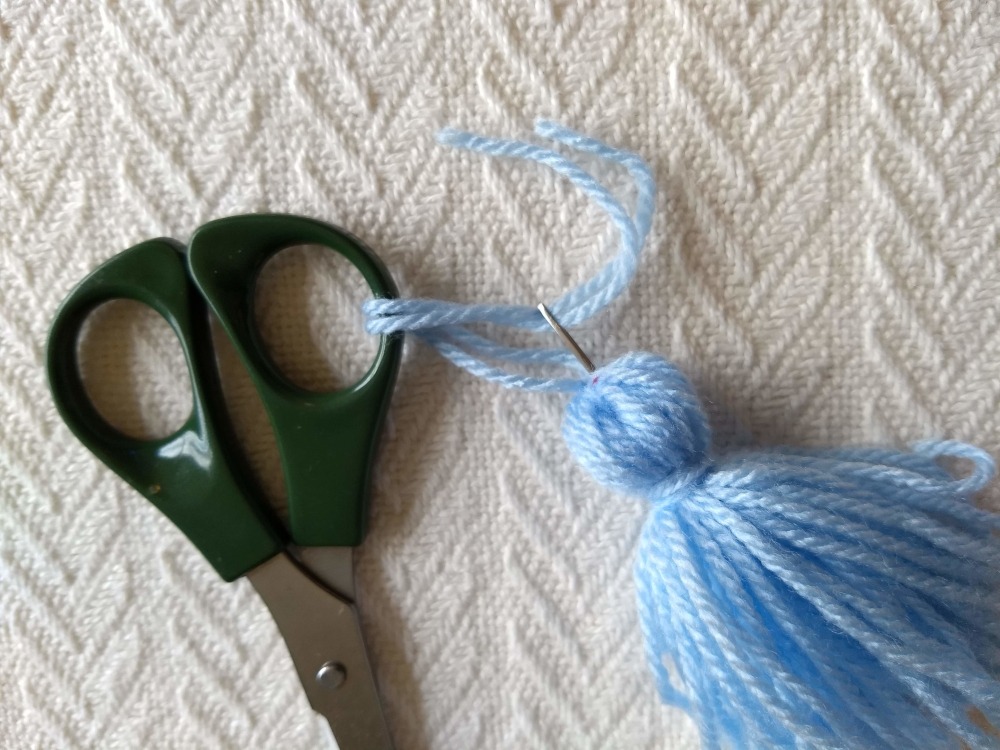
Now you’re done!
Alternative Easy Tassel
If that one’s too much work for you, or you’re looking for an alternative, here’s another method. I use this often to create fringe on projects, like the edging of my Moss Stitch Mug Rug. I think it works best if you’re only using a few strands at the same time, but it’s easy as pie (which I’ve always thought was an odd phrase, because, with the exception of pumpkin, I don’t think pie is very easy to make… at least not to make well… ANYWAY).
For this technique, cut several strands of yarn the same length, a little more than twice as long as you want your fringe/tassel to end up.
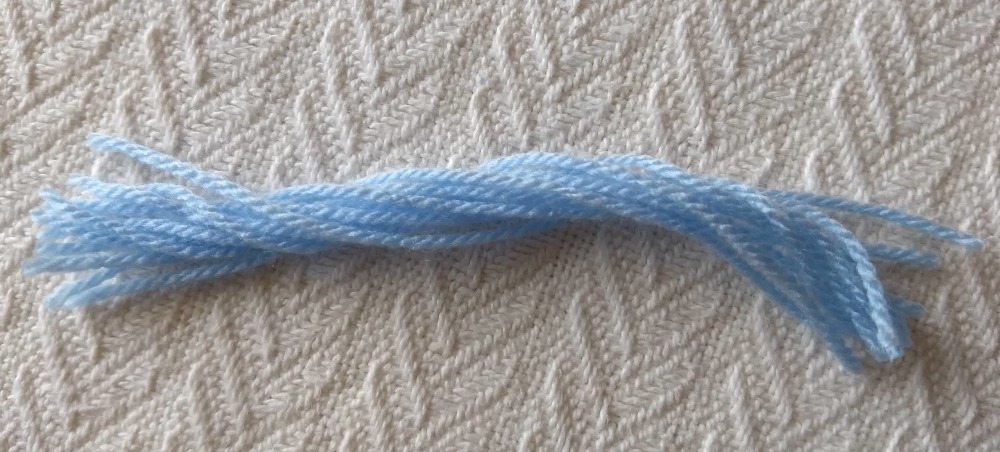
Now pull the center of all the strands (together as a single bunch) through whatever you want to attach them to. Don’t pull all of the yarn all the way through.
Now pull all of the yarn tails through the loop you made. Snug it up!
One downside of this technique is that the back and the front will look noticeably different. Below is a picture of the other side.

Since I prefer the look of the top fringe/tassel, I always join my fringe from the back, which leaves the prettier side on the front. Experiment, and find out what you like!
I hope you enjoyed this tutorial! Don’t forget to sign up for the email list, below, and subscribe to the YouTube channel for the latest tutorials and patterns! If you found this useful, you can also support me by Buying me a Hot Chocolate! Happy Crocheting!