
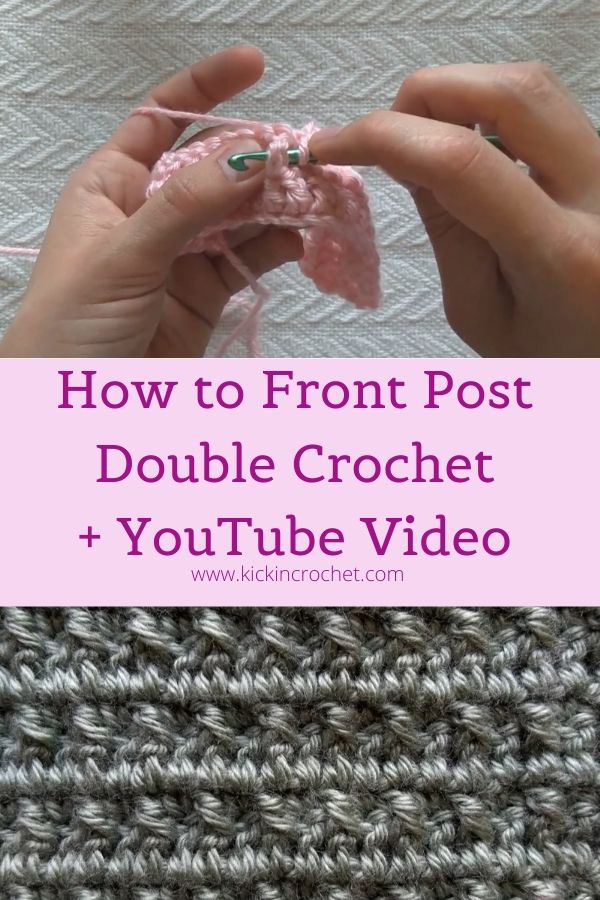
Once you’ve learned how to front post double crochet, a whole new world of crochet possibilities is open to you! Front post double crochet is used in crochet cables, waffle stitch, some types of crochet ribbings, and basketweave stitch, to name a few. Take your crochet game up a notch with front post double crochet, also known as fpdc.
*Disclosure: Some of the links in this post are affiliate links, which means if you click on them and make a purchase I may, at no additional cost to you, earn a commission. Read full disclosure here.
Supplies
If you’re following along in the Learn to crochet series and you plan on joining your sample squares together at the end of the project, I recommend using the same yarns throughout. You’re welcome to use whatever you’d like, but here’s what I used:
- Worsted weight yarn of your choice – I used Caron Simply Soft
- Size H crochet hook – I love these Odyssey hooks from Furls Crochet!
- Yarn/Tapestry Needle for weaving in ends.
Front Post Double Crochet YouTube Video Tutorial
How to Front Post Double Crochet (FPDC)
In this tutorial, I’ll talk about how to do a front post double crochet, but actually you can use the same technique to make a variety of front post stitches. The thing that makes it a front post stitch is all about how you insert your hook in a stitch to pick up a loop. Let’s get started!
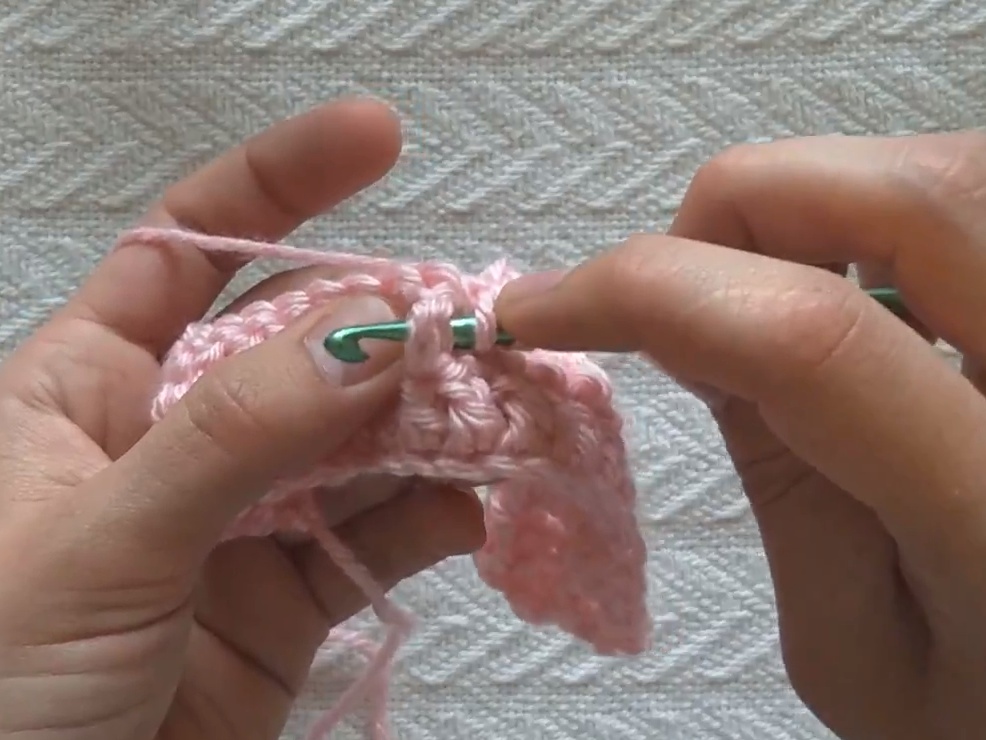
To do a front post double crochet, first you’ll yarn over, like you normally would for a double crochet stitch.

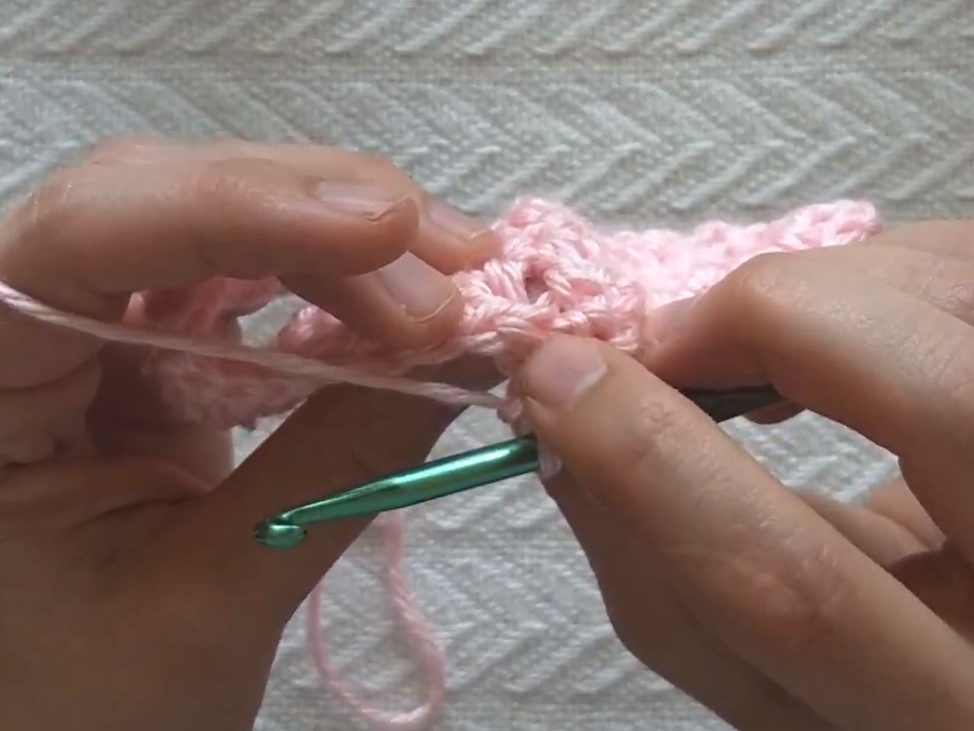
Now, instead of inserting your hook in the next stitch and picking up a loop, you’re going to insert your hook around the post of the stitch. See the two little gaps on either side of the double crochet on the row before? From the front of your project, insert your hook into the gap on the right side of the stitch, behind the post, then back out the left side of the stitch.
Now you’ll yarn over, and pull the yarn back through to the right side of the post.
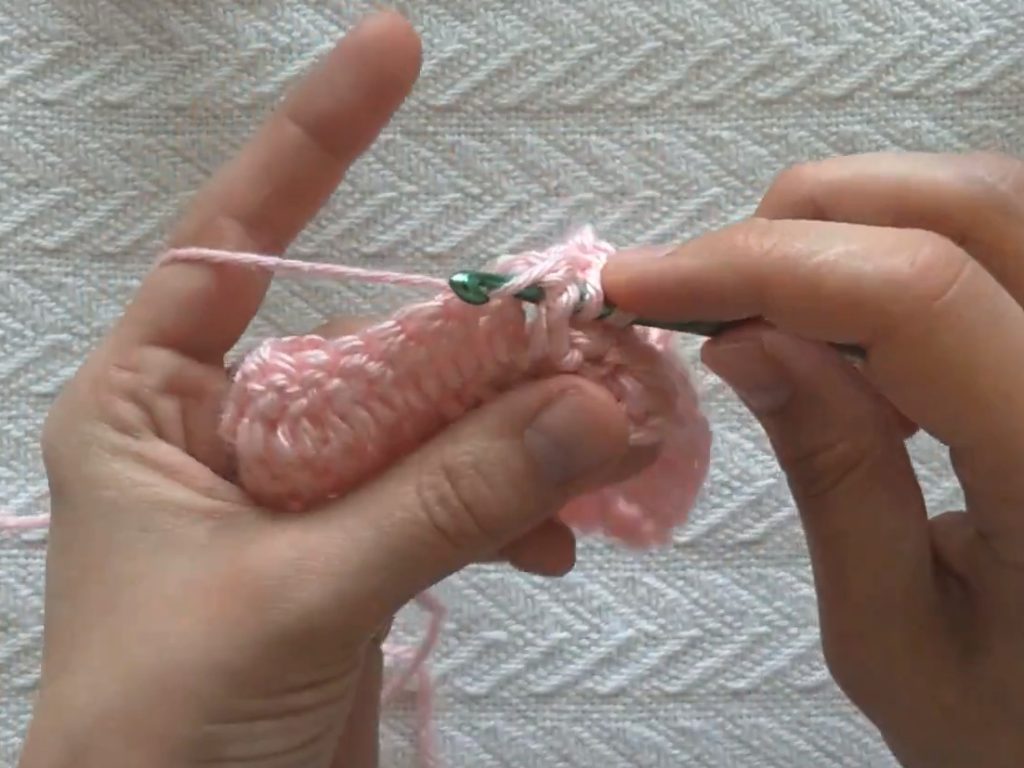
Once you’ve got your loop pulled up, you’ll finish the double crochet like normal, by yarning over and pulling through two loops twice. The only difference in a fpdc versus a regular dc is where you’re inserting your hook to pull up a loop!
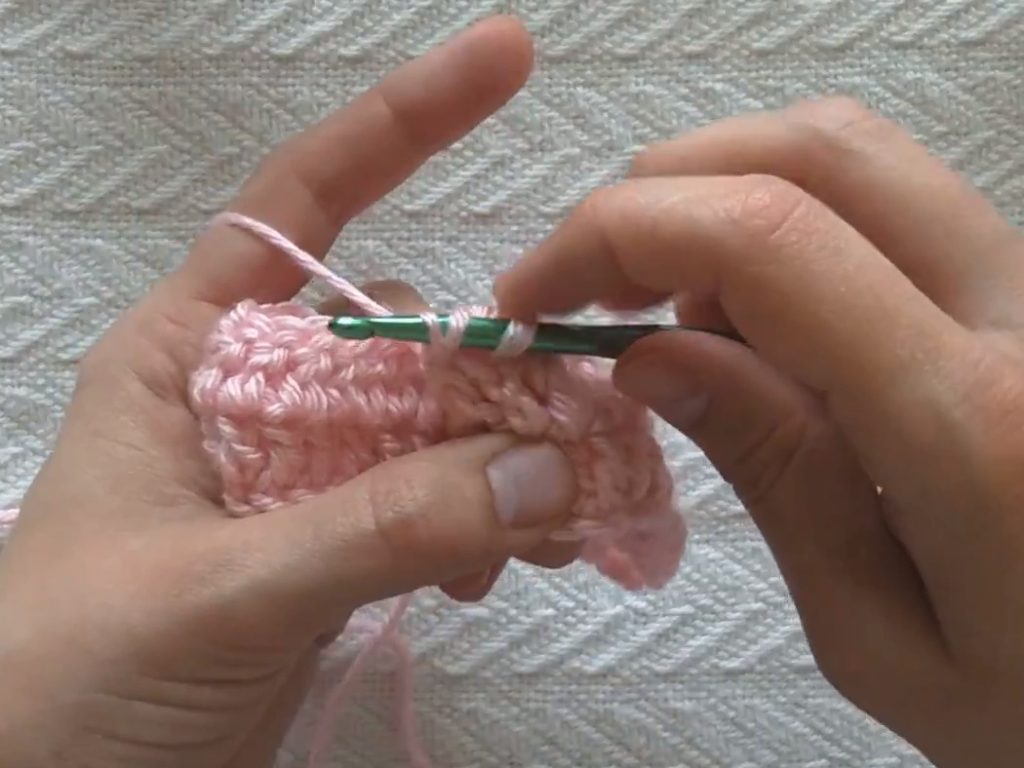
The front post double crochet will create vertical stitches that pop out on the front of the work, and horizontal rows on the back of the work (if you did a whole row or a section of a row in fpdc, that is). You can see, even in this one stitch example, how the back of the work has the start of a ridge where the top of the previous row’s dc was.
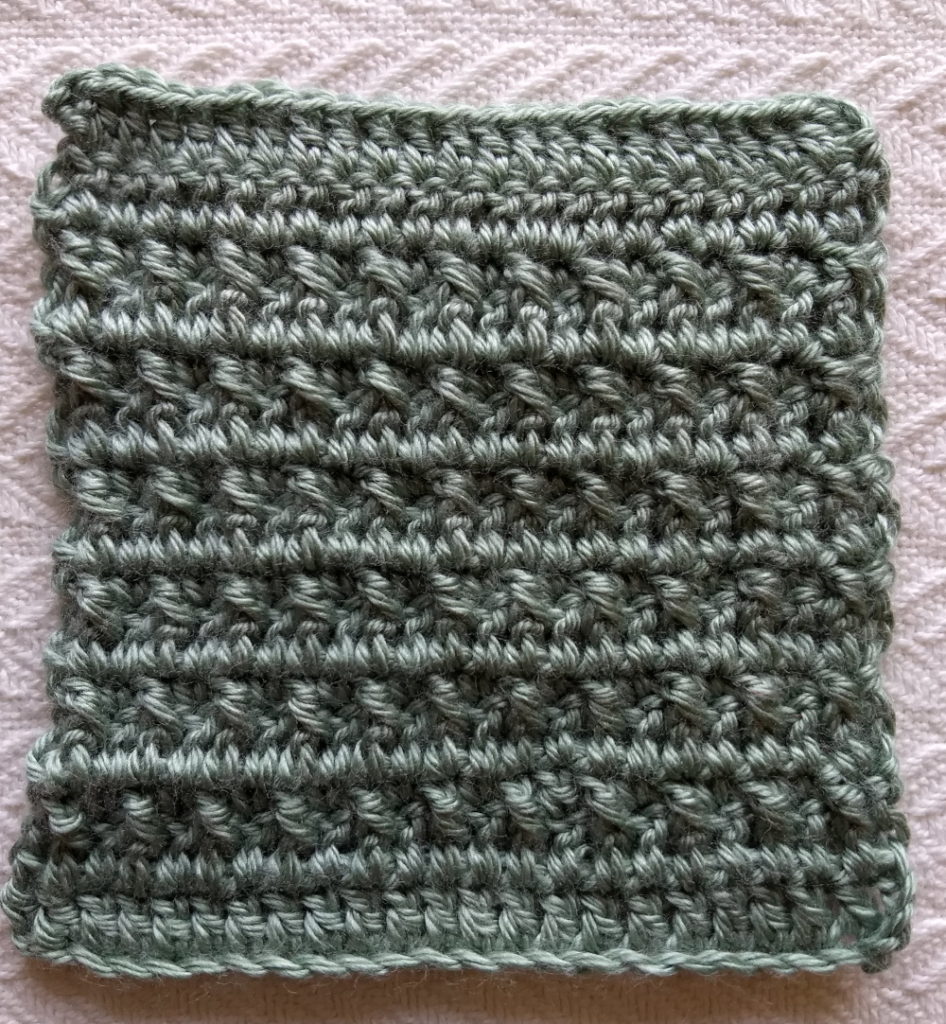
Making the FPDC Blanket Square
This week’s blanket square uses a combination of fpdc and sc stitches. When you’re working with post stitches, they tend to be a little shorter than regular stitches, since you’re pulling the yarn loop up farther down the stitch on the previous row. Thus, I usually use a shorter stitch next to the post stitches to keep the tops of my rows more even.
My square is 23 stitches wide, but you can do any odd number.
- Ch26 (counts as 23 ch plus ch3 for turn), turn
- dc in 4th ch from hook and across
- ch3, turn, dc across
- ch1 (doesn’t count as a st), turn, sc in 1st st, *fpdc, sc, repeat from * across.
- ch3, turn, dc across
- Repeat rows 4-5 five times.
- ch3, turn, dc across.
That’s it! I hope you enjoyed this tutorial! Stay tuned next week for a free pattern using this stitch combination! While you’re waiting, did you see the free Rainbow Ripple Blanket crochet pattern? I also wrote up a handy tutorial for you to learn to design your own ripple blanket!