
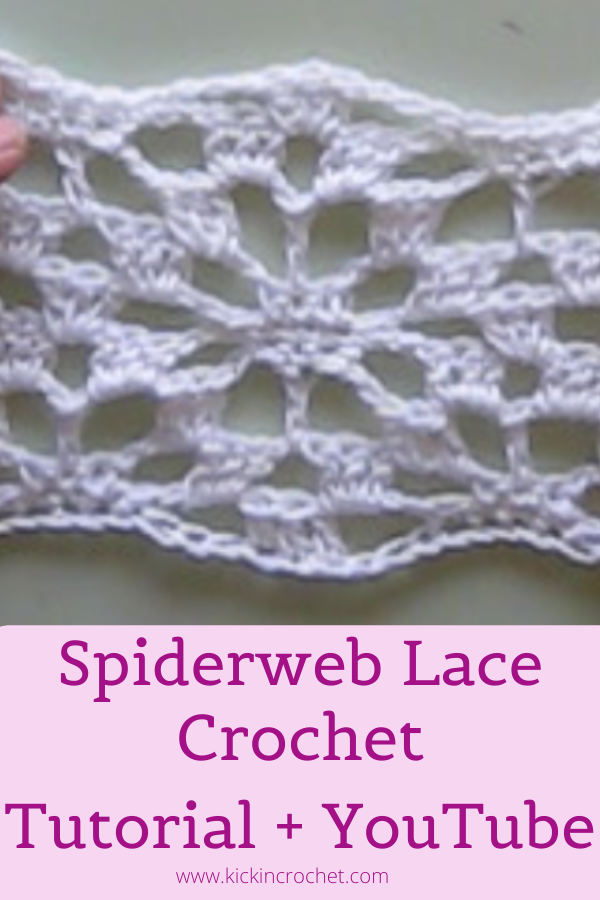
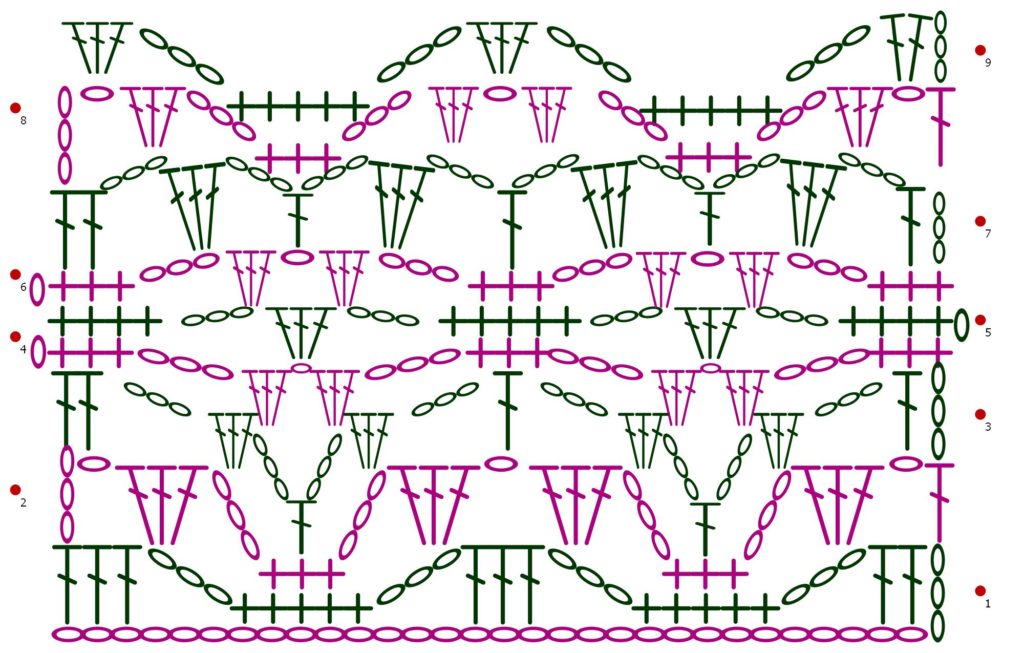
For those of you who were wondering how to make the super cool lace I used in my crochet earring holder tutorial, look no further! I’ve made a YouTube video tutorial -How to Crochet Spiderweb Lace- for you to follow along with. YES! I also whipped up a stitch chart for you. Well, I say whipped up, but it could more accurately be described as battled my crochet software to the death to produce it. Seriously, why isn’t it more user-friendly?!. Anyway, I encourage you to keep a copy of the stitch chart below handy as you work.
*Disclosure: Some of the links in this post are affiliate links, which means if you click on them and make a purchase I may, at no additional cost to you, earn a commission. Read full disclosure here.
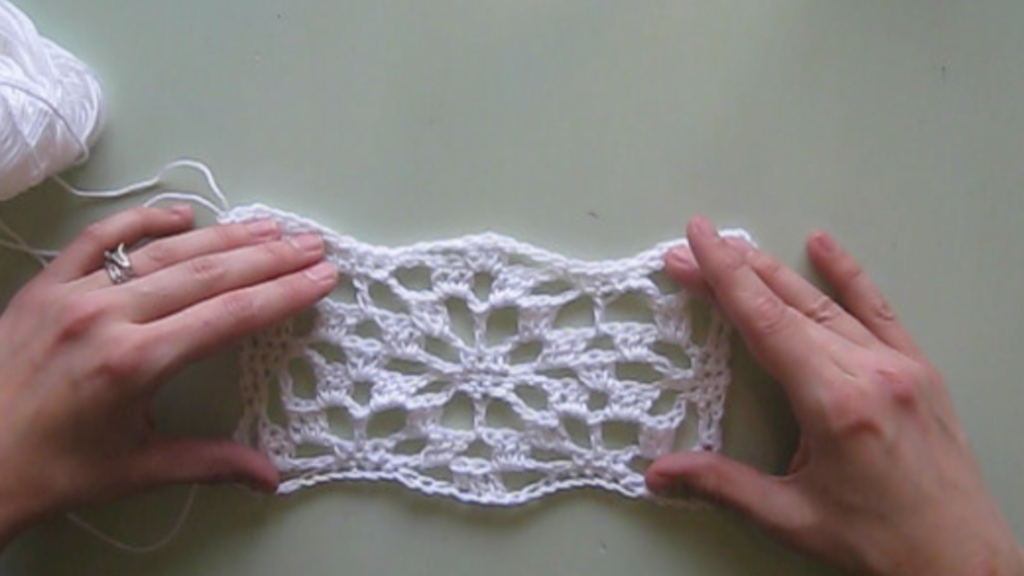
I really like this lace pattern. It’s not too difficult, but it looks super hard! You’re sure to get plenty of – “You made that?! – type comments. 😉 In this tutorial I use the remnant of the Pima cotton yarn I used for the Ruth Shirt. In the actual earring holder, I used a thin ribbon yarn. I’d tell you the brand for the ribbon yarn, but I got it hand-me-down and it didn’t have a label, so I legitimately don’t have any idea what kind it is *shrug*.
Unfortunately, I forgot to take pictures as well as filming, so this tutorial is just a video to accompany the stitch chart. If you’re not sure how to read a stitch chart – welll….. watch the video! *frantically scribbles down notes to make a how to read a stitch chart tutorial*. However, I can give you a few important notes about the pattern.
Tips for making spiderweb lace
First and foremost, for the starting chain, you need to do a multiple of 14 stitches, plus 2. For the sample, I did two sets of 14 plus 2 more, so 14+14+2=30 stitches. If you want to do a larger piece of lace, do more multiples of 14! The turning chains count as stitches for the rows where you’re starting with a double crochet, but they don’t count as stitches for the rows where you’re starting with a single crochet. I suppose they could count for sc rows, but I prefer it this way. You’re welcome to modify for yourself.
Finally, you can stop the pattern after row 5 or row 9 in the repeat. Basically, anytime you finish a row with the five sc’s that make up the middle of your spider web, that’s a row you could stop at. Well, you could stop whenever you want to, it’ll just look better if you stop there! If you do a sample the size of the stitch chart, it should end up looking like the sample I made in the video – they’re the same! This lace does tend to compress upon itself, so you would probably use it in a design where it’ll have some tension. Alternatively, you’ll need to block it out well to really see the stitch definition. This makes it perfect for the earring holder project! Follow along, and you’ll know how to crochet spiderweb lace in no time. And now, without further ado – the video!