
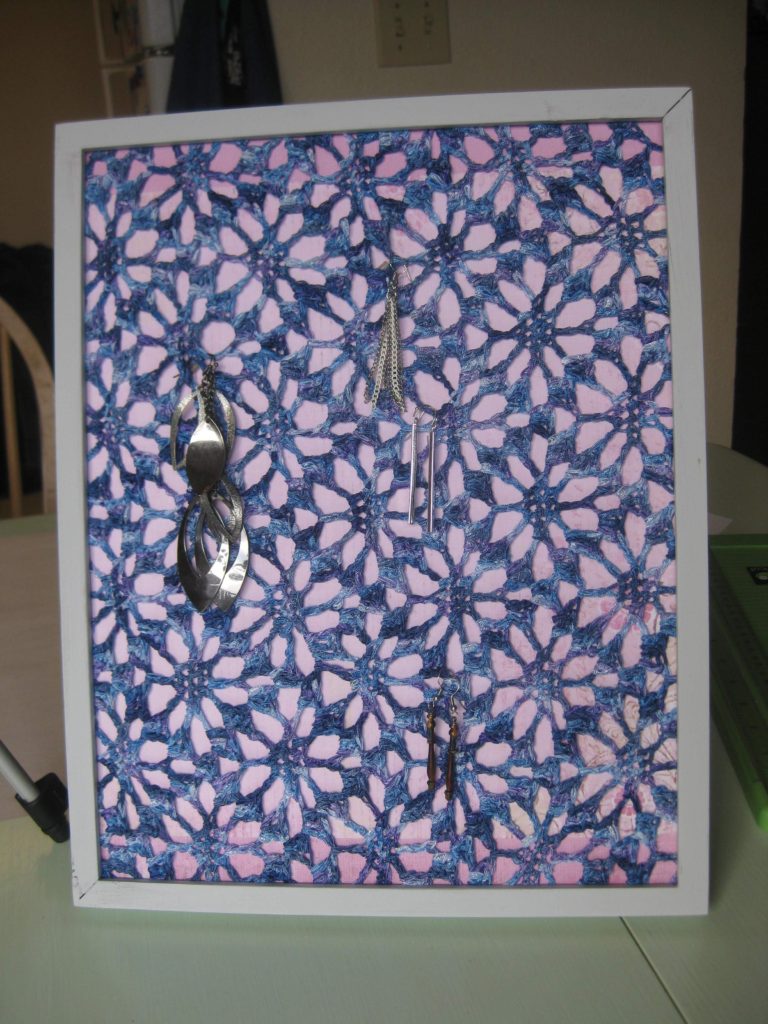
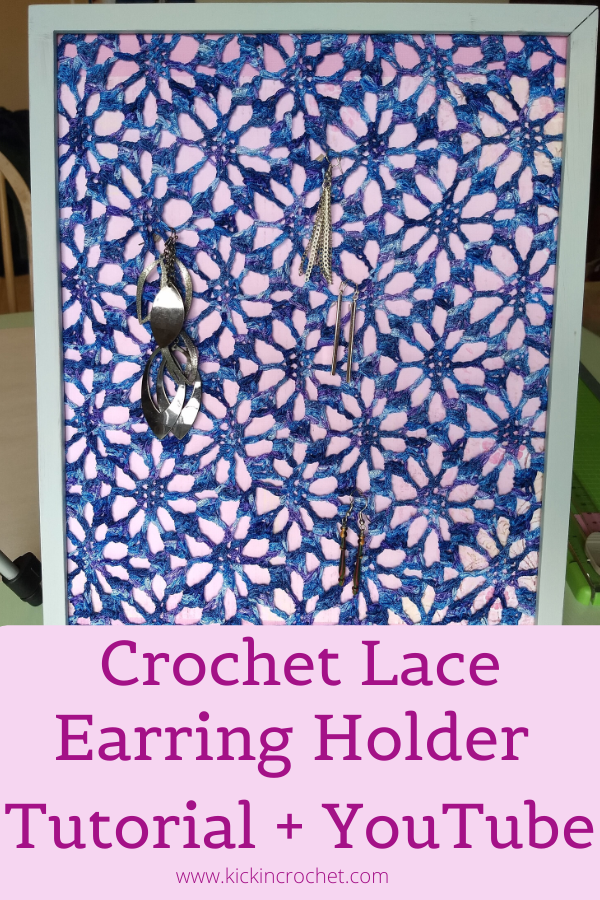
Make Your Own Crochet Lace Earring Holder
You guys, not to toot my own horn or anything, but this thing ROCKS. I love how this crochet earring holder turned out… and here’s the big secret… it’s not that hard to make. If you can crochet, you can make one of these beautiful crochet lace earring holders. Follow along with the video, or see below for a written step-by-step guide to making your own. Enjoy!
*Disclosure: Some of the links in this post are affiliate links, which means if you click on them and make a purchase I may, at no additional cost to you, earn a commission. Read full disclosure here.
Supplies
Here’s what you’ll need:
- A picture frame
- A piece of crocheted (or knit, or whatever) lace made a little smaller than your frame. It will stretch over the frame. If you used a yarn or thread that is not stretchy, you’ll have to make the lace a little larger than the frame, so make sure you test it out as you’re making it! Any lace pattern you like should work fine. A tutorial video on the spider web lace I used to make this frame will be coming soon, so stay tuned!
- A piece of cardboard or something else stiff but not too thick – it will go inside the frame for the lace to wrap around. I used the back panel of a watercolor paper pad.
- scrapbook paper or art to cover the cardboard as a background for the lace
- glue of some sort for the scrapbook paper
- craft paint and paintbrush if you want to paint your frame
- crochet thread and tapestry needle (or whatever you’ve got handy that’s not too thick – regular sewing thread would probably work just fine).

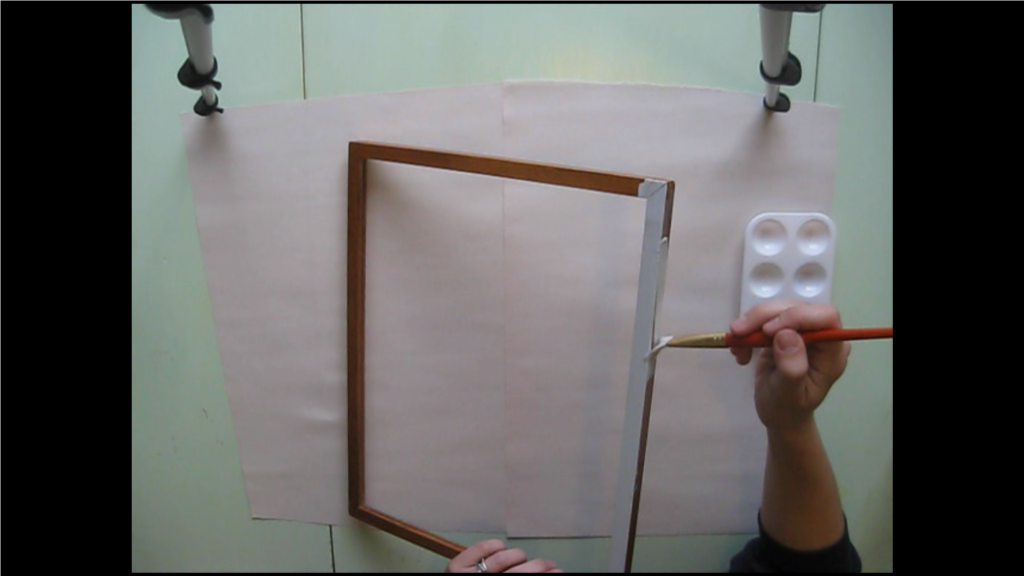
Step one, prepare the frame
The first step is to open up the frame. Take out the glass, as you won’t be needing it for this project. Make sure your cardboard insert fits inside the frame. Depending on how thick your yarn or thread is, you may need to cut this to be a little bit smaller than the frame opening in the back. This allows space for the lace that will be wrapped around it.
To paint the frame, remove the back and your insert. Make sure that you paint the front face, the sides AND the little inside bit that will be right up against your lace. Set this aside to dry while you work on preparing your lace.
Part two, prepare the insert board
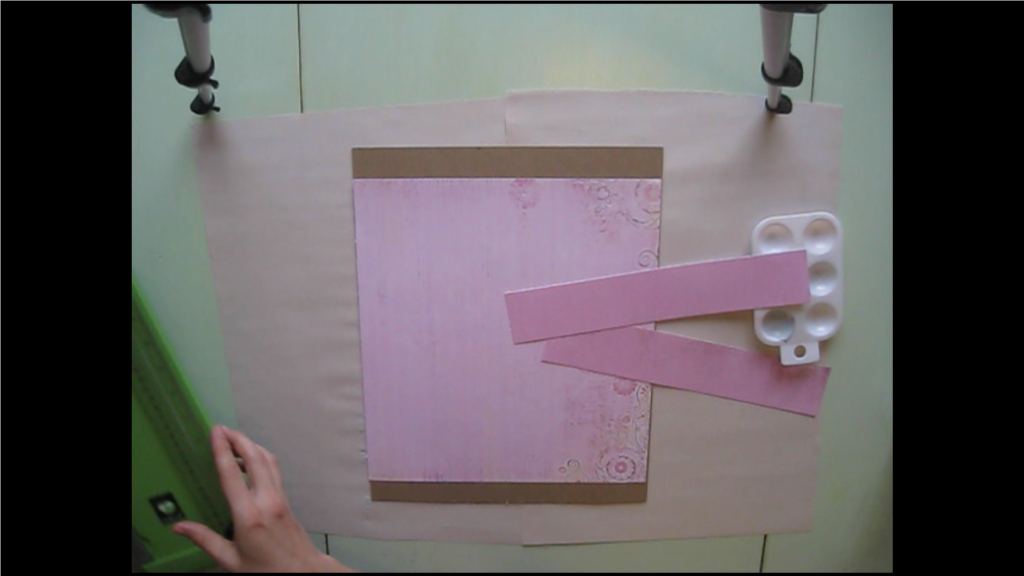
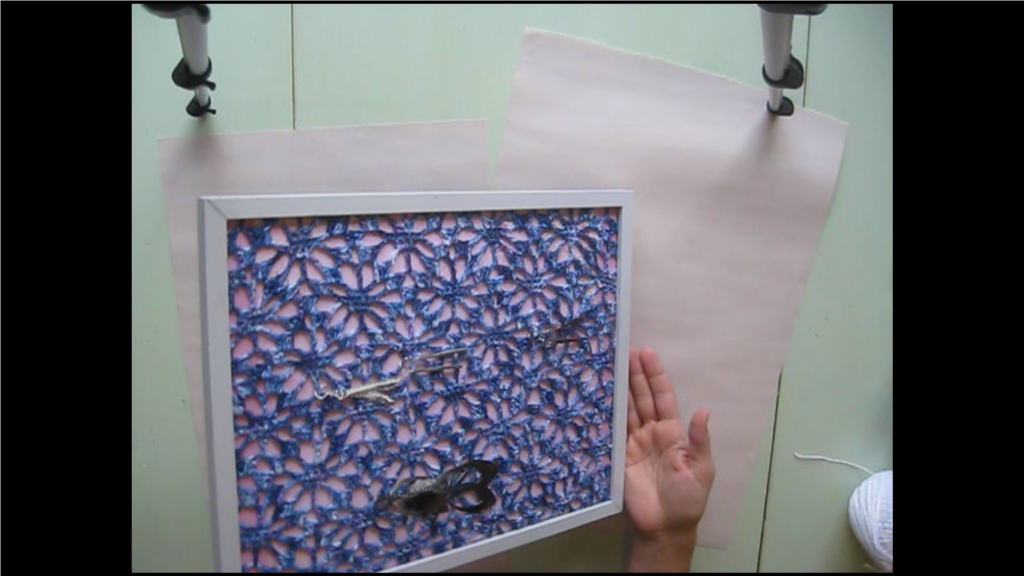
Grab your cardboard insert and whatever paper you chose as your background for your lace. I tried out several different colors before settling on this pink. The different background colors make a huge difference in the final look and feel of the piece, so play around with your colors before making your final selection!
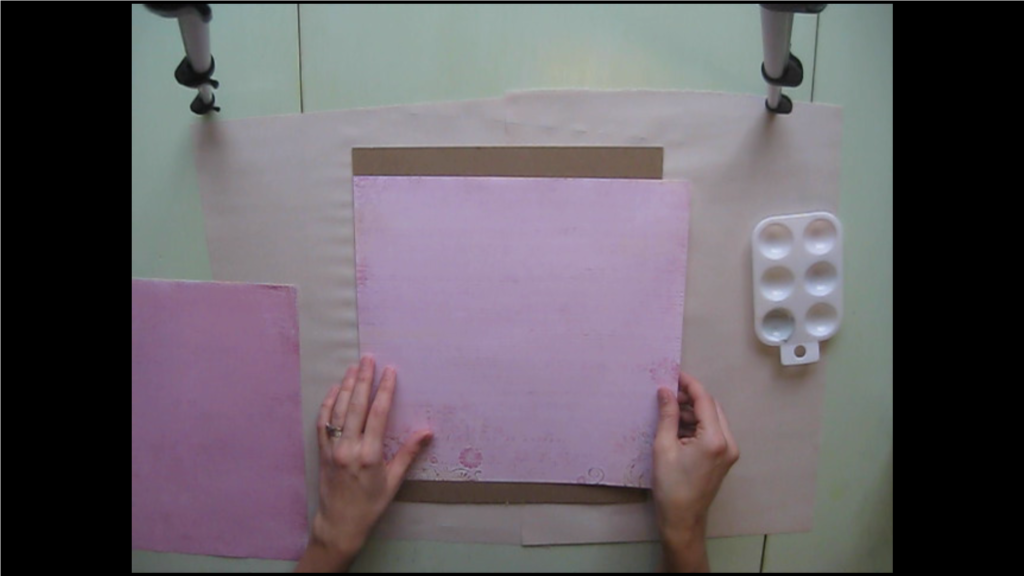
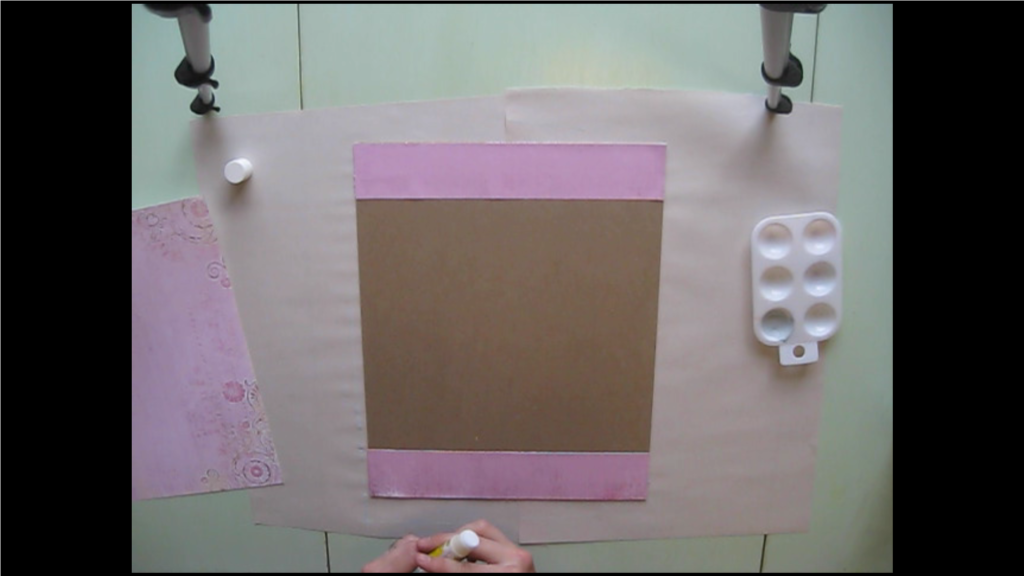
My scrapbook paper was 12×12, and my frame is 11×14, so I had to trim an inch off of one paper and cut two strips to cover the extra space at the top and bottom of my insert. I cut the two strips to 2″ so that I would have some overlap. That way I don’t have to worry about lining things up exactly right.
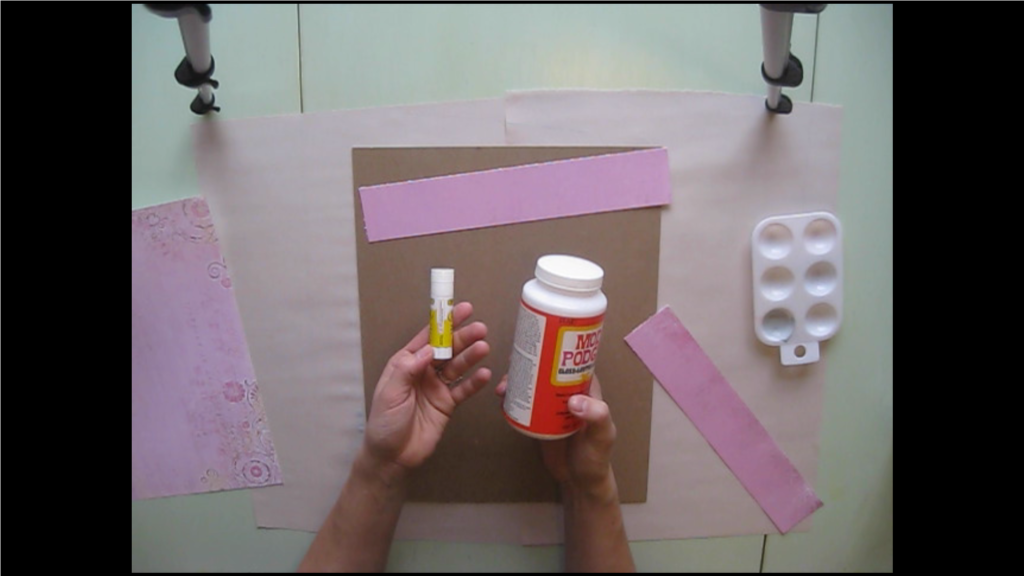
Just glue that paper down however you want. You can use pretty much any type of glue you like – glue stick, mod podge, Elmer’s glue, nice scrapbooking glue. I’m just using a plain old glue stick. I realize it leaves some wrinkles in the paper, but it’s going to be basically unnoticeable in the final project, so I’m not worried about it.

Step three, attach your lace
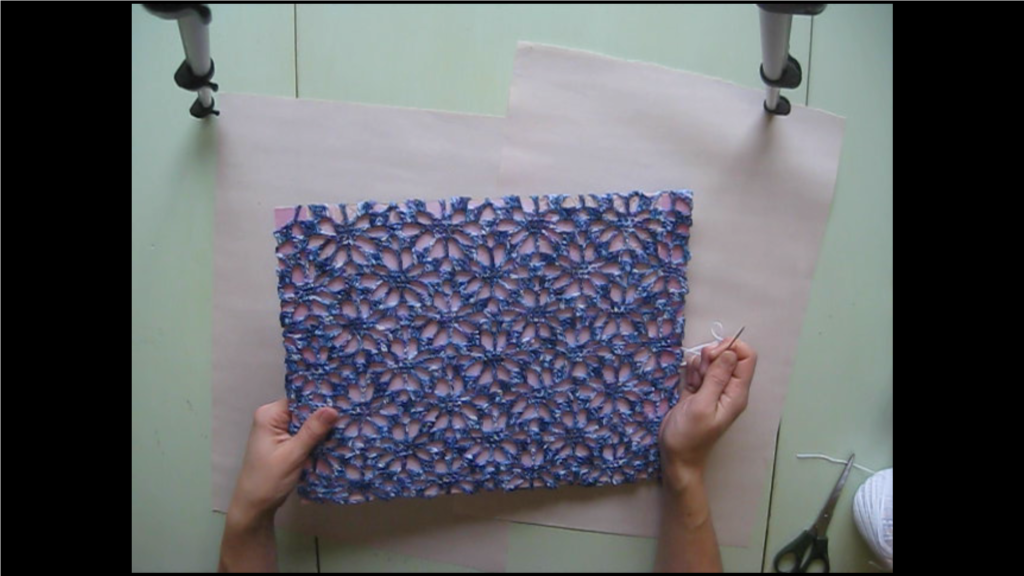
Now it’s time for that crochet thread and tapestry needle. First, take a length of thread, insert through the needle, and tie the ends together with a knot. This makes it really easy to start sewing. Lay your insert board pretty-background-side down over your lace. We’re going to sew the lace onto the board.
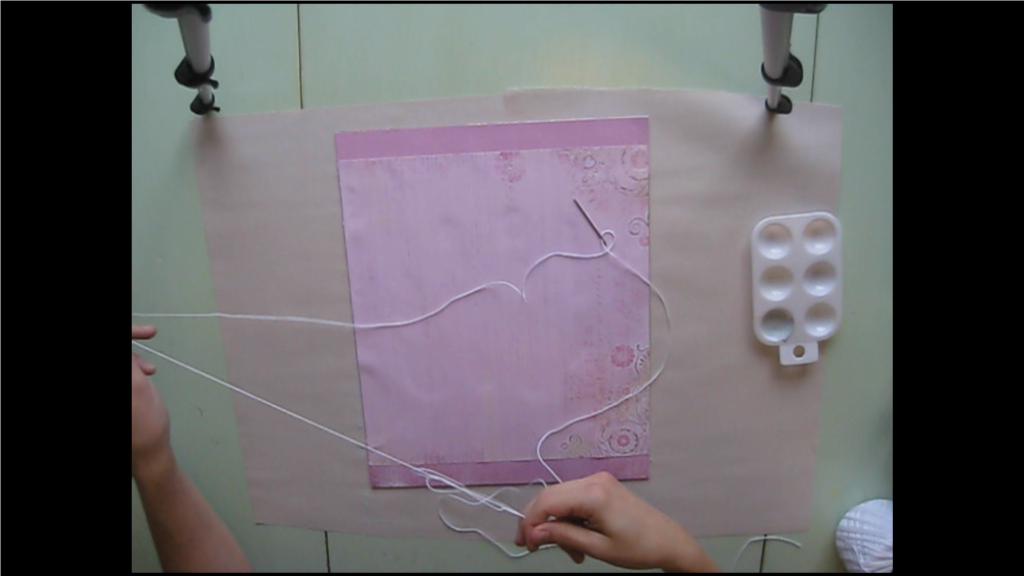
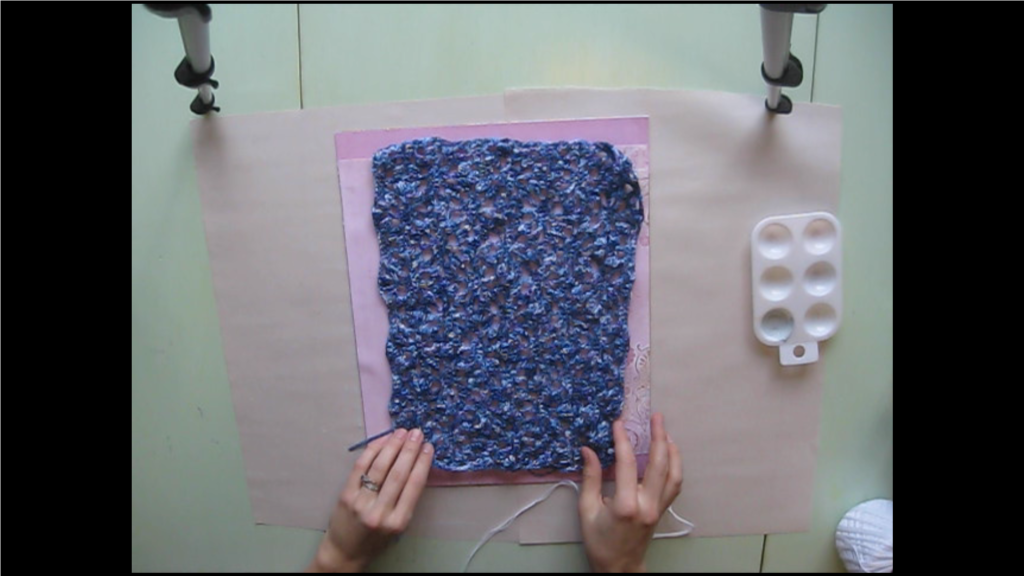
Insert the needle through a corner of your lace. Then go through the loop you made with your thread so that the thread is firmly attached. Next, go through the opposite corner of lace. So if you started with the top right, do the bottom right. Snug it tight. It doesn’t need to be too tight, but there should be a little tension so that it will support the weight of the earrings without badly distorting the lace pattern.

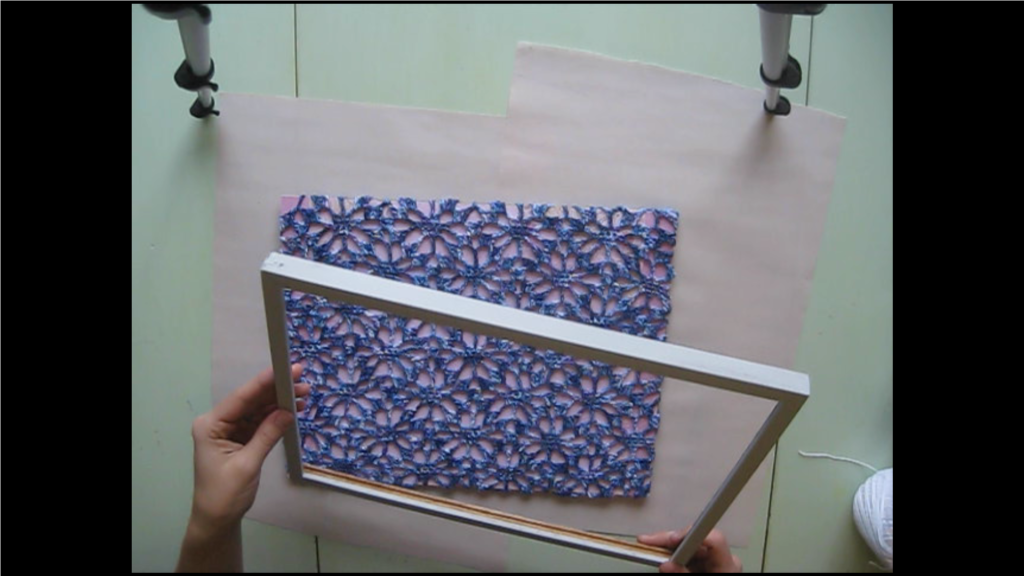
Go through the lace at the top, about 1/2″ to 1″ away from the corner you started with, then back to the bottom, 1’2″ to 1″ from the bottom corner. Continue in this way all the way across the top/bottom. You’ll undoubtedly run out of crochet thread. When this happens, just cut another length of thread from your ball, tie one end of it onto the thread attached to your project, and thread the other end through your needle, then keep sewing!
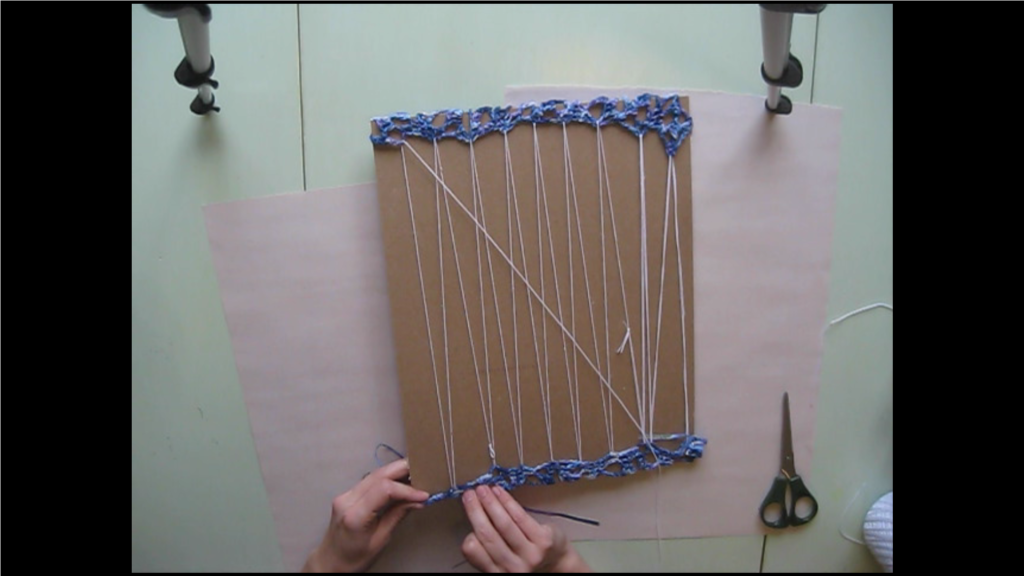
Once you’ve gotten through the top/bottom, you’ll need to turn your project to tension the other edges. See how the lace dips down in the middle? Gotta finish it up!
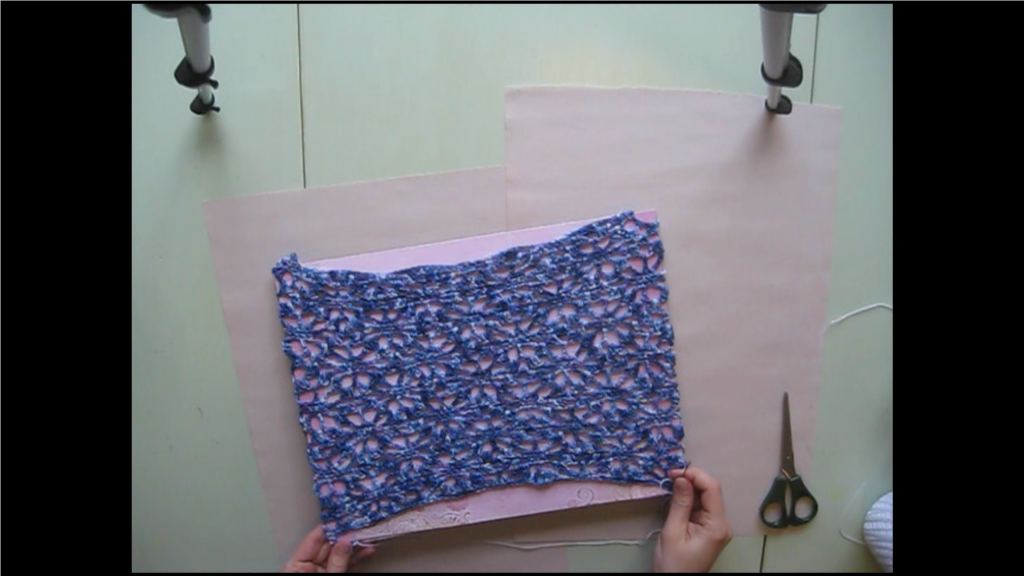
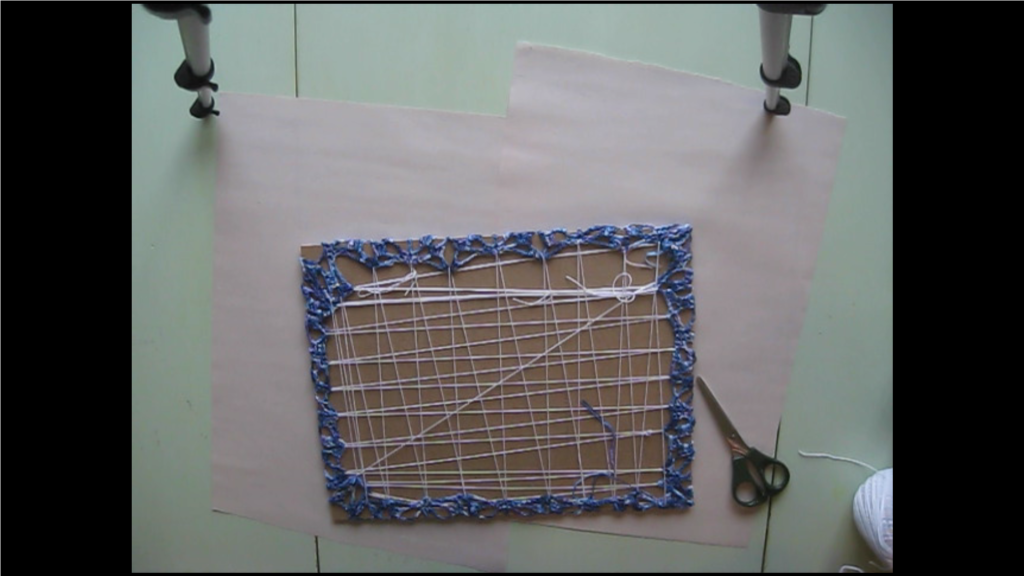
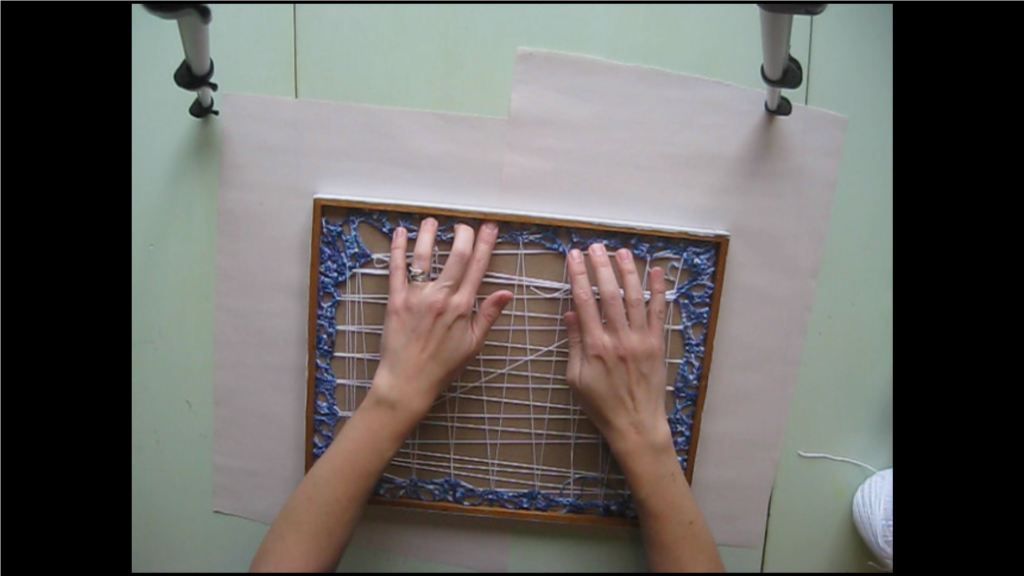
Wrap the corner of your lace around the corner of the board and make sure it’s evenly stretched. Continue sewing back and forth across the other side until you’ve secured all four sides of your lace around the insert board. Check out how much better the stitch definition is with the lace stretched out!
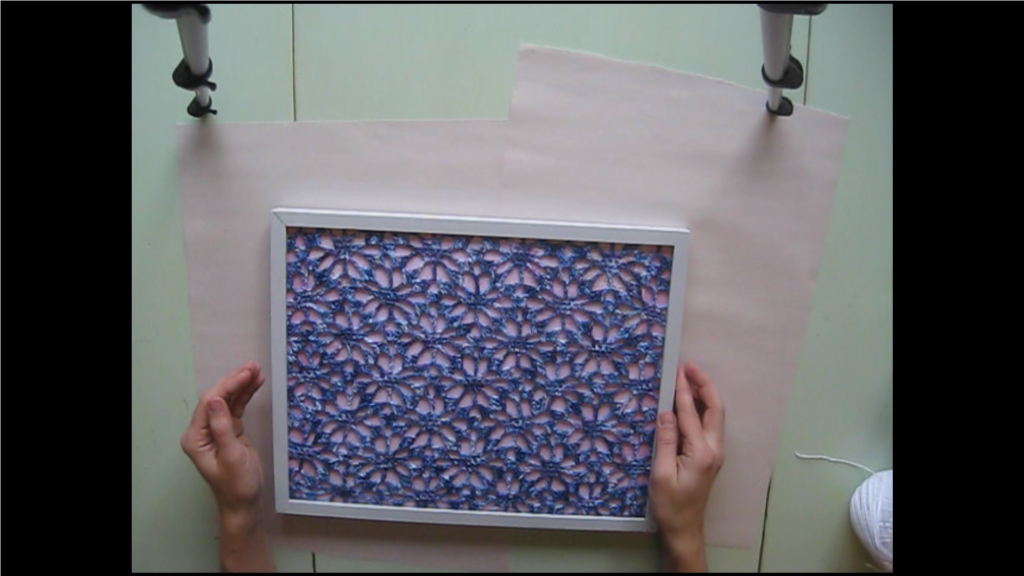
Step four, assemble your earring holder
Finally, you’re almost done! All that remains is for you to assemble your crochet lace earring holder. Take the frame (assuming the paint is dry, of course), insert your lace attached to the insert board, then replace the backing of the frame. Voila! Now it’s ready for your earrings!
I’d love to see your finished crochet earring holder projects! Show them in the comments, or share them with me on Facebook! You can find more tutorials here. And don’t forget to sign up for our mailing list to get updates about our latest creations!