
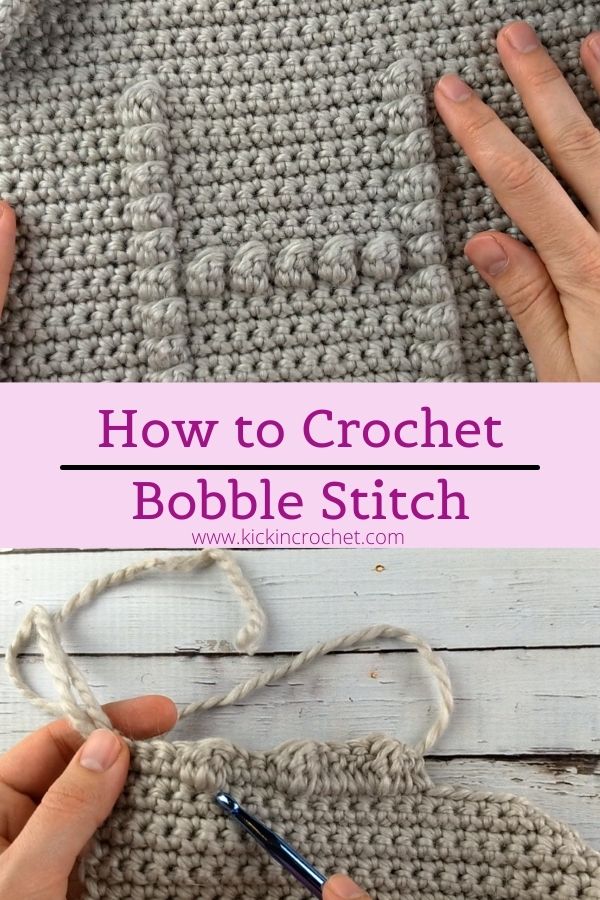
The bobble stitch is a great stitch to learn to add a literal “pop” to your project. I’ve got a quick video tutorial for you that will show you how to crochet the infamous bobble stitch – plus written directions for those who don’t prefer video!
*Disclosure: Some of the links in this post are affiliate links, which means if you click on them and make a purchase I may, at no additional cost to you, earn a commission. Read full disclosure here.
One thing to keep in mind is that the bobble stitch and the popcorn stitch are not actually the same stitch. The terms are sometimes confused, and the stitches do have some similarities, but it’s something to keep in mind – they’re not quite the same!
Supplies
Any yarn and an appropriately sized hook can be used to try out this technique. Here’s what I used:
- Bulky Weight yarn I received from my Knitcrate subscription box.
- Size K crochet hook – I love these Odyssey hooks from Furls Crochet!
- Yarn/Tapestry Needle for weaving in ends.
Bobble Stitch Crochet Video Tutorial
Instructions
To crochet a double crochet bobble stitch as shown in the video:
- yo, insert hook in next st
- yo, and pull up a loop
- yo and pull through 2 loops (2 loops remaining on hook)
- yo, insert hook in same st
- yo, and pull up a loop
- yo and pull through 2 loops (3 loops remaining on hook)
- yo, insert hook in same st
- yo, and pull up a loop
- yo and pull through 2 loops (4 loops remaining on hook)
- yo and pull through all 4 loops to finish bobble.
There are actually many different variations on the bobble stitch. You can vary which stitch you use, though double crochet is most common. You can also vary how many double crochets you use in one bobble. The example used 3 dc’s, and I find that to be a nice size – enough “pop” without too much bulk – but I encourage you to experiment!
Bobble Stitch Tips
There are a few things to keep in mind when crocheting bobble stitches.
First, the bobbles are going to pop out best from the back of the row (though you can push them to the ‘front’). For this reason, I typically work my bobble stitches when I do wrong side rows so that the bobbles are popping out toward the front of the project.
Second, for good spacing, I always have a row of regular crochet between rows of bobbles. Similarly, I always have at least one regular stitch between bobbles on the same row.
I find the bobbles really pop well if you use a stitch that is slightly longer than your regular stitches. For example, in the sample shown, the background fabric is made using single crochets, but I used double crochets for the bobbles. This helps the bobbles pop more. If the background was double crochet, I might use triple crochet or extended double crochet for the bobbles.
Finally, have tons of fun! Bobbles are great for writing out messages or adding fun designs, and the options are virtually endless!
Hello, I much prefer written instruction please, with photos if possible. I am making a crochet blanket and on the border I want to use bobble stitch to write a name to personalise it.
The plan is to crochet it at the top of the blanket, but so that when it is turned round, the name will appear centrally in the border, with the main blanket area above it.
What I can’t get my head round is how to prepare the graph so that “Harry” will accurately be able to be be read from the bottom – so basically bobbles designed on the wrong side and upside down!! Any hints and tips.