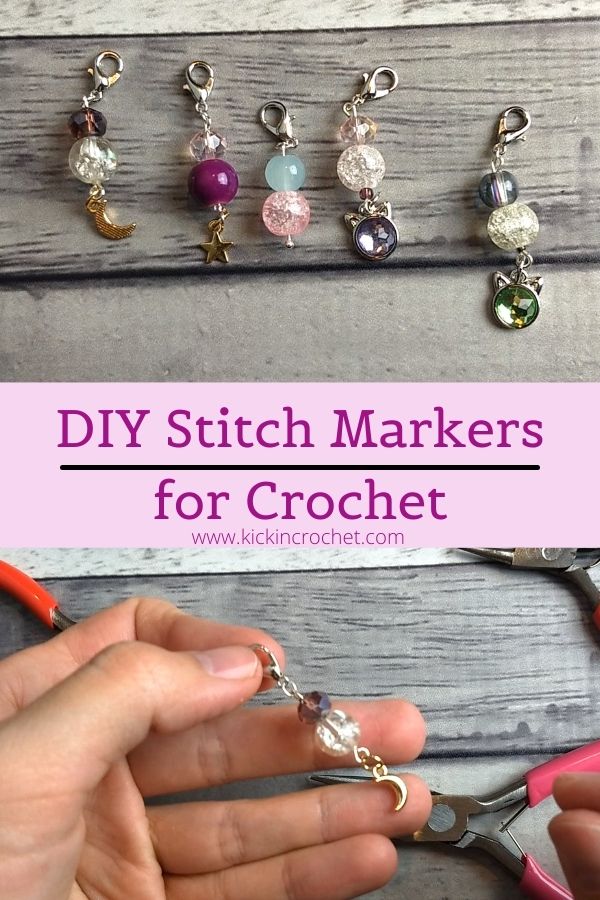
Today we’re doing something a little different – DIY crochet stitch markers! Once you purchase a few initial supplies, these are super inexpensive, quick, and fun to make. They also make great small gifts for fellow crafters in your life. Read on to find out how to make your own DIY crochet stitch markers – including a video tutorial!
*Disclosure: Some of the links in this post are affiliate links, which means if you click on them and make a purchase I may, at no additional cost to you, earn a commission. Read full disclosure here.
Supplies
I purchased all of these supplies from the beading section of my local craft store. I don’t really “speak” beading, so it was a little bit of a challenge to find all the bits. You’ll want to look in the “findings” section for the ball pins, eye pins, jump rings, and clasps. Then you can find charms and beads in the regular beading sections. Have fun picking out supplies, there are so many options!
- Eye Pins (if using a charm on the end of your stitch marker) or ball/head pins (for markers without a dangly charm).
- Lobster Clasps – these come in a variety of sizes. If you prefer thicker yarn, make sure you purchase large enough lobster clasps to attach to your yarn!
- Jump Rings – sometimes you can get away with not having these, but they are useful for attaching lobster clasps and charms to your stitch markers. Sometimes lobster clasps and charms come with jump rings, so check the package you purchase to see if you need to purchase these separately. These also come in a variety of sizes. I liked the smaller 4mm ones for my stitch markers.
- Beads – honestly, purchase whatever kind of beads you’d like! There are so many fun options! I bought a couple of variety packs.
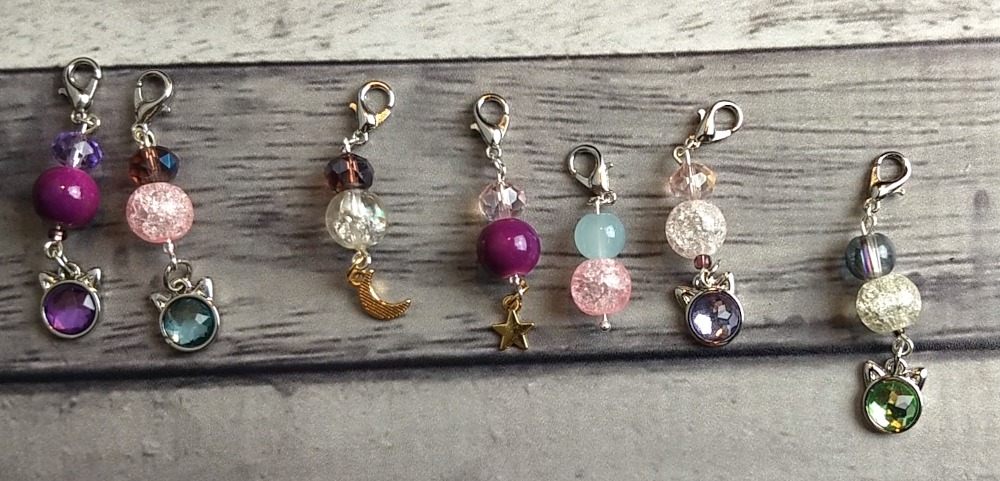
- Charms – these can get a little expensive, but you can also find variety packs at low prices shopping online. The cute kitty gem charms I found were about $1 a piece, but the stars/moons were only about $0.25 each.
- Jewelry making pliers set – I bought a three pack that included round nose pliers, regular pliers, and wire snips. I found it handy to have an extra set of regular pliers as well for opening and closing jump rings. You can often find an inexpensive set of three for less than $10.
DIY Stitch Marker Video Tutorial
How to Make Crochet Stitch Markers
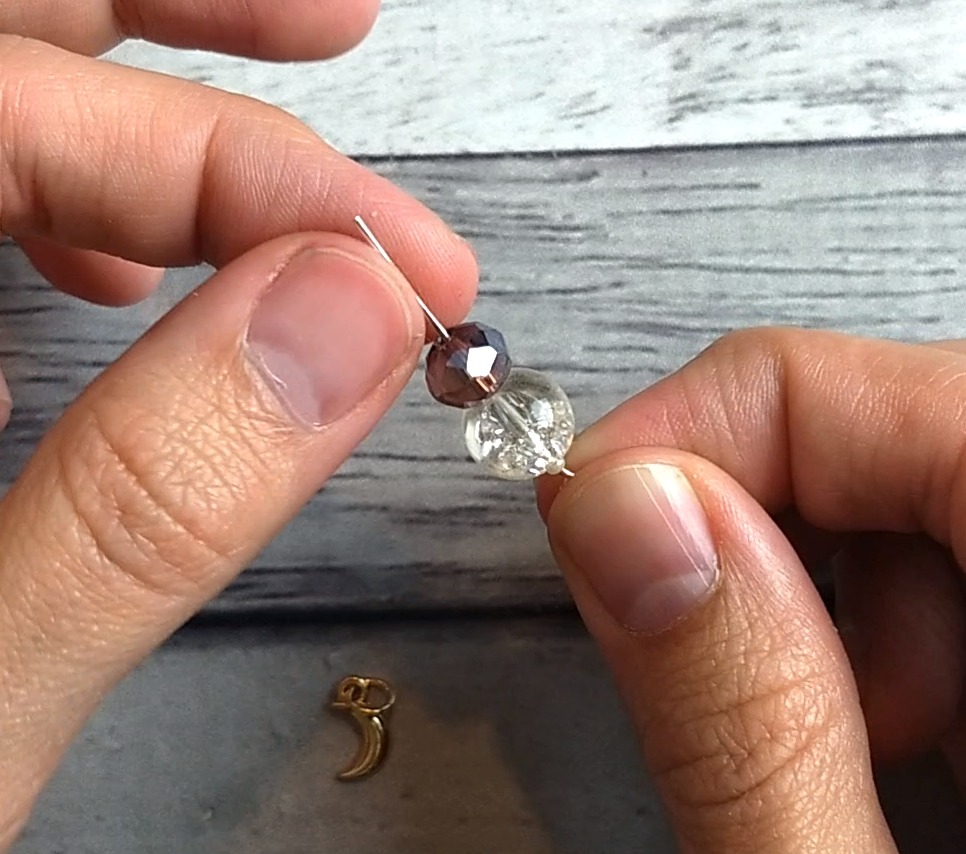
Once you’ve gathered your supplies, it’s time to get started! Go ahead and pick out which beads and/or charms you want to use for your stitch marker. If you’re using a charm, you’ll want to add your beads to an eye pin. If you’re not using a charm, you can use a head or ball pin instead (or you can still use an eye pin – I just like how the ball pins look when there’s no charm). Make sure you leave enough room at the top of the pin so that you can fold it over to form a loop.
This is where the tools come in! Once you’ve added your beads to your pin, take your round pliers, grip the end of the pin, and roll it down to form a loop. If you have extra length on the pin, you can snip off the end with the wire snips before rolling it down to form a loop. It takes a bit of practice to learn how much wire to leave (in the video, I made my first one a little too short – whoops!). Give yourself some grace and just try again if you snip it too short.
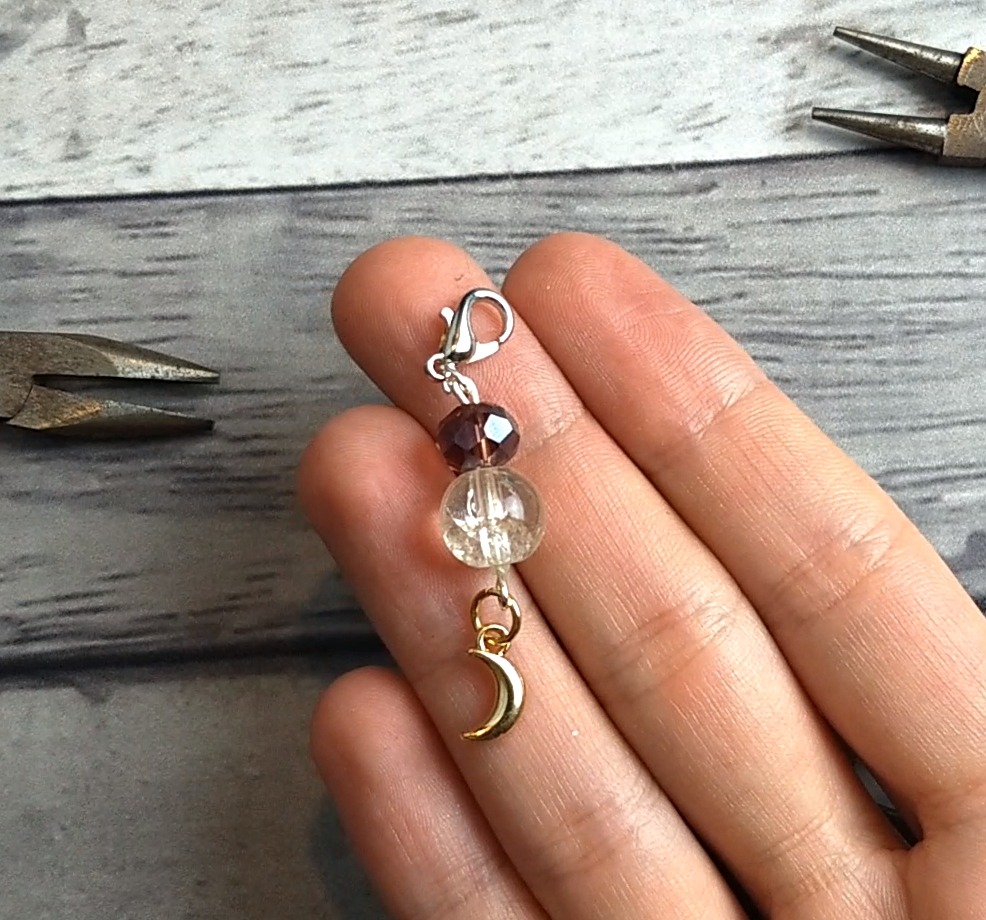
Once you’ve formed a loop at the top of the stitch marker, your beads should be securely attached and unable to fall off. Now it’s time to attach the charm (if you’re using one) and lobster clip!
Your charm may already come attached to a jump ring, or you may have to use a new one. Either way is okay. To open a jump ring, grip either side of the ring with pliers (this is why I like to have a second set of regular pliers), and gently twist it open. You don’t want to pull it apart – twist instead! Now add your charm to the bottom of your stitch marker, and twist the jump ring closed again.
Follow the same procedure to attach your lobster clip to the other side of your stitch marker, and you’re done!
You can easily use this same technique to make dangly earrings, which is super fun – just attach an earring hook instead of a lobster clip in the last step! For shorter stitch markers, you can also forgo the pins and beads and just attach a charm directly to a lobster clip – quick and easy, less strain on your hands for those who might suffer from arthritis, but still fun and functional!