
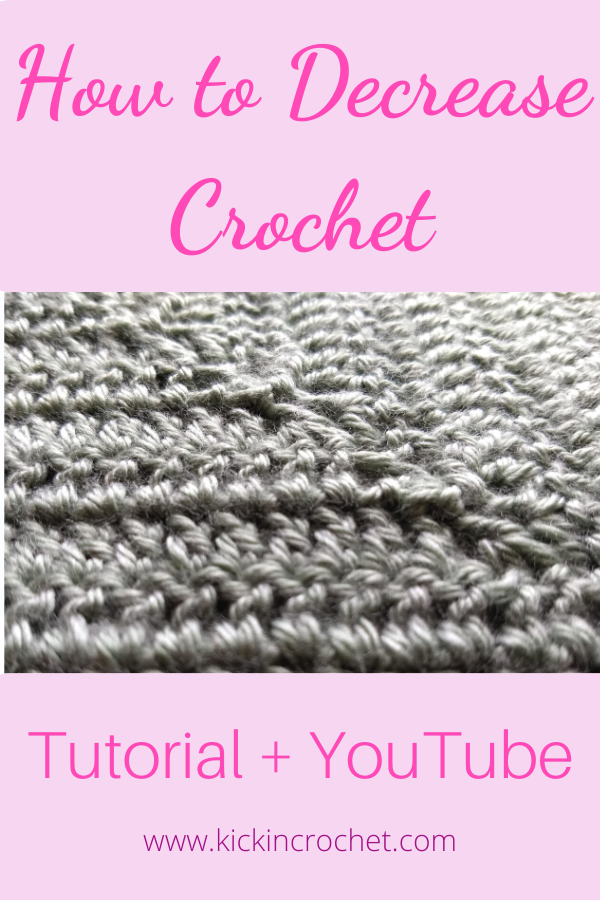
Once you’ve learned the basic crochet stitches, it’s time to move on to a few more fundamental crochet skills. One of those skills is how to decrease crochet. Increasing and decreasing crochet means changing the number of stitches from one row to the next. Changing the number of stitches will change the shape of the fabric, allowing you to make garments that fit your body, or ripple/wave blankets, or projects that you work in circles. There would be no amigurumi without increasing and decreasing. It’s a really important technique to know! This week we’ll talk about decreasing, and next week we’ll cover increasing.
*Disclosure: Some of the links in this post are affiliate links, which means if you click on them and make a purchase I may, at no additional cost to you, earn a commission. Read full disclosure here.
Supplies Needed
If you’re following along in the Learn to crochet series and you plan on joining your sample squares together at the end of the project, I recommend using the same yarns throughout. You’re welcome to use whatever you’d like, but here’s what I used:
- Worsted weight yarn of your choice – I used Caron Simply Soft
- Size H crochet hook – I love these Odyssey hooks from Furls Crochet!
- Yarn/Tapestry Needle for weaving in ends.
How to Decrease Crochet YouTube Video Tutorial
How to Decrease Crochet
You can work crochet decreases with many different stitches. It’s more of a generalizable technique than a specific stitch. So I’ll go through three examples using single, double, or triple crochet stitches. The general principle is that you’ll work until the last step in a stitch, but not finish it, then work until the last step in the next stitch, then finish them together.
Double Crochet Decreases
Let’s start with the double crochet decreases. This is often written as dc2tog, or dc3tog, or some variation on that. (The Craft Yarn Council has a useful master list of crochet abbreviations, if you ever run across something you haven’t seen before). dc2tog just means double crochet two together. Likewise, dc3tog means double crochet three together. The number indicates how many stitches you’re combining into one stitch.
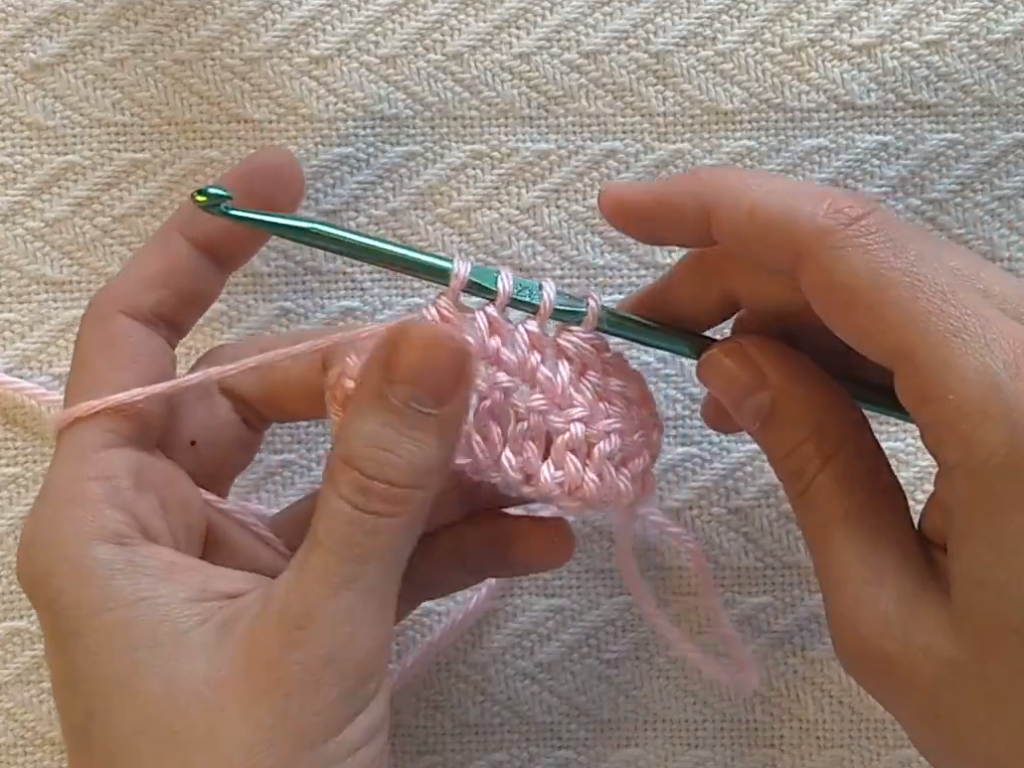
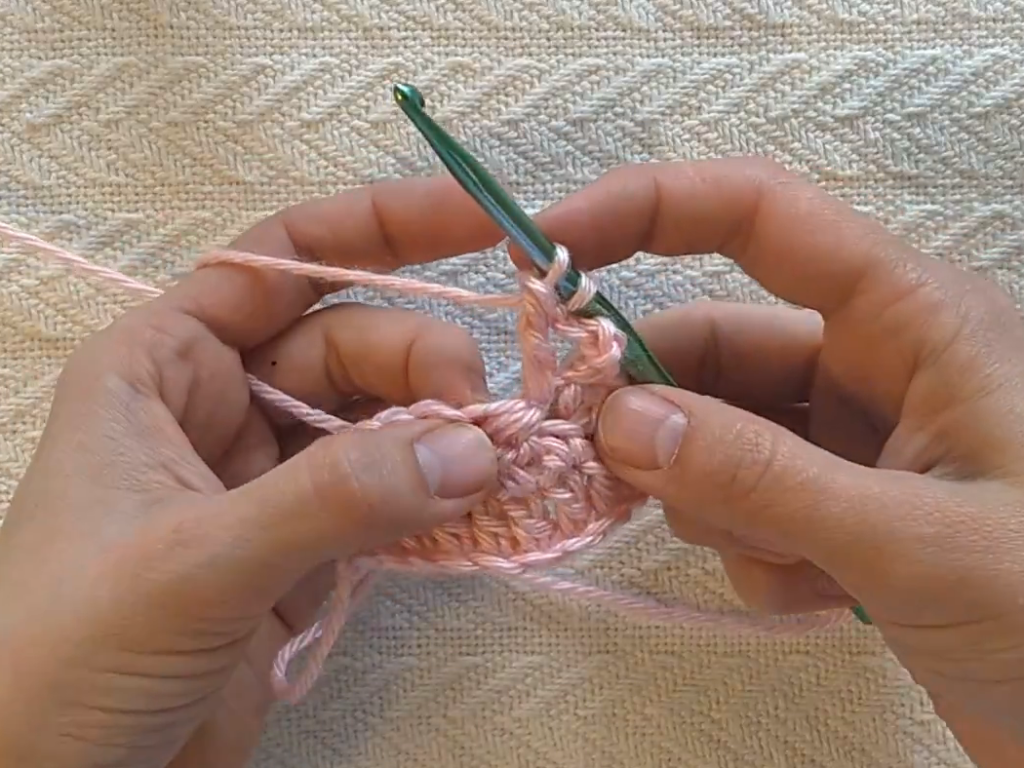
So for a dc2tog, you’ll be combining two stitches into one. Start your first double crochet as normal – inserting your hook in the next stitch, yarn over, pull up a loop through the stitch, yarn over and pull through two loops on your hook… but now stop. Don’t do the last step of the dc! Normally you would yarn over again and pull through the last two loops on your hook, but you’re going to just leave that other loop on your hook for now.
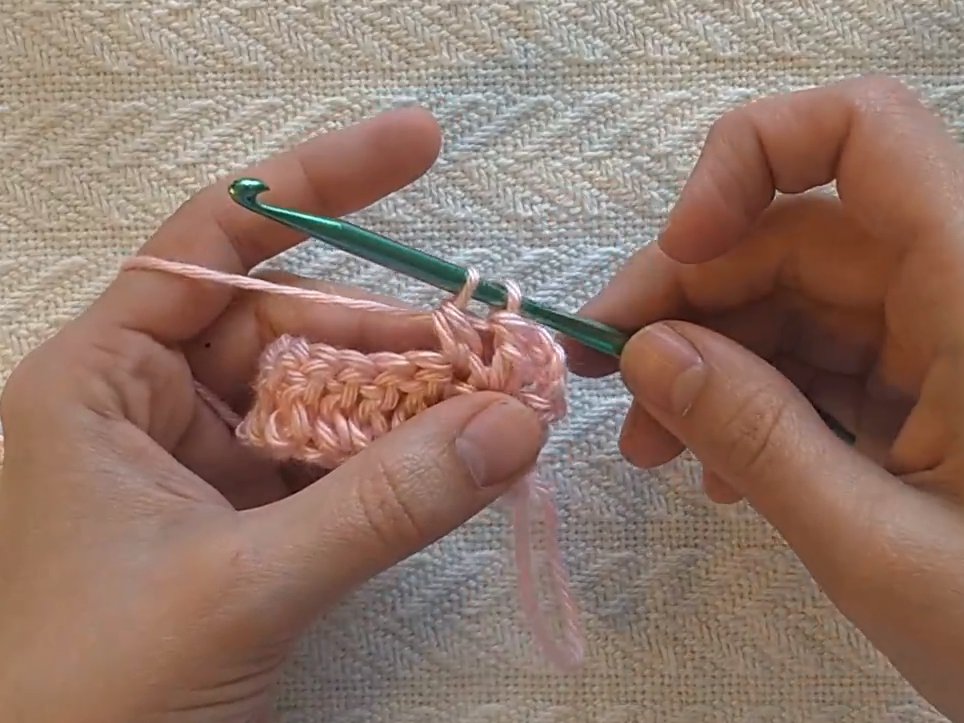
Now insert your hook in the next stitch and work a double crochet like normal, but stop just before the last step of the double crochet. You should now have three loops on your hook.
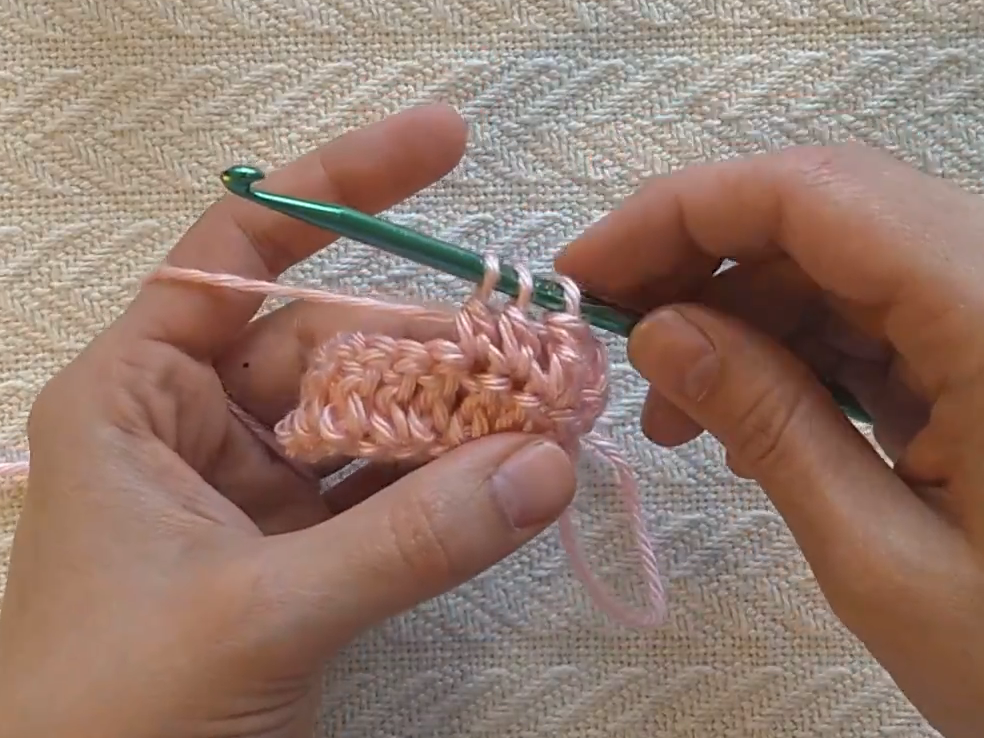
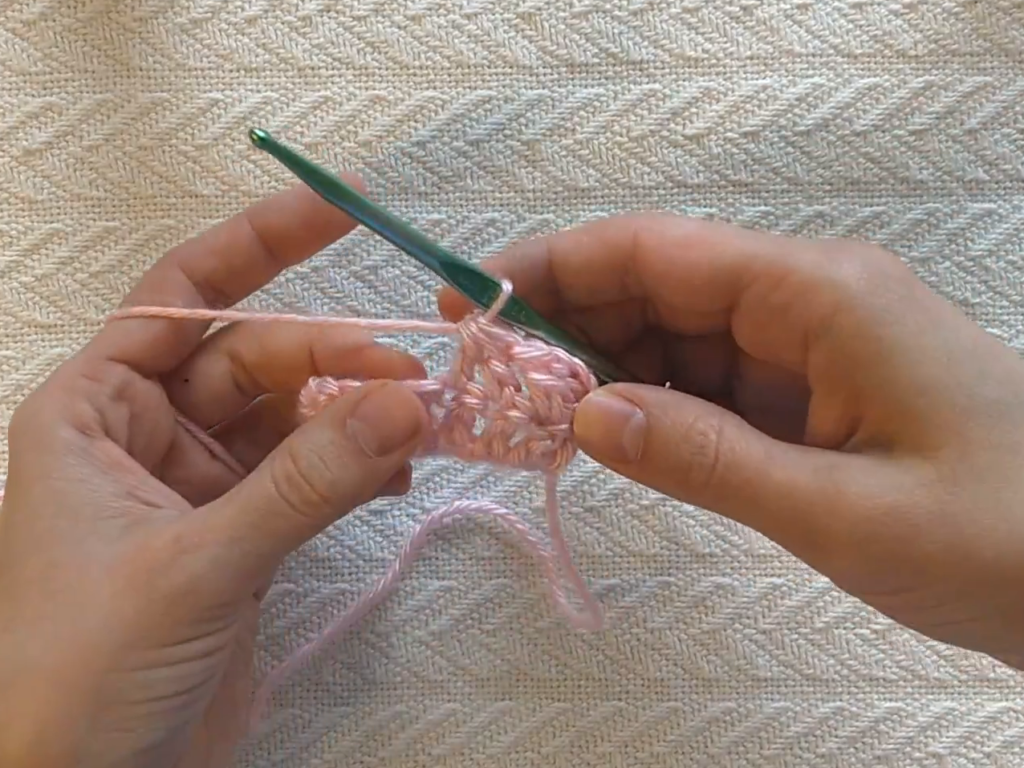
To finish the decrease, yarn over and pull through all three loops on your hook. Ta da! You just did a dc2tog, or a double crochet decrease, by working combining two stitches into one!
If you wanted to combine three stitches together for a dc3tog, it would be the same idea, you would just do most of a third dc, making four loops on your hook, before yarning over and finishing them all together by pulling through all four loops.
Single Crochet Decreases
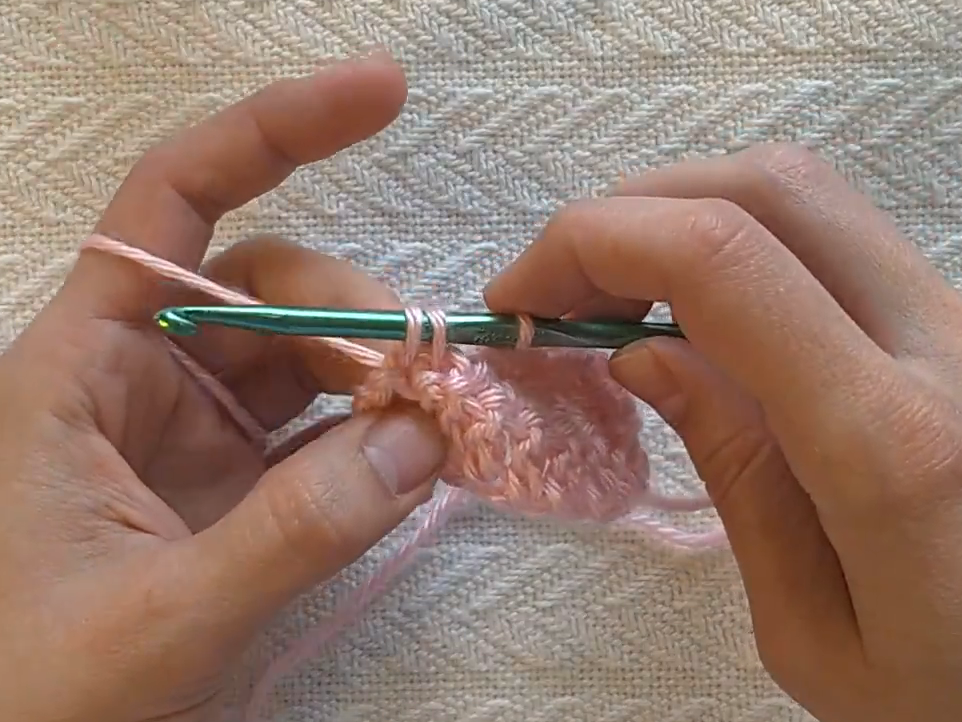
Single crochet decreases are a little bit simpler than double crochet decreases, just because single crochet stitches are simpler to start with. To do a sc2tog, insert your hook in the first stitch, yarn over and pull up a loop, but don’t finish the single crochet. Insert your hook in the next stitch, yarn over, and pull up a loop. You should have three loops on your hook. Then, yarn over and pull through all three loops to finish the stitch.
Triple Crochet Decreases
By now you’re hopefully getting the idea of how decreases work. For those of you following along with the how to crochet series, I know I haven’t taught triple crochets yet. I’m including this here anyway for those who need it, and for you for later! To do a traditional triple crochet decrease, or tr2tog, you’ll start working a triple crochet in the next stitch, but stop before the last step. So you’ll yarn over twice, insert your hook in the next stitch, yarn over and pull up a loop, then yarn over and pull through two loops on your hook twice. You should end up with two loops on your hook. Now do the same thing in the next stitch. You should have three loops on your hook.
Now, yarn over and pull through all three loops on your hook.
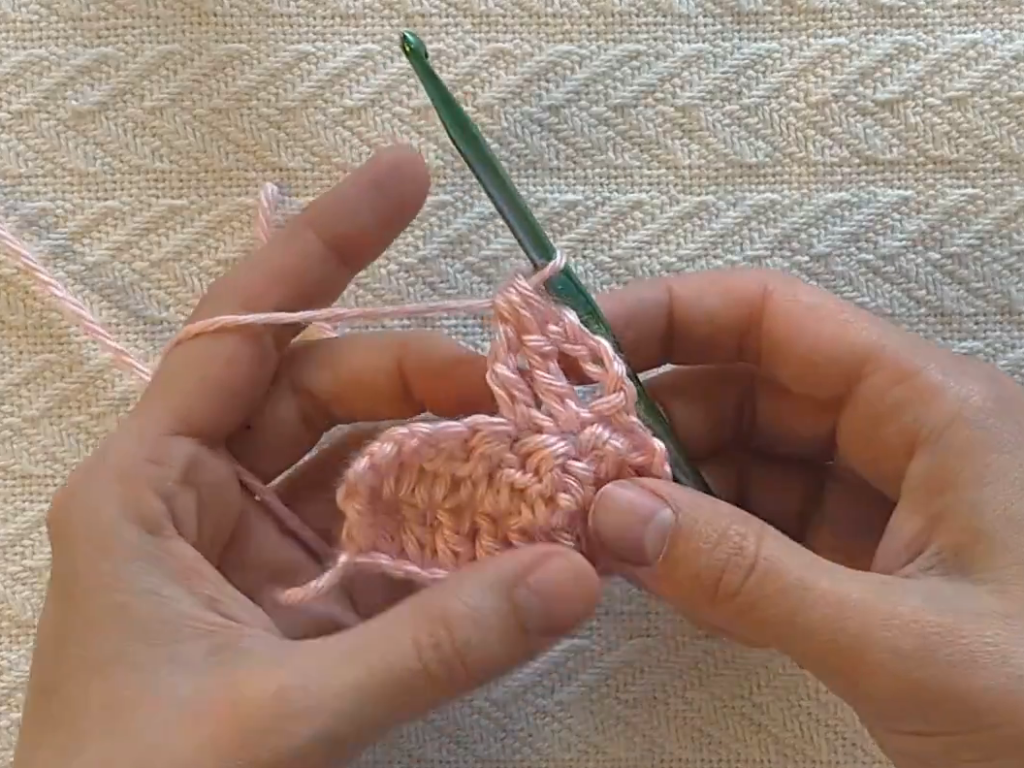
That’s it! You can also experiment a little with the decreases. I sometimes will do a modified decrease, where I’ll pull up a loop in the first stitch, then pull up a loop in the second stitch, and combine the stitches at the base of the stitch instead of the top of the stitch. You’ll be able to see this modified triple crochet in action on the rainbow ripple blanket pattern (coming soon!)
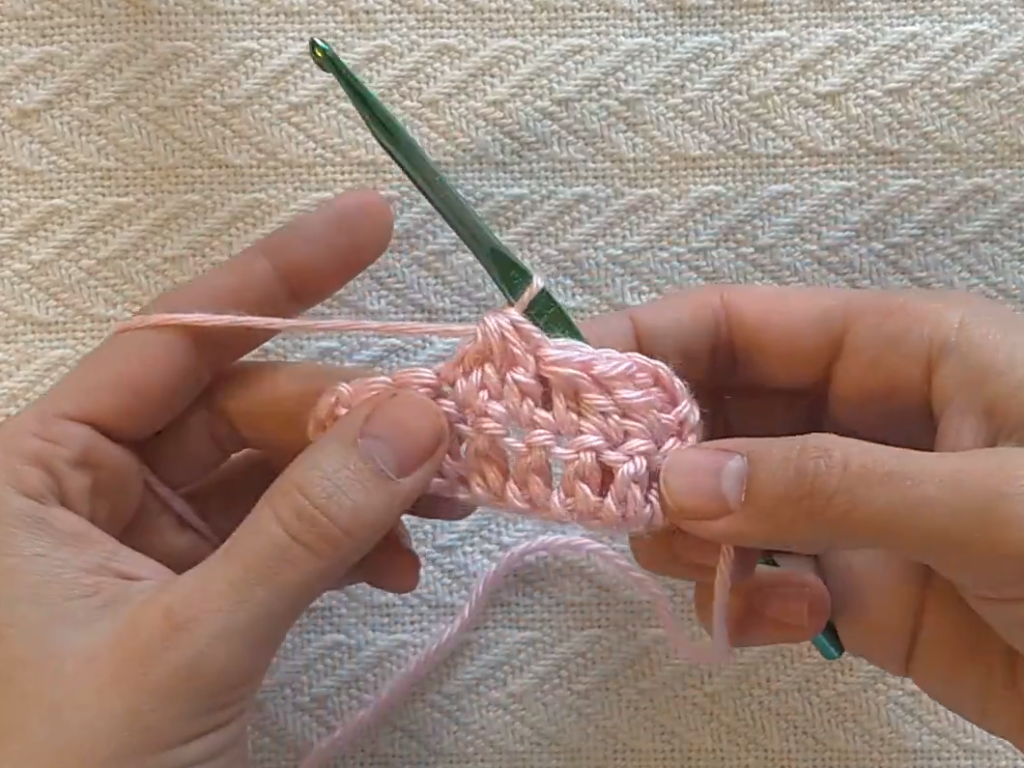
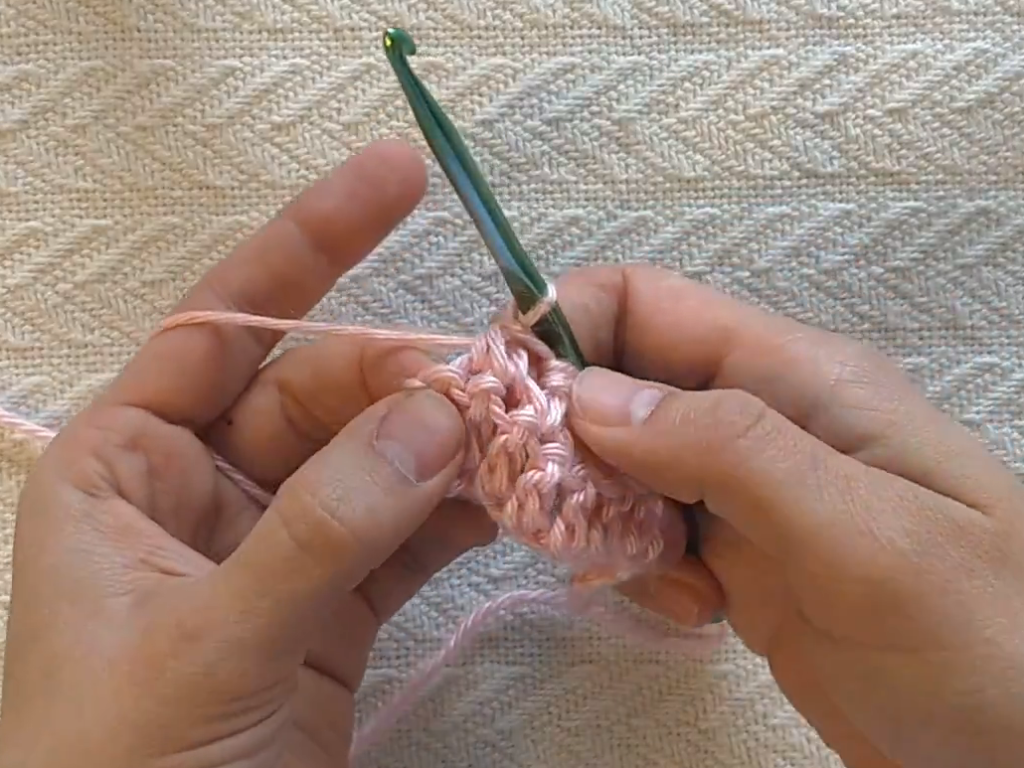
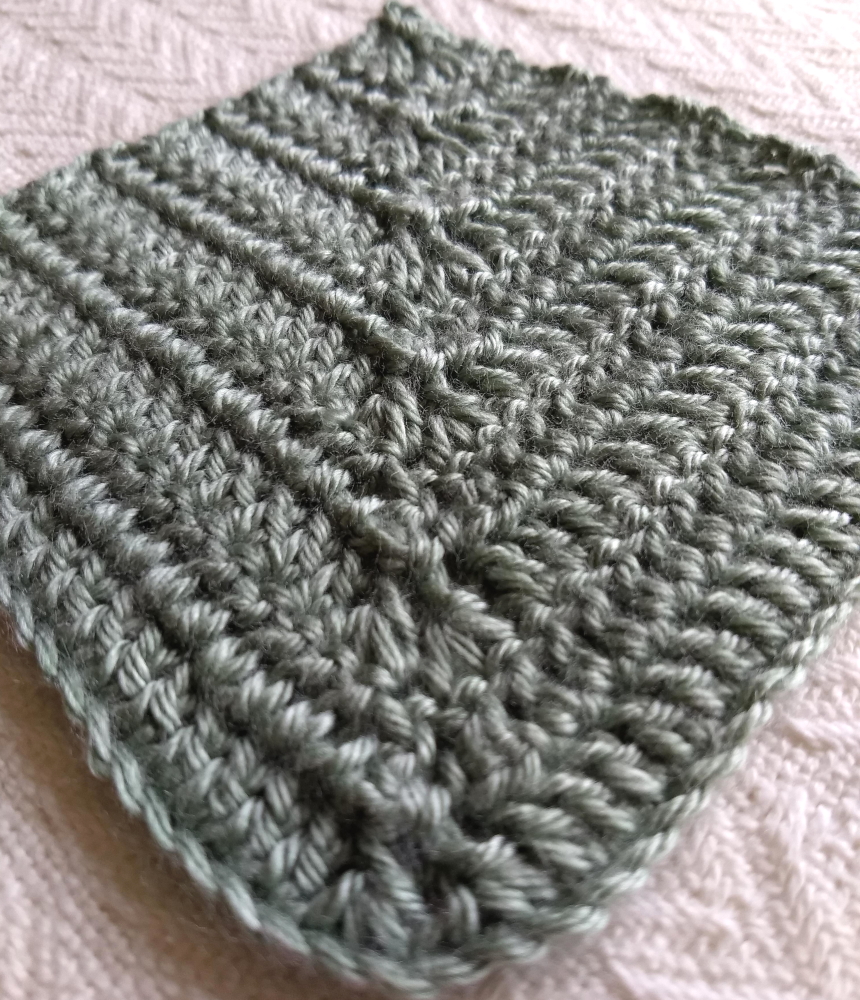
Making the Decrease Blanket Square
The blanket square for this lesson is a mitered square using double crochet decreases. To make this square, we’ll start with a single chain, and we’ll reduce our stitch count by four stitches per row until we get to the corner.
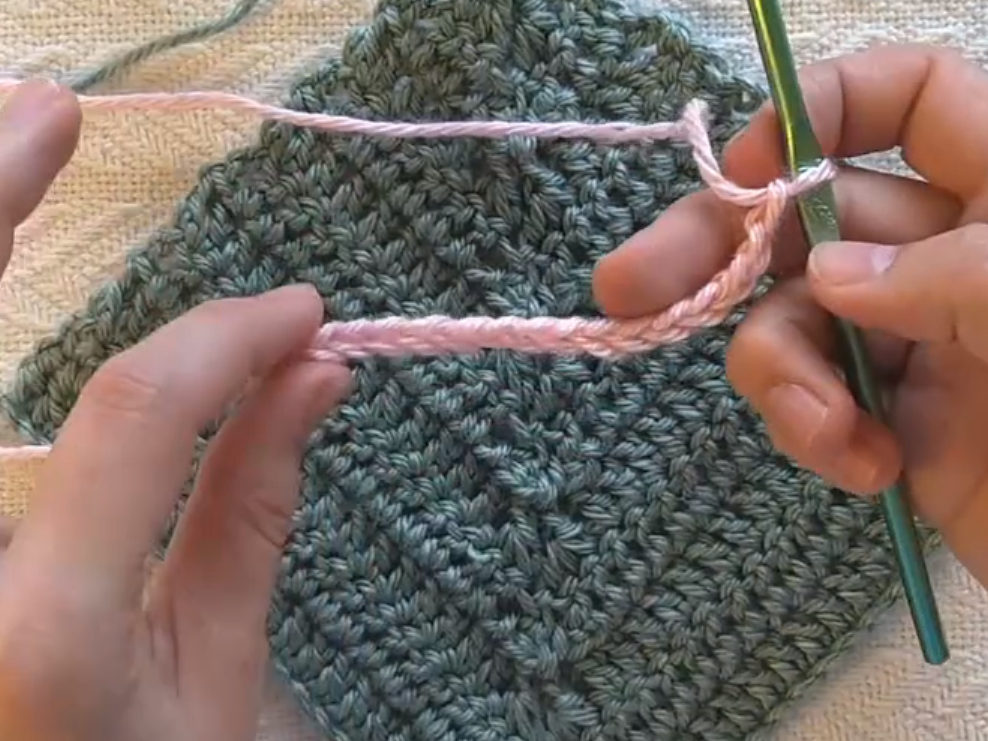
Start with a chain that is a multiple of four stitches. It should be as long as two sides of your finished square. For my square, I started with a chain that was 48 stitches long. If you start with a different length starting chain, you’ll have to add or remove rows from the instructions below. For each row that you add, you’ll add 2 stitches to the number of dc’s before and after the dc3tog’s (so, for example, if I started with 52 stitches instead of 48, I would have to add one more row. after my starting chain. My new row would say ch3, turn, dc22 (instead of 20), dc3tog twice, dc 23 (instead of 21).
- Ch48
- ch3 (counts as first stitch), turn, dc20, dc3tog twice, dc21
- ch3, turn, dc18, dc3tog twice, dc19
- ch3, turn, dc16, dc3tog twice, dc17
- ch3, turn, dc14, dc3tog twice, dc15
- ch3, turn, dc12, dc3tog twice, dc13
- ch3, turn, dc10, dc3tog twice, dc11
- ch3, turn, dc8, dc3tog twice, dc9
- ch3, turn, dc6, dc3tog twice, dc7
- ch3, turn, dc4, dc3tog twice, dc5
- ch3, turn, dc2, dc3tog twice, dc3
- ch3, turn, dc3tog twice, dc
- ch2, turn, dc3tog
- Finish off and weave in ends
I hope you found this tutorial useful, and that you learned something new! If you’re ready for the next lesson, head on over to How to Increase Crochet. Don’t forget to sign up for my mailing list to get updates about all the happenings here at Kickin’ Crochet!