
While it’s totally possible to make a pom pom without one (and I show you how here!), a pom pom maker makes the job so much easier, faster, and more fun, that I highly recommend picking one up. They come in a variety of sizes, and I was able to pick up a 4-pack for about $15. If you’re making a lot of pom poms, I think that investment is completely worth it. See below for a video and photo guide to using your pom pom maker!
*Disclosure: Some of the links in this post are affiliate links, which means if you click on them and make a purchase I may, at no additional cost to you, earn a commission. Read full disclosure here.
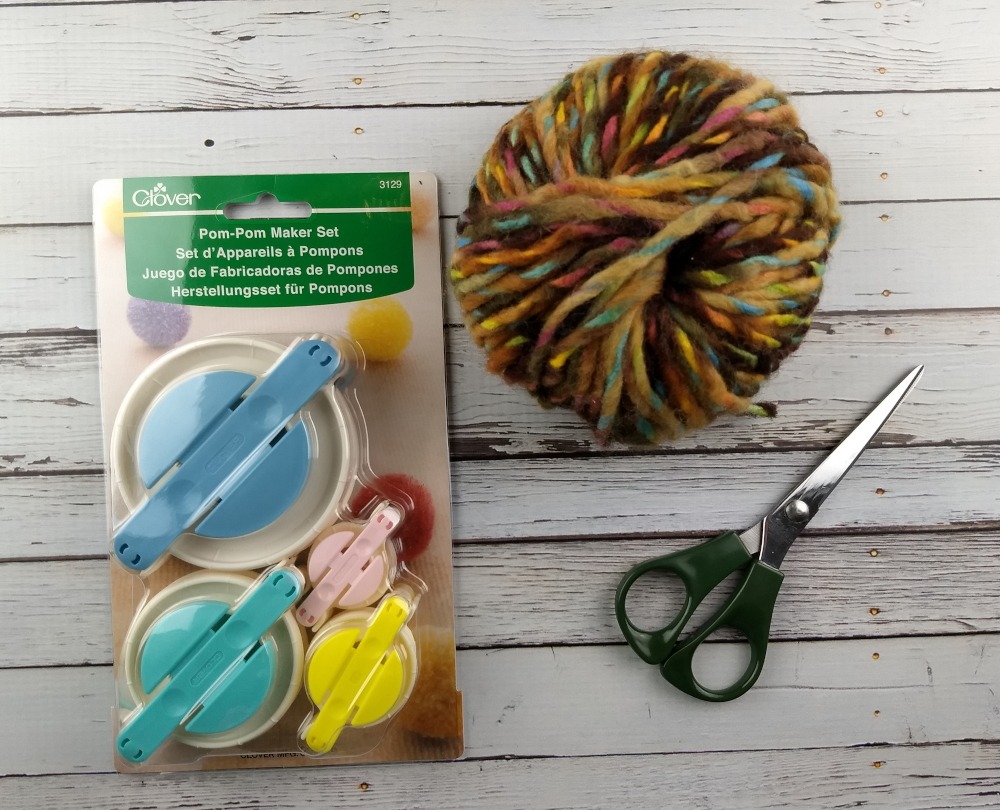
Supplies
- Whatever yarn you’d like to make into a pom pom – I used a random scrap ball of yarn that I don’t even remember where I got.
- A pom pom maker. There are several brands you could try. I trust Clover, so I went with the Clover 4-pack, which has a variety of sizes.
- A decent pair of scissors.
Pom Pom Maker Video Tutorial
How to Use a Pom Pom Maker
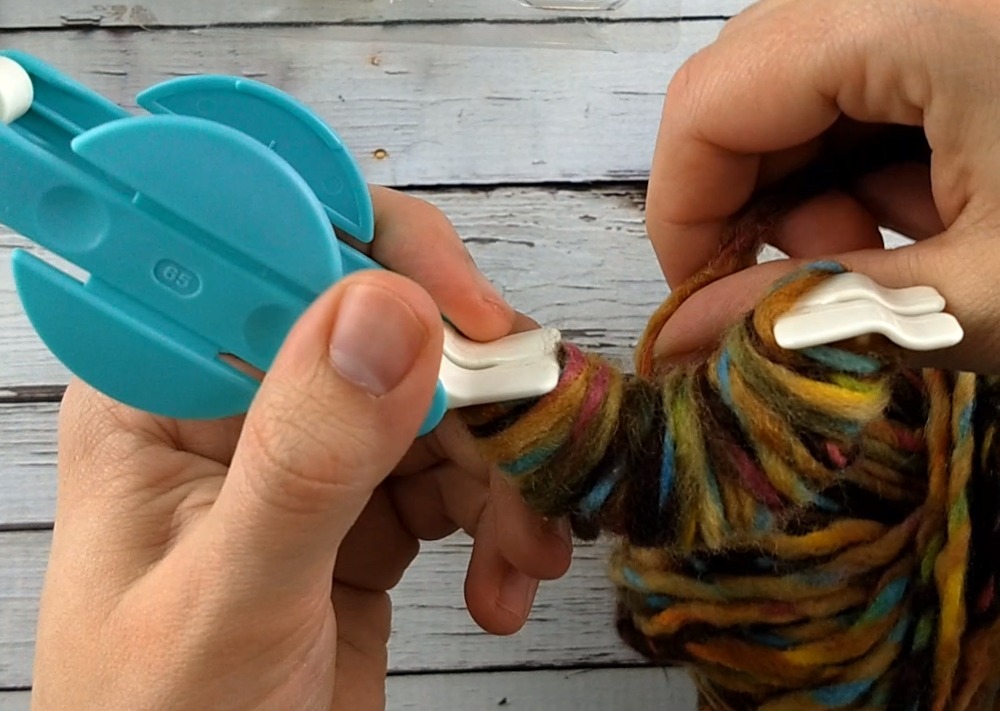
The first step is wrapping your yarn. To do this, open up the two “wings” on one side of the pom pom maker. Wrap your yarn around both of these wings together until you’ve got the side fully covered and pretty well packed with yarn. You want to leave a little bit of space in the center so that there’s a little bit of a curve. This way the pom pom maker can close back up.
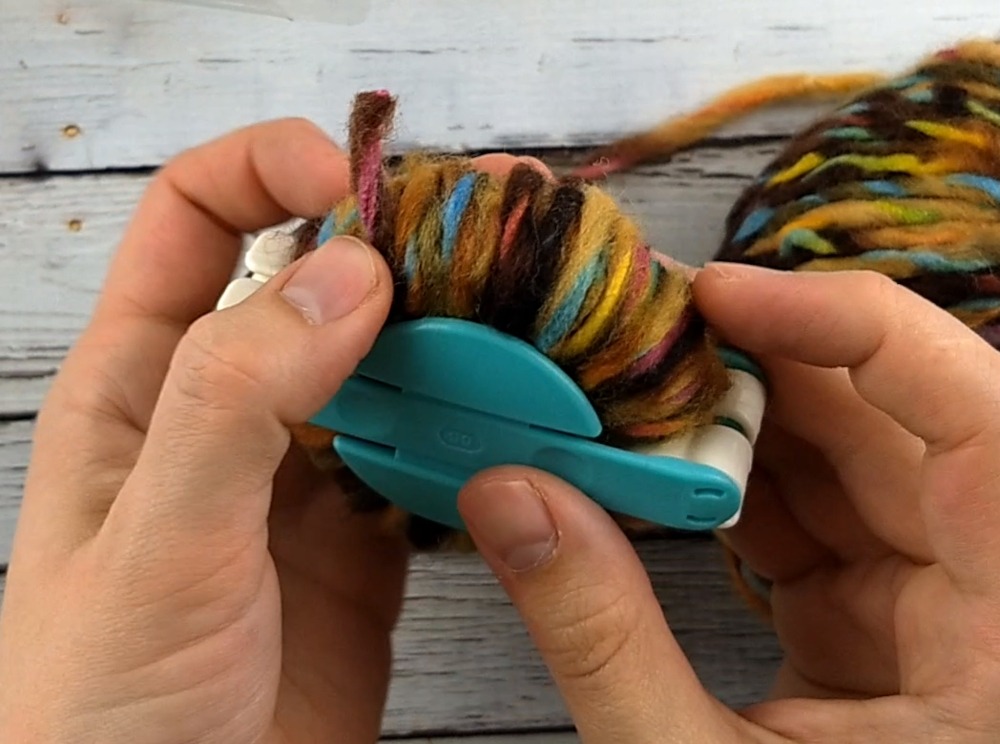
Close the first side, then open the other side, wrap the yarn around in the same way, and close the wings back togehter. You should now have a pom pom maker that has yarn wrapped fully around both sides.
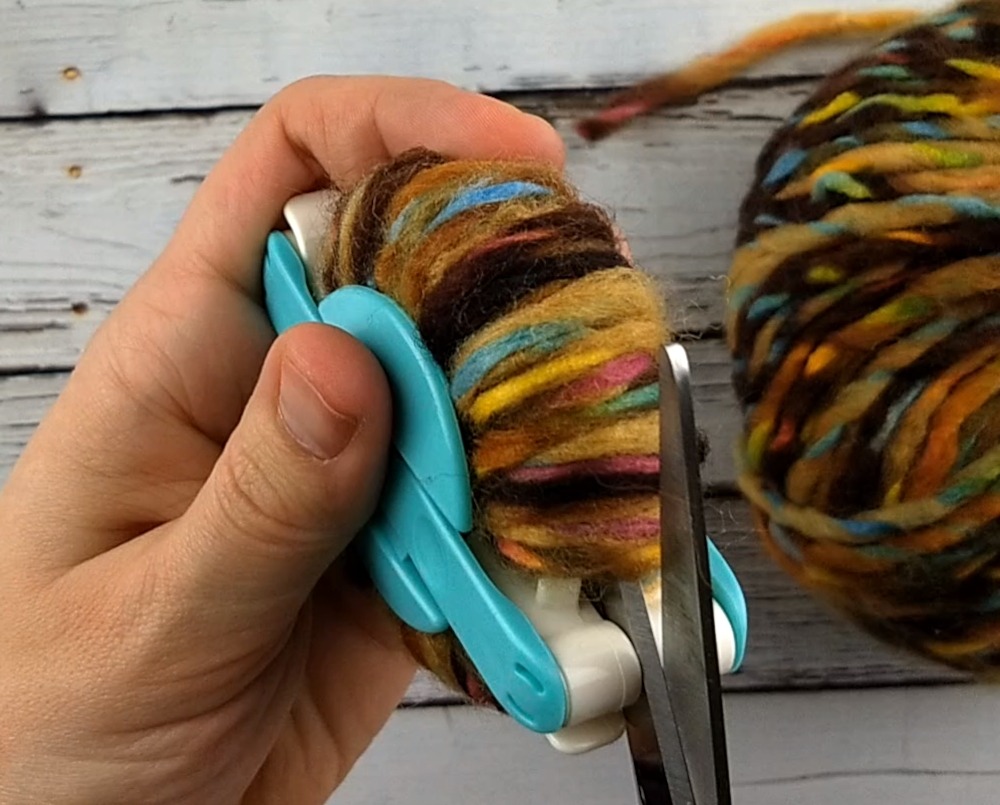
Next, you need to cut the yarn. Using the groove in between the two white “wings” as a guide, cut the yarn down the center of each side.
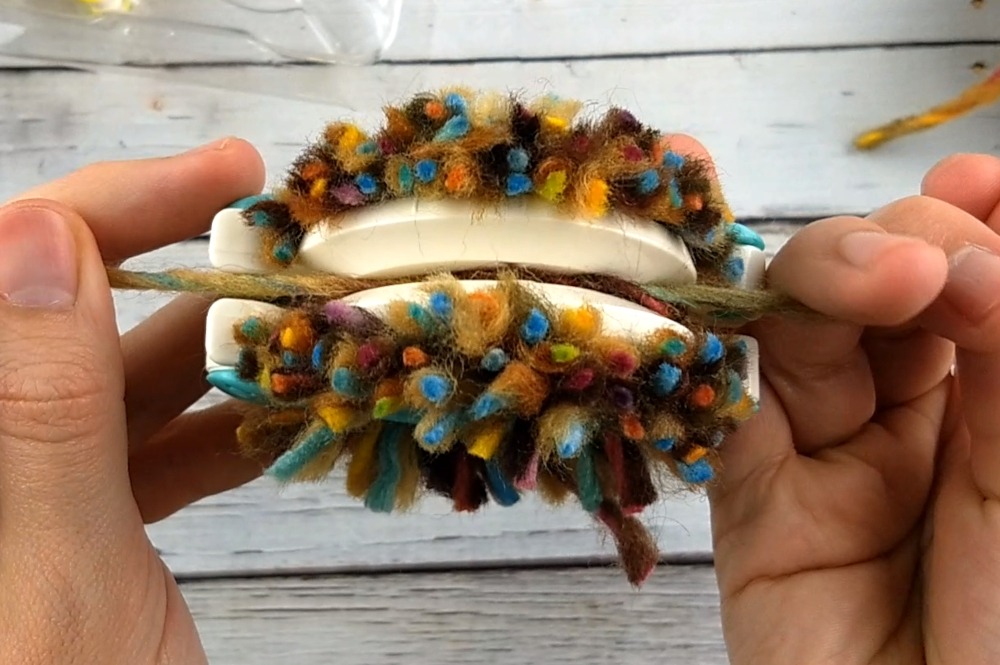
Don’t open the pom pom maker yet! Now take another strand of yarn. Put it into the groove along the center of the pom pom maker.
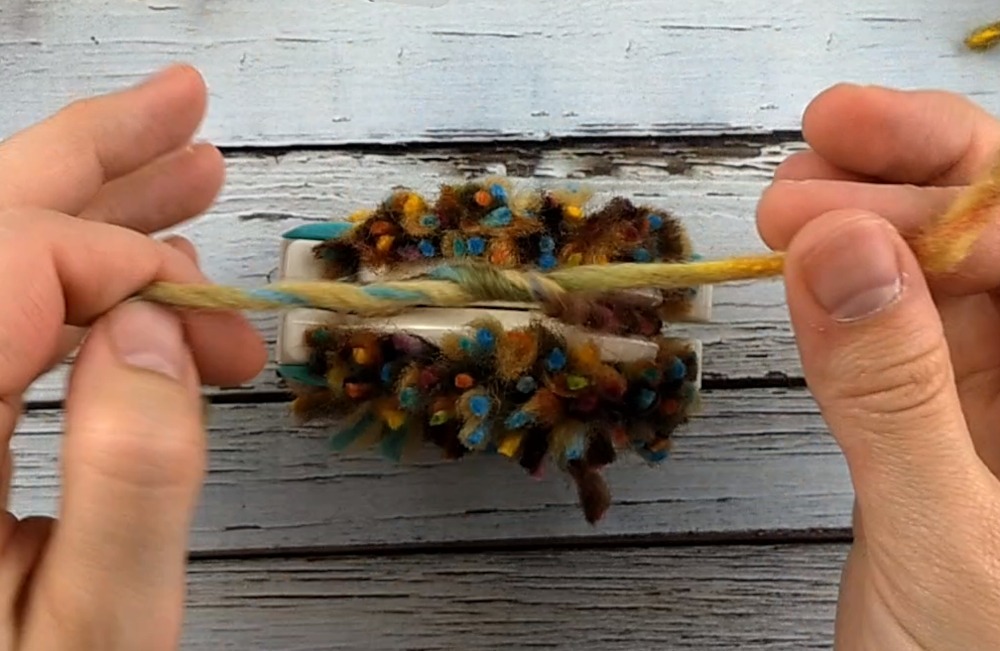
Tie it tightly – the yarn will kind of “suck” into the groove in the middle, forming an excellent tight not for the center of your pom pom. Seriously – tie this as tight as you can without breaking your yarn. Finish the square knot securely.
With your pom pom safely tied, you can now open the wings again. Open both wings on each side. Here comes the fluff!
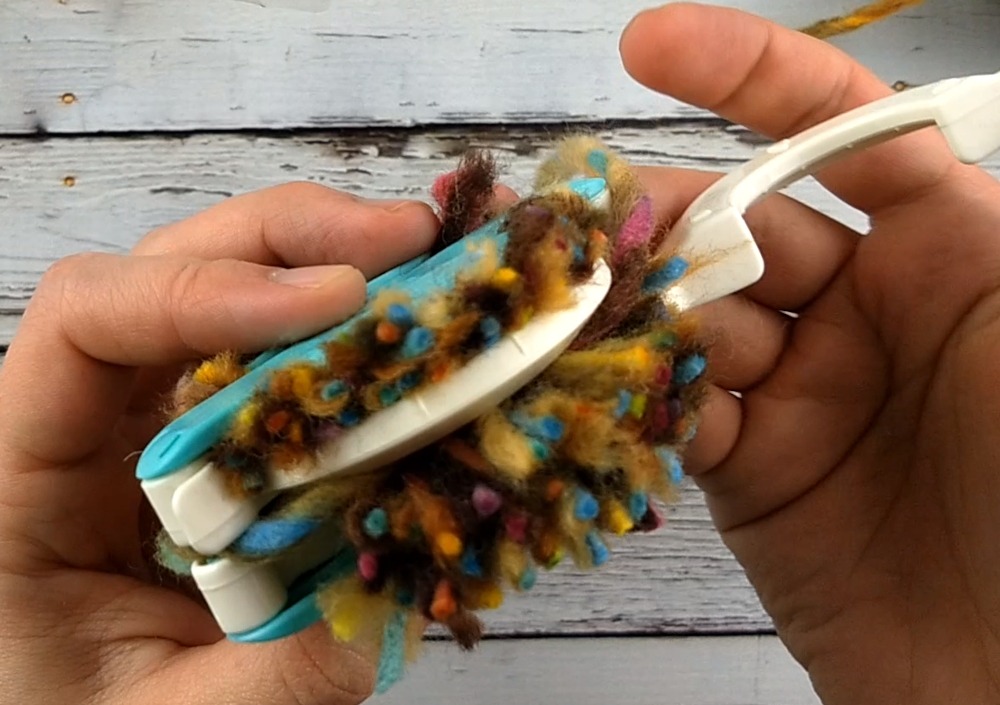
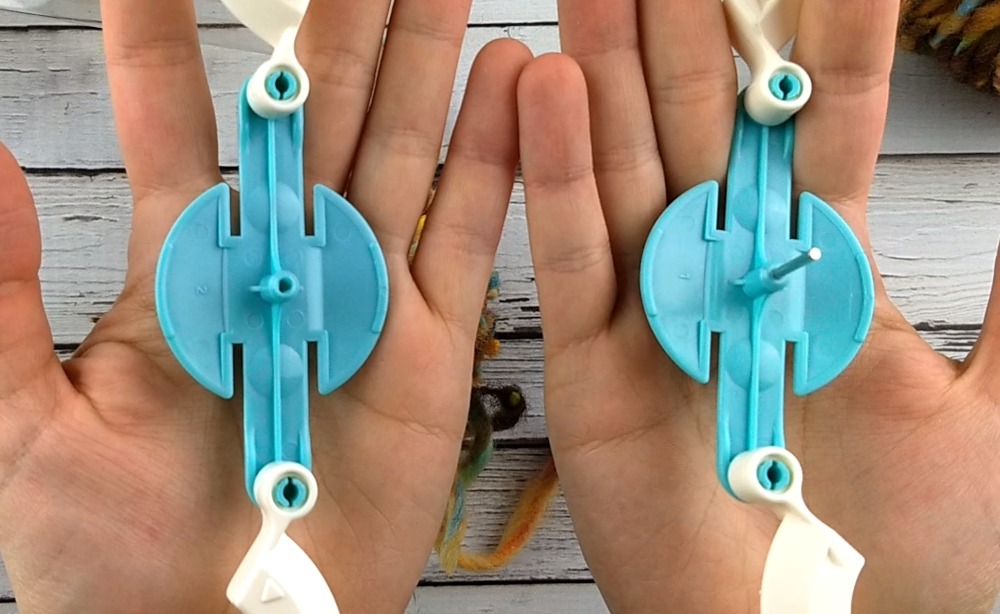
Finally, release your pom pom by simply pulling apart the two halves of the pom pom maker. They are held together by a small metal pin, so make sure you pull them straight apart so as not to bend the pin.
Your very last step is trimming up any strands on your pom pom maker that were a little too long. Also trim the ends of the yarn you used to tie your center knot. Voila! You’re done!
I hope you enjoyed this tutorial – don’t forget to subscribe to the YouTube channel and sign up for the mailing list for weekly emails with all the latest news, updates, and coupon codes. Happy crocheting!